In our new home, we finally have a casual great room. The space is very beige and white…not that I mind since I’m all about neutral colors. But we’ve slowly been adding to the room to make it more cozy. It’s so much fun to have an informal place to decorate and make kid-friendly.
Soon after moving in, we got a stainless steel fridge which does not hold magnets. This was a major bummer for us. Where were we going to display Owen’s school work and art projects? Where were we going to put our magnets from all the places we’ve been to?
Inspired by chalkboard projects on Pinterest and my sister-in-law’s chalkboard in her kitchen used for monthly baby photos, I decided we needed a magnetic chalkboard wall. We have plenty of wall space, so why not make a giant chalkboard for our kids to play with and to display their stuff? I assigned this project to Richard (who I’m sure is getting tired of my “inspired” ideas).
I researched DIY magnetic chalkboard walls and found a lot of different ways to do it. After seeing mixed reviews for magnetic paint, I decided to make our wall with sheet metal to ensure that it would definitely and always be magnetic.
Now, here’s what we did:
- We measured the space and decided the size we wanted (a floor-to-ceiling piece about 3.5 feet wide and 7.5 feet tall).
- I called a local metal works company that my father recommended and custom ordered a sheet of galvanized steel, 22 gauge. You can use a thinner sheet of metal, but 22 gauge was the thinnest that they would custom cut at the place we ordered from. This cost about $40.
- We purchased primer paint for metal and Valspar chalkboard paint, which cost about $20.
- We wanted to frame the chalkboard with wood trim. So we also purchased 4 pieces of wood trim to fit around the chalkboard. This cost about $15. I painted the trim with white interior paint that we already had.
- After picking up our custom sheet of steel, Richard thoroughly cleaned it with dish detergent and water. Apparently, custom sheet metal is always dirty so make sure you clean it!
- Richard drilled holes along the edges and in the corners of the metal sheet.
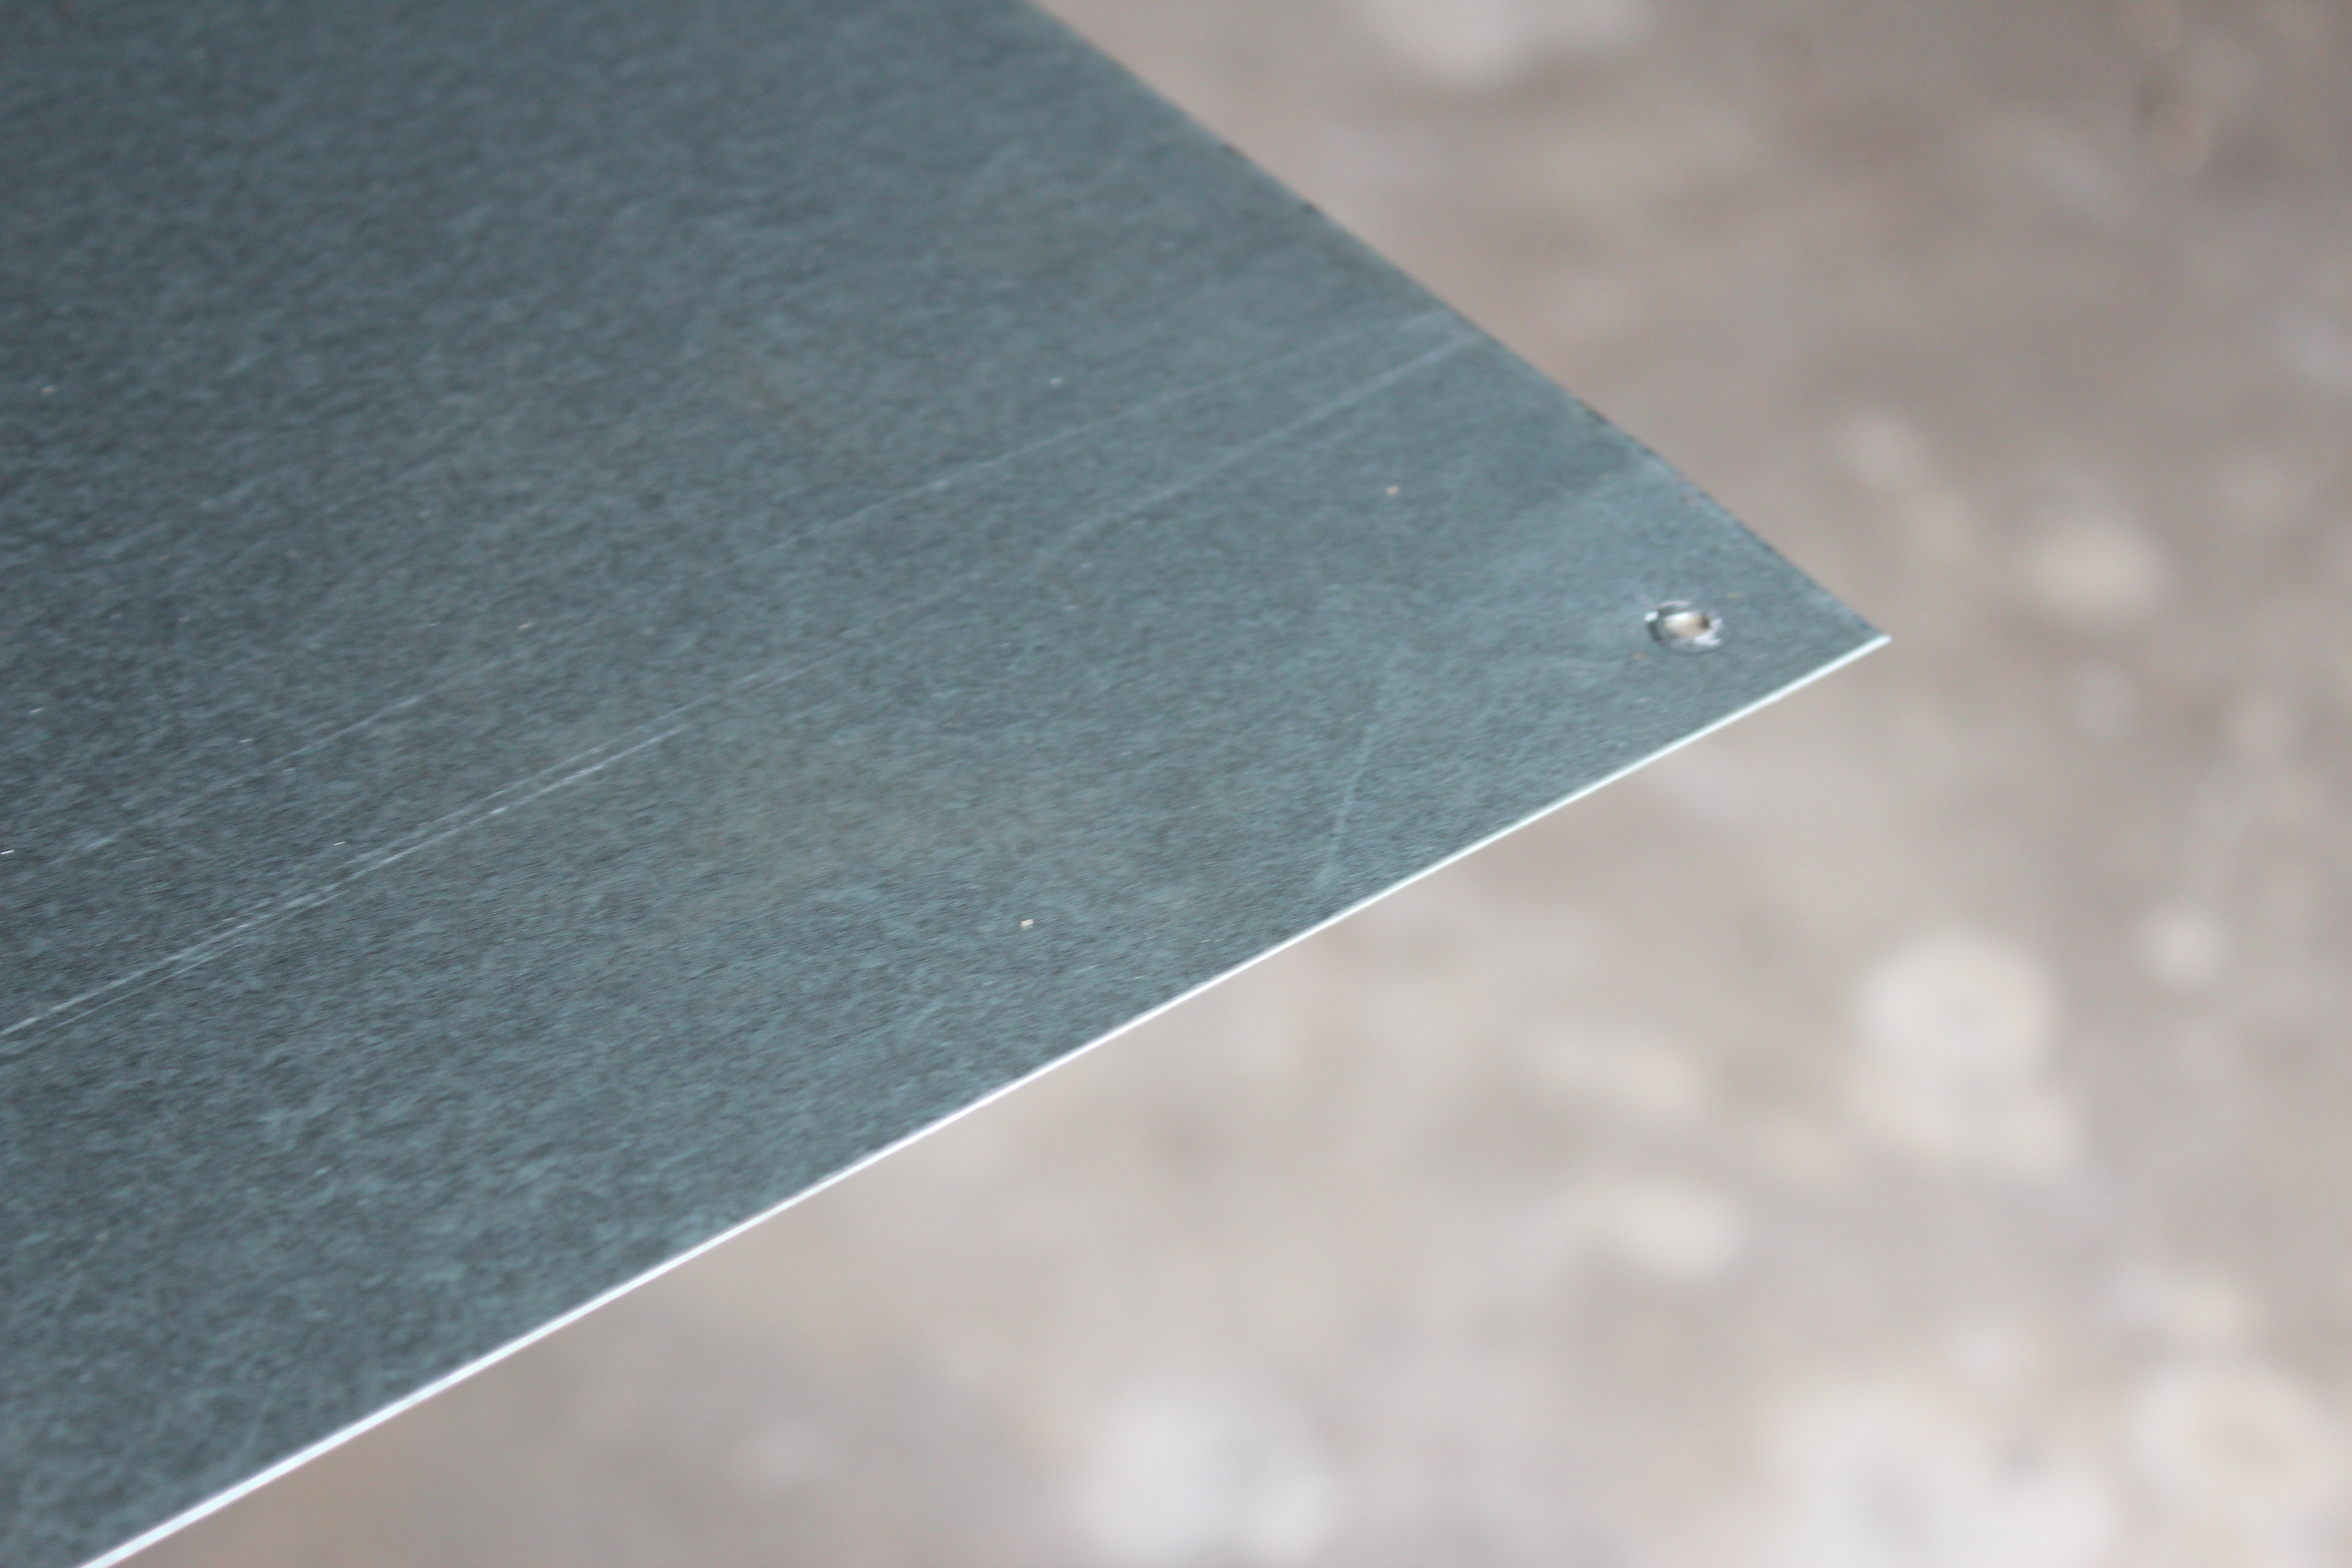
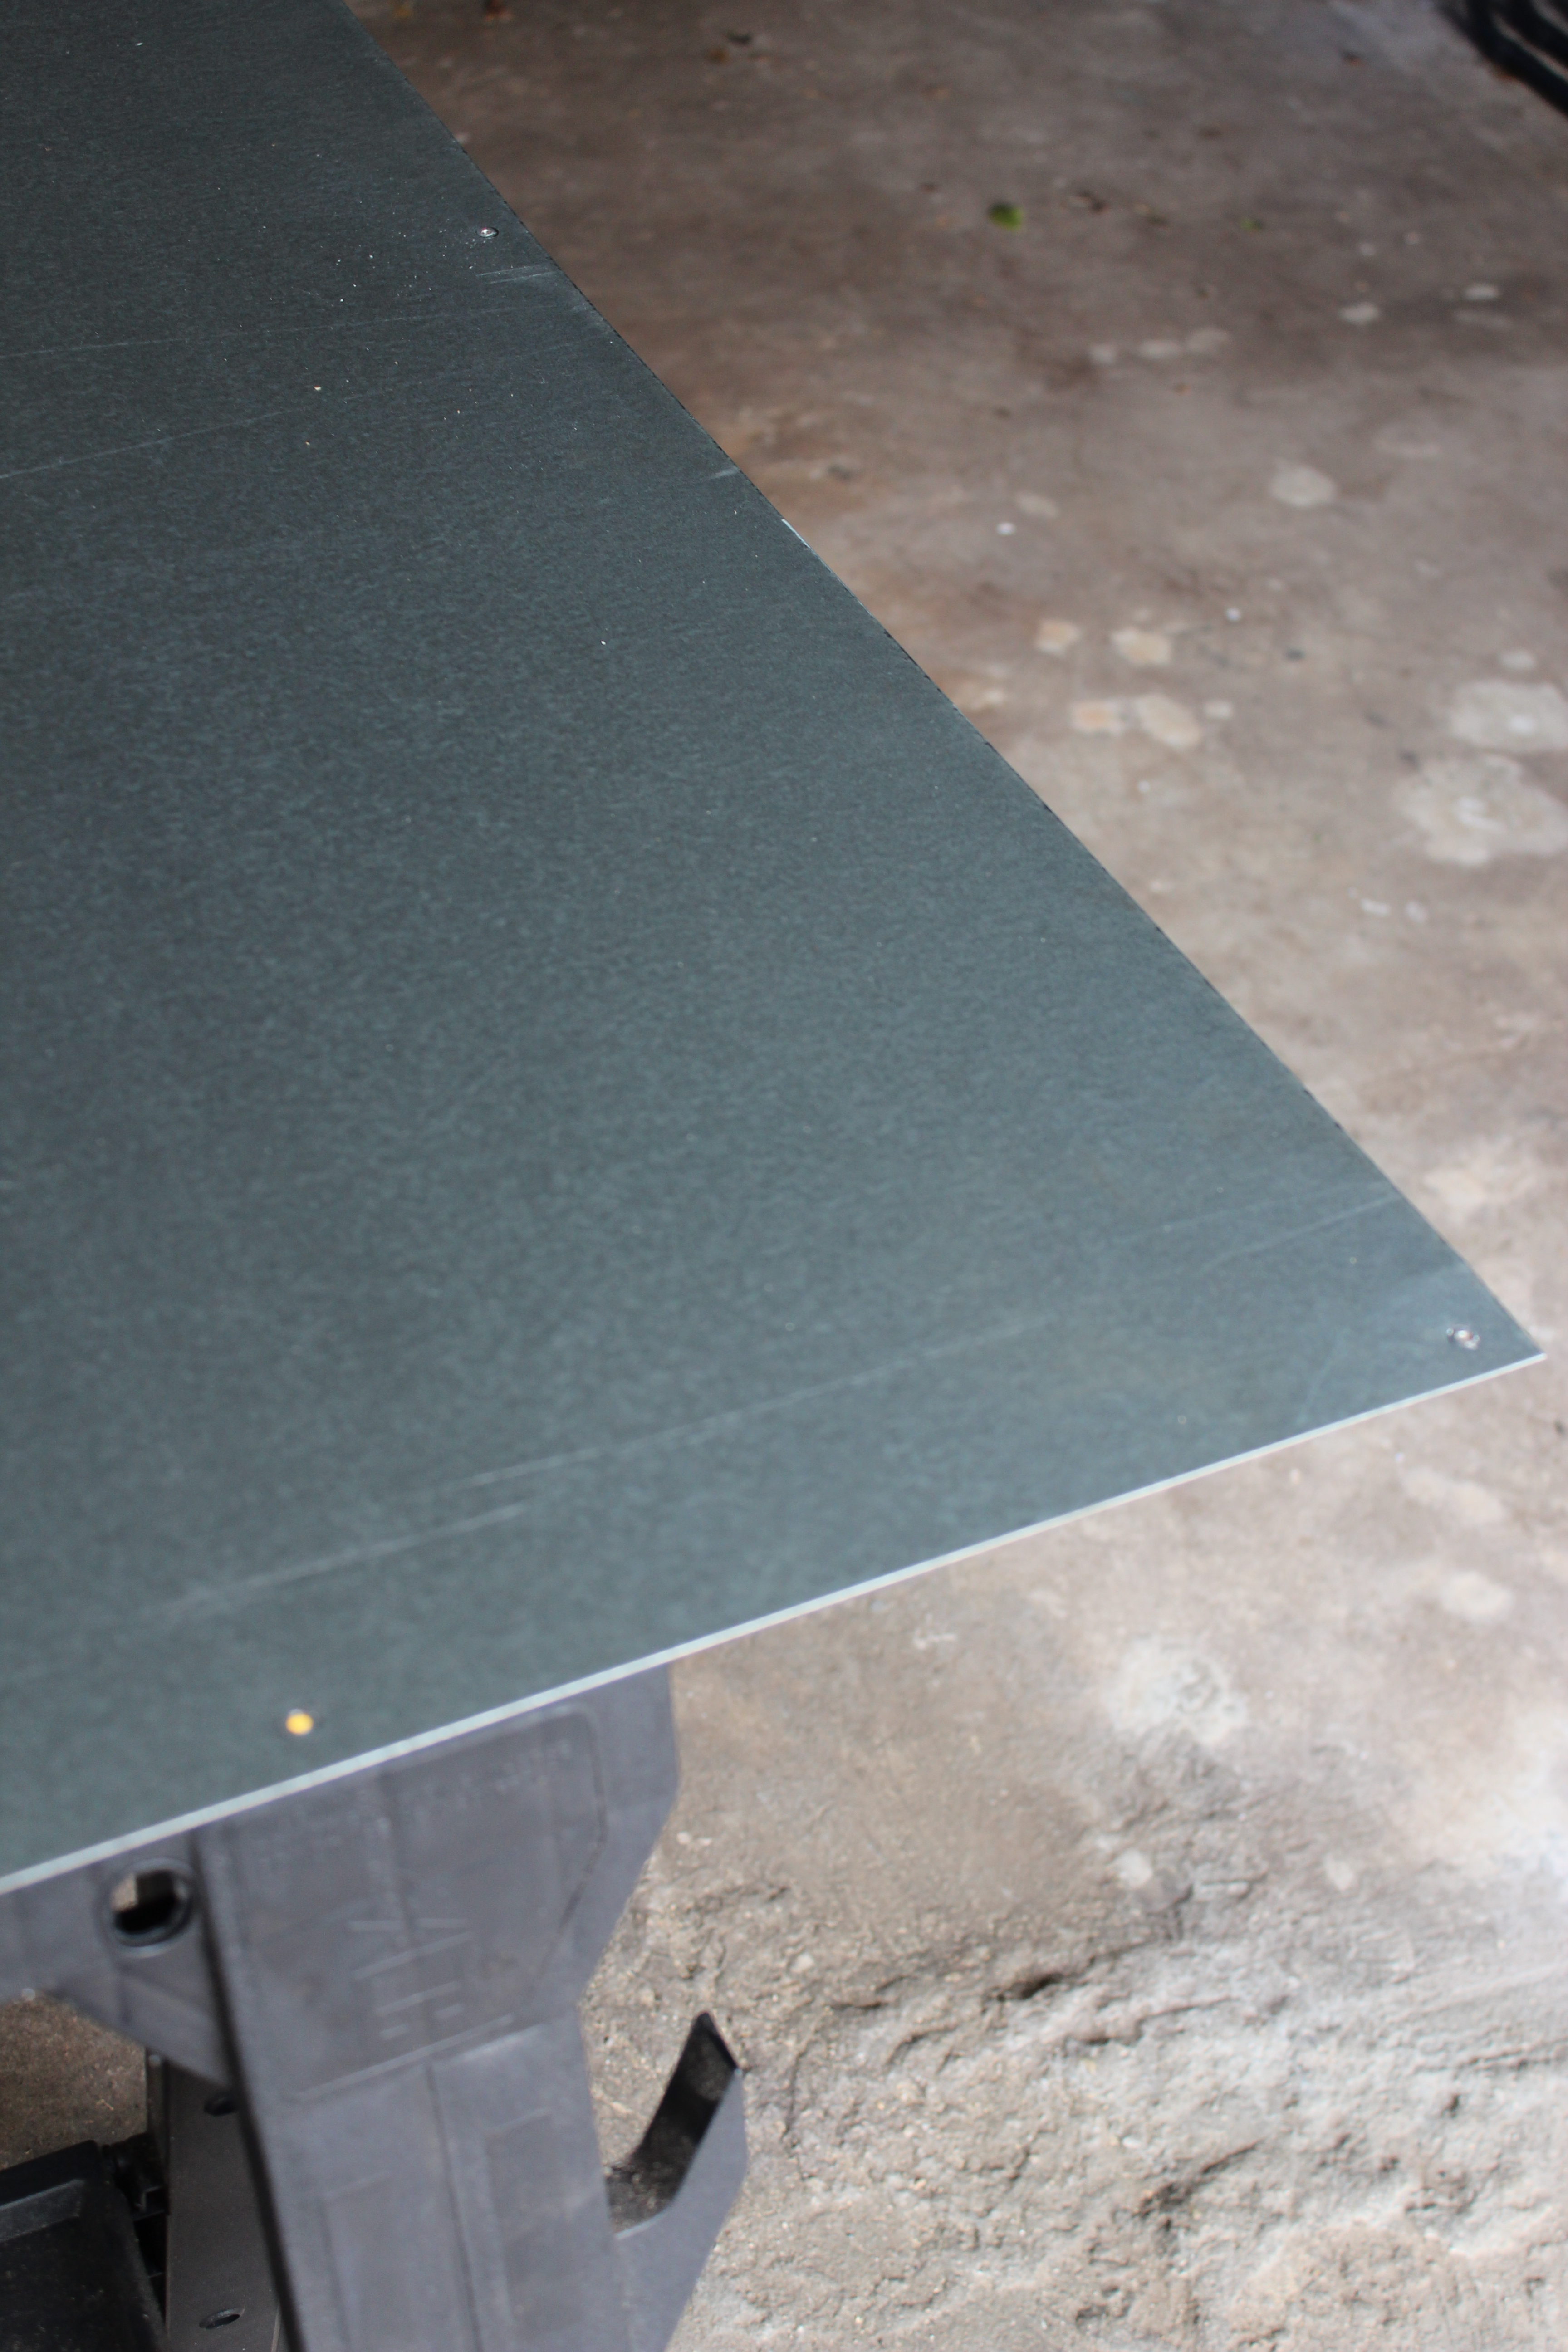
- Then he painted it with two coats of primer, making sure to paint the edges as well.
- After the primer dried for a day, Richard painted it with two coats of chalkboard paint.
- Once the chalkboard paint dried, Richard rubbed chalk over the entire surface and then he wiped it off. Ready to be hung on the wall! (Note: Sheet metal is much heavier than it looks. Two people are needed for hanging.)
- Richard screwed it into the wall and framed it with the trim. Ta-Dah!
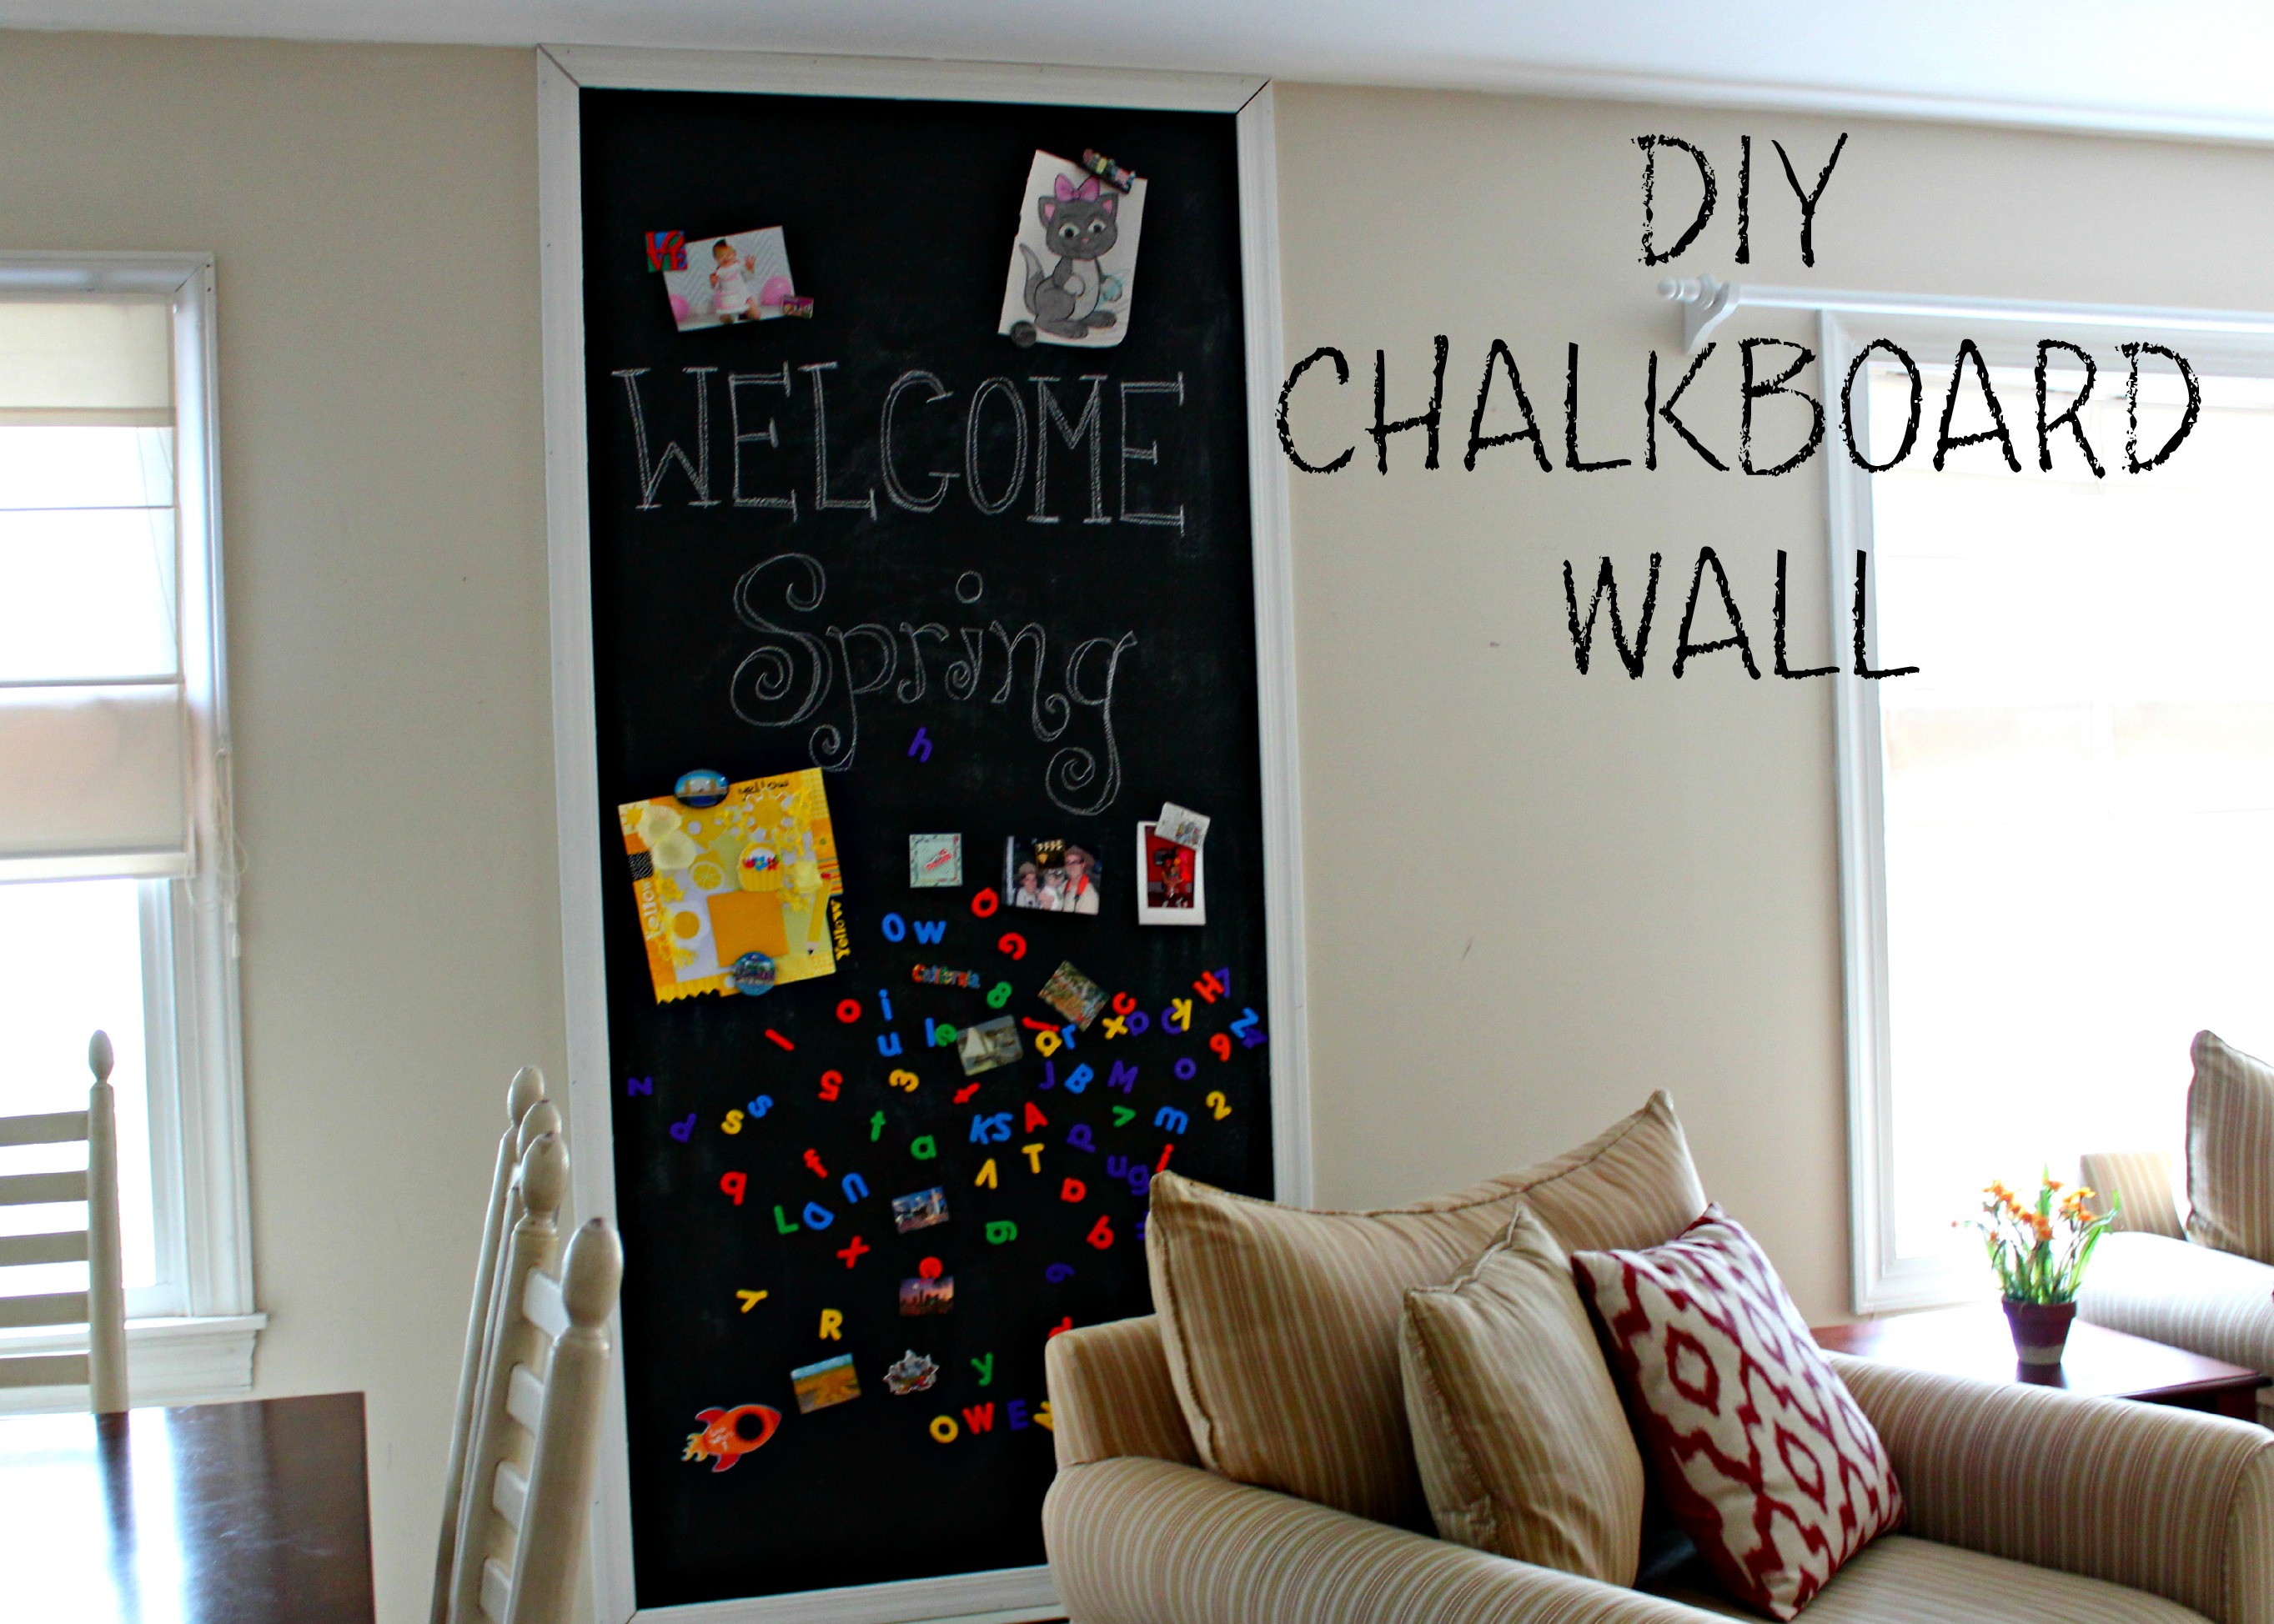
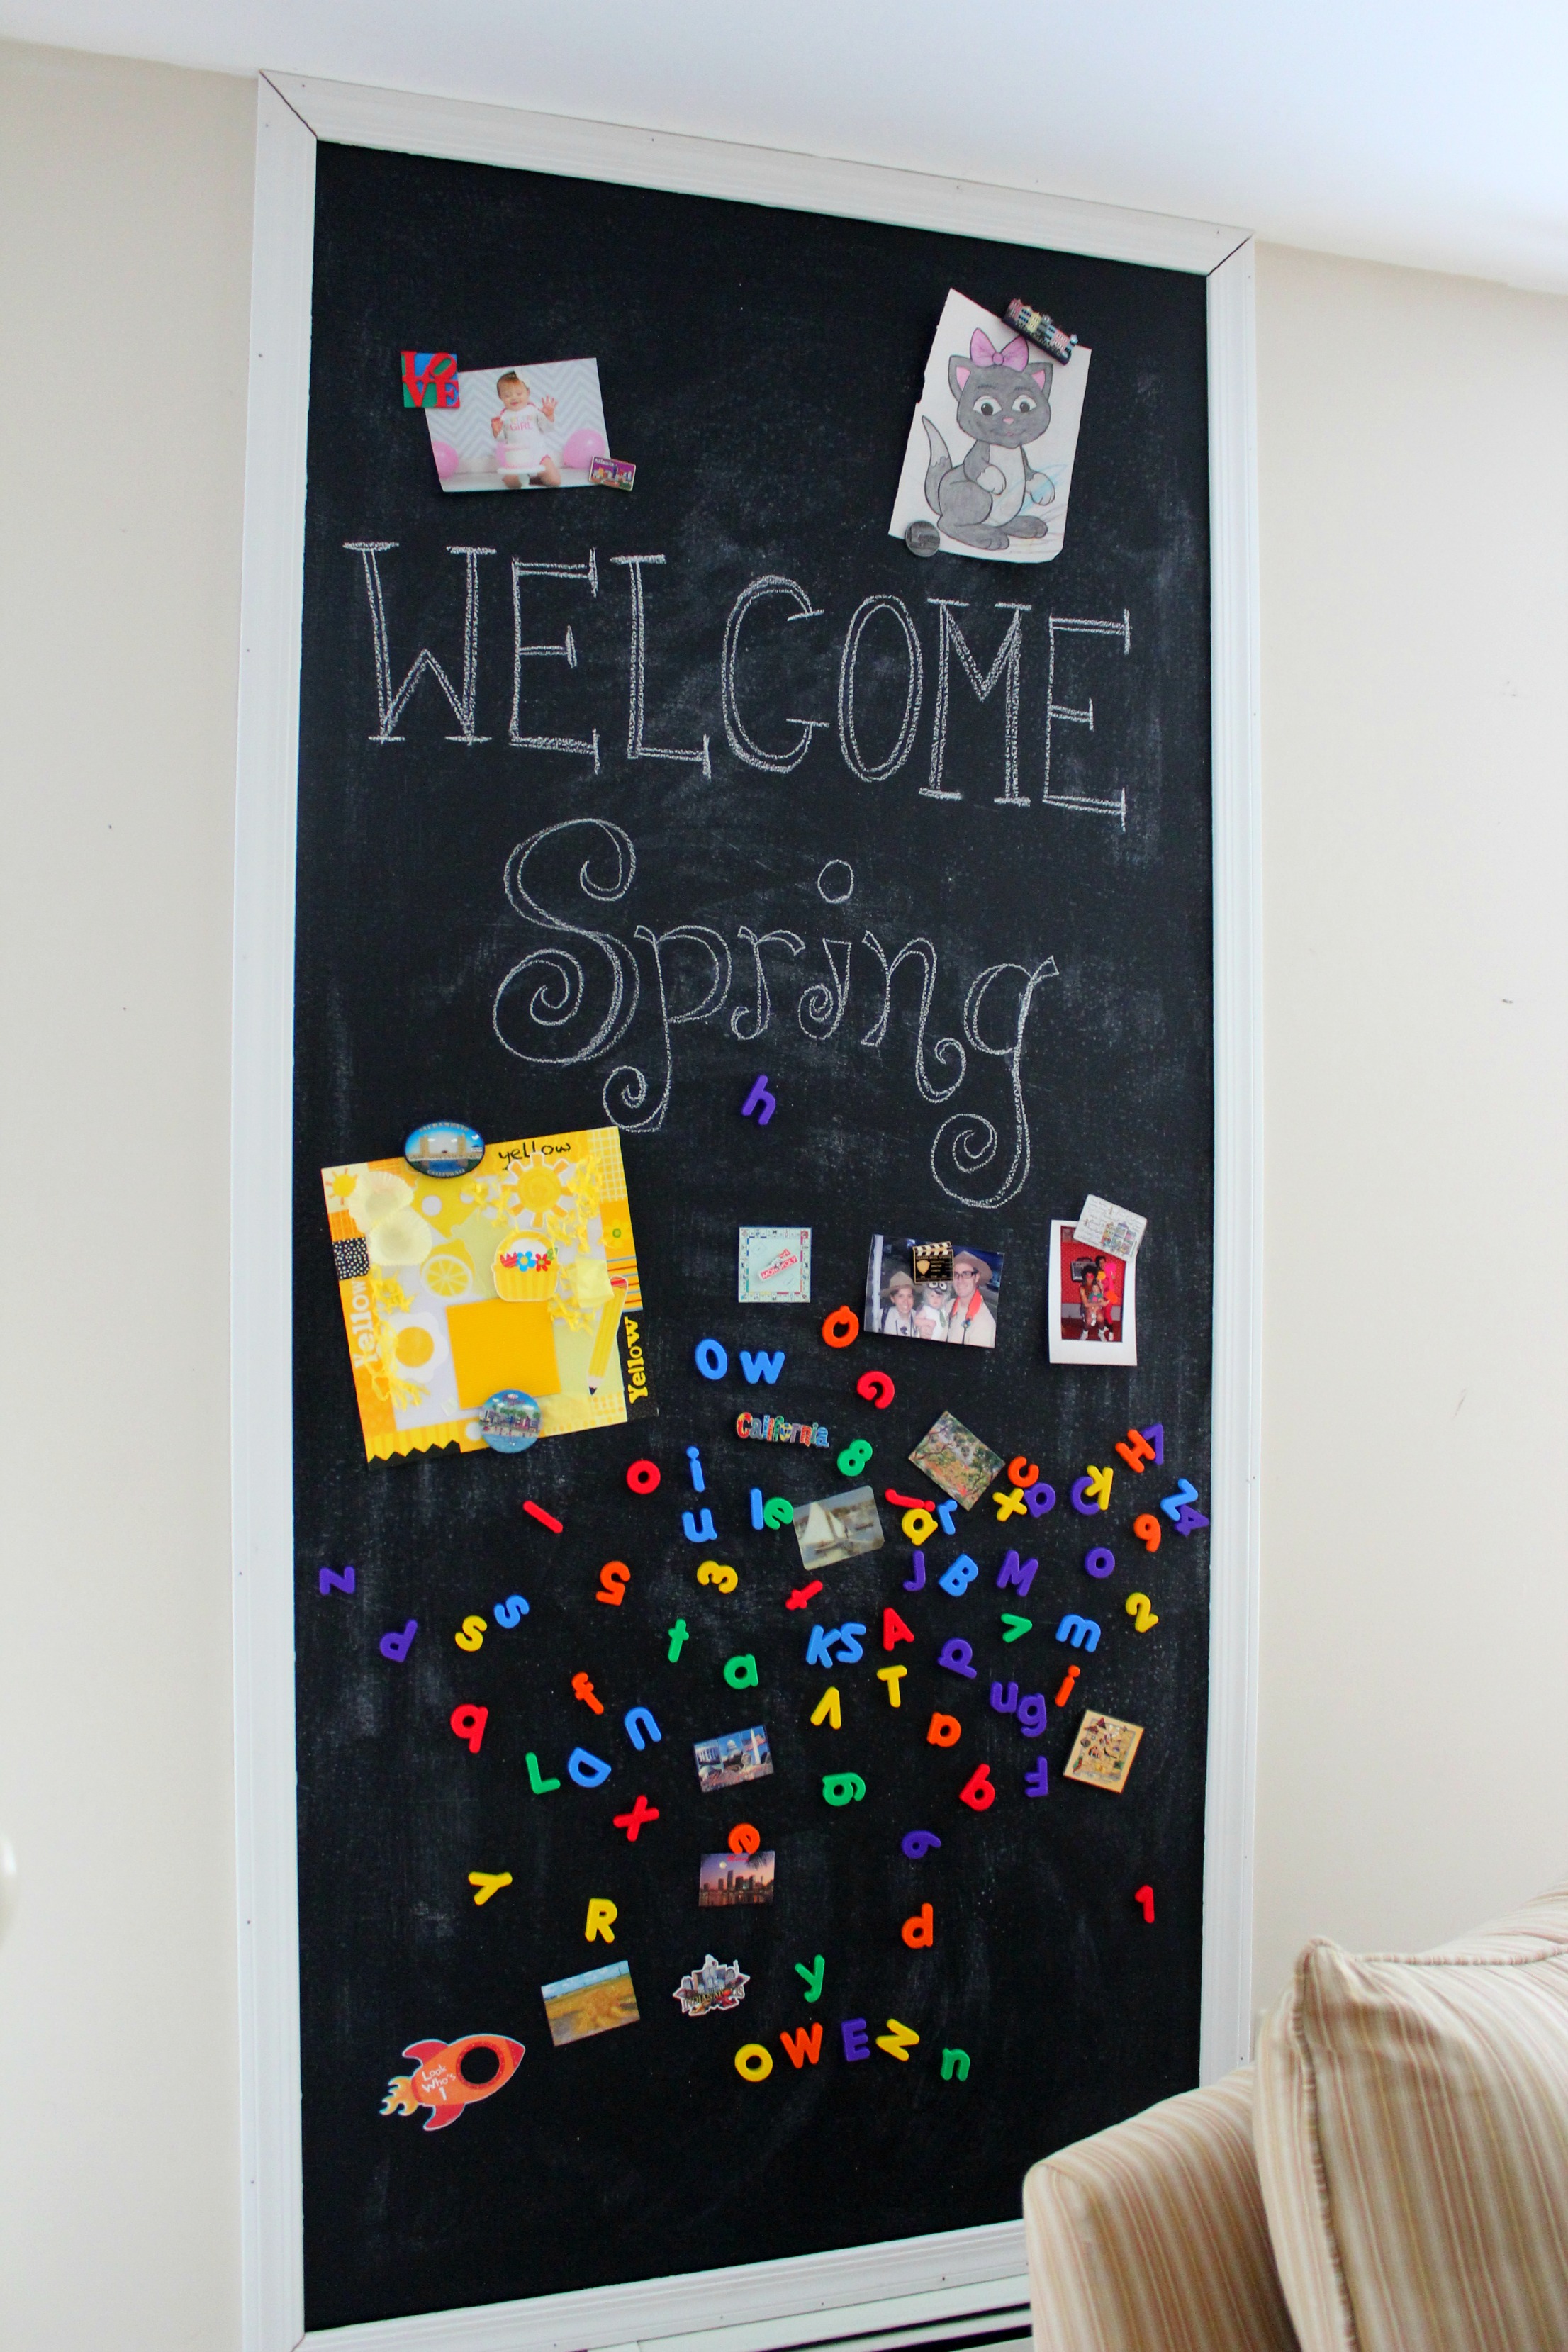
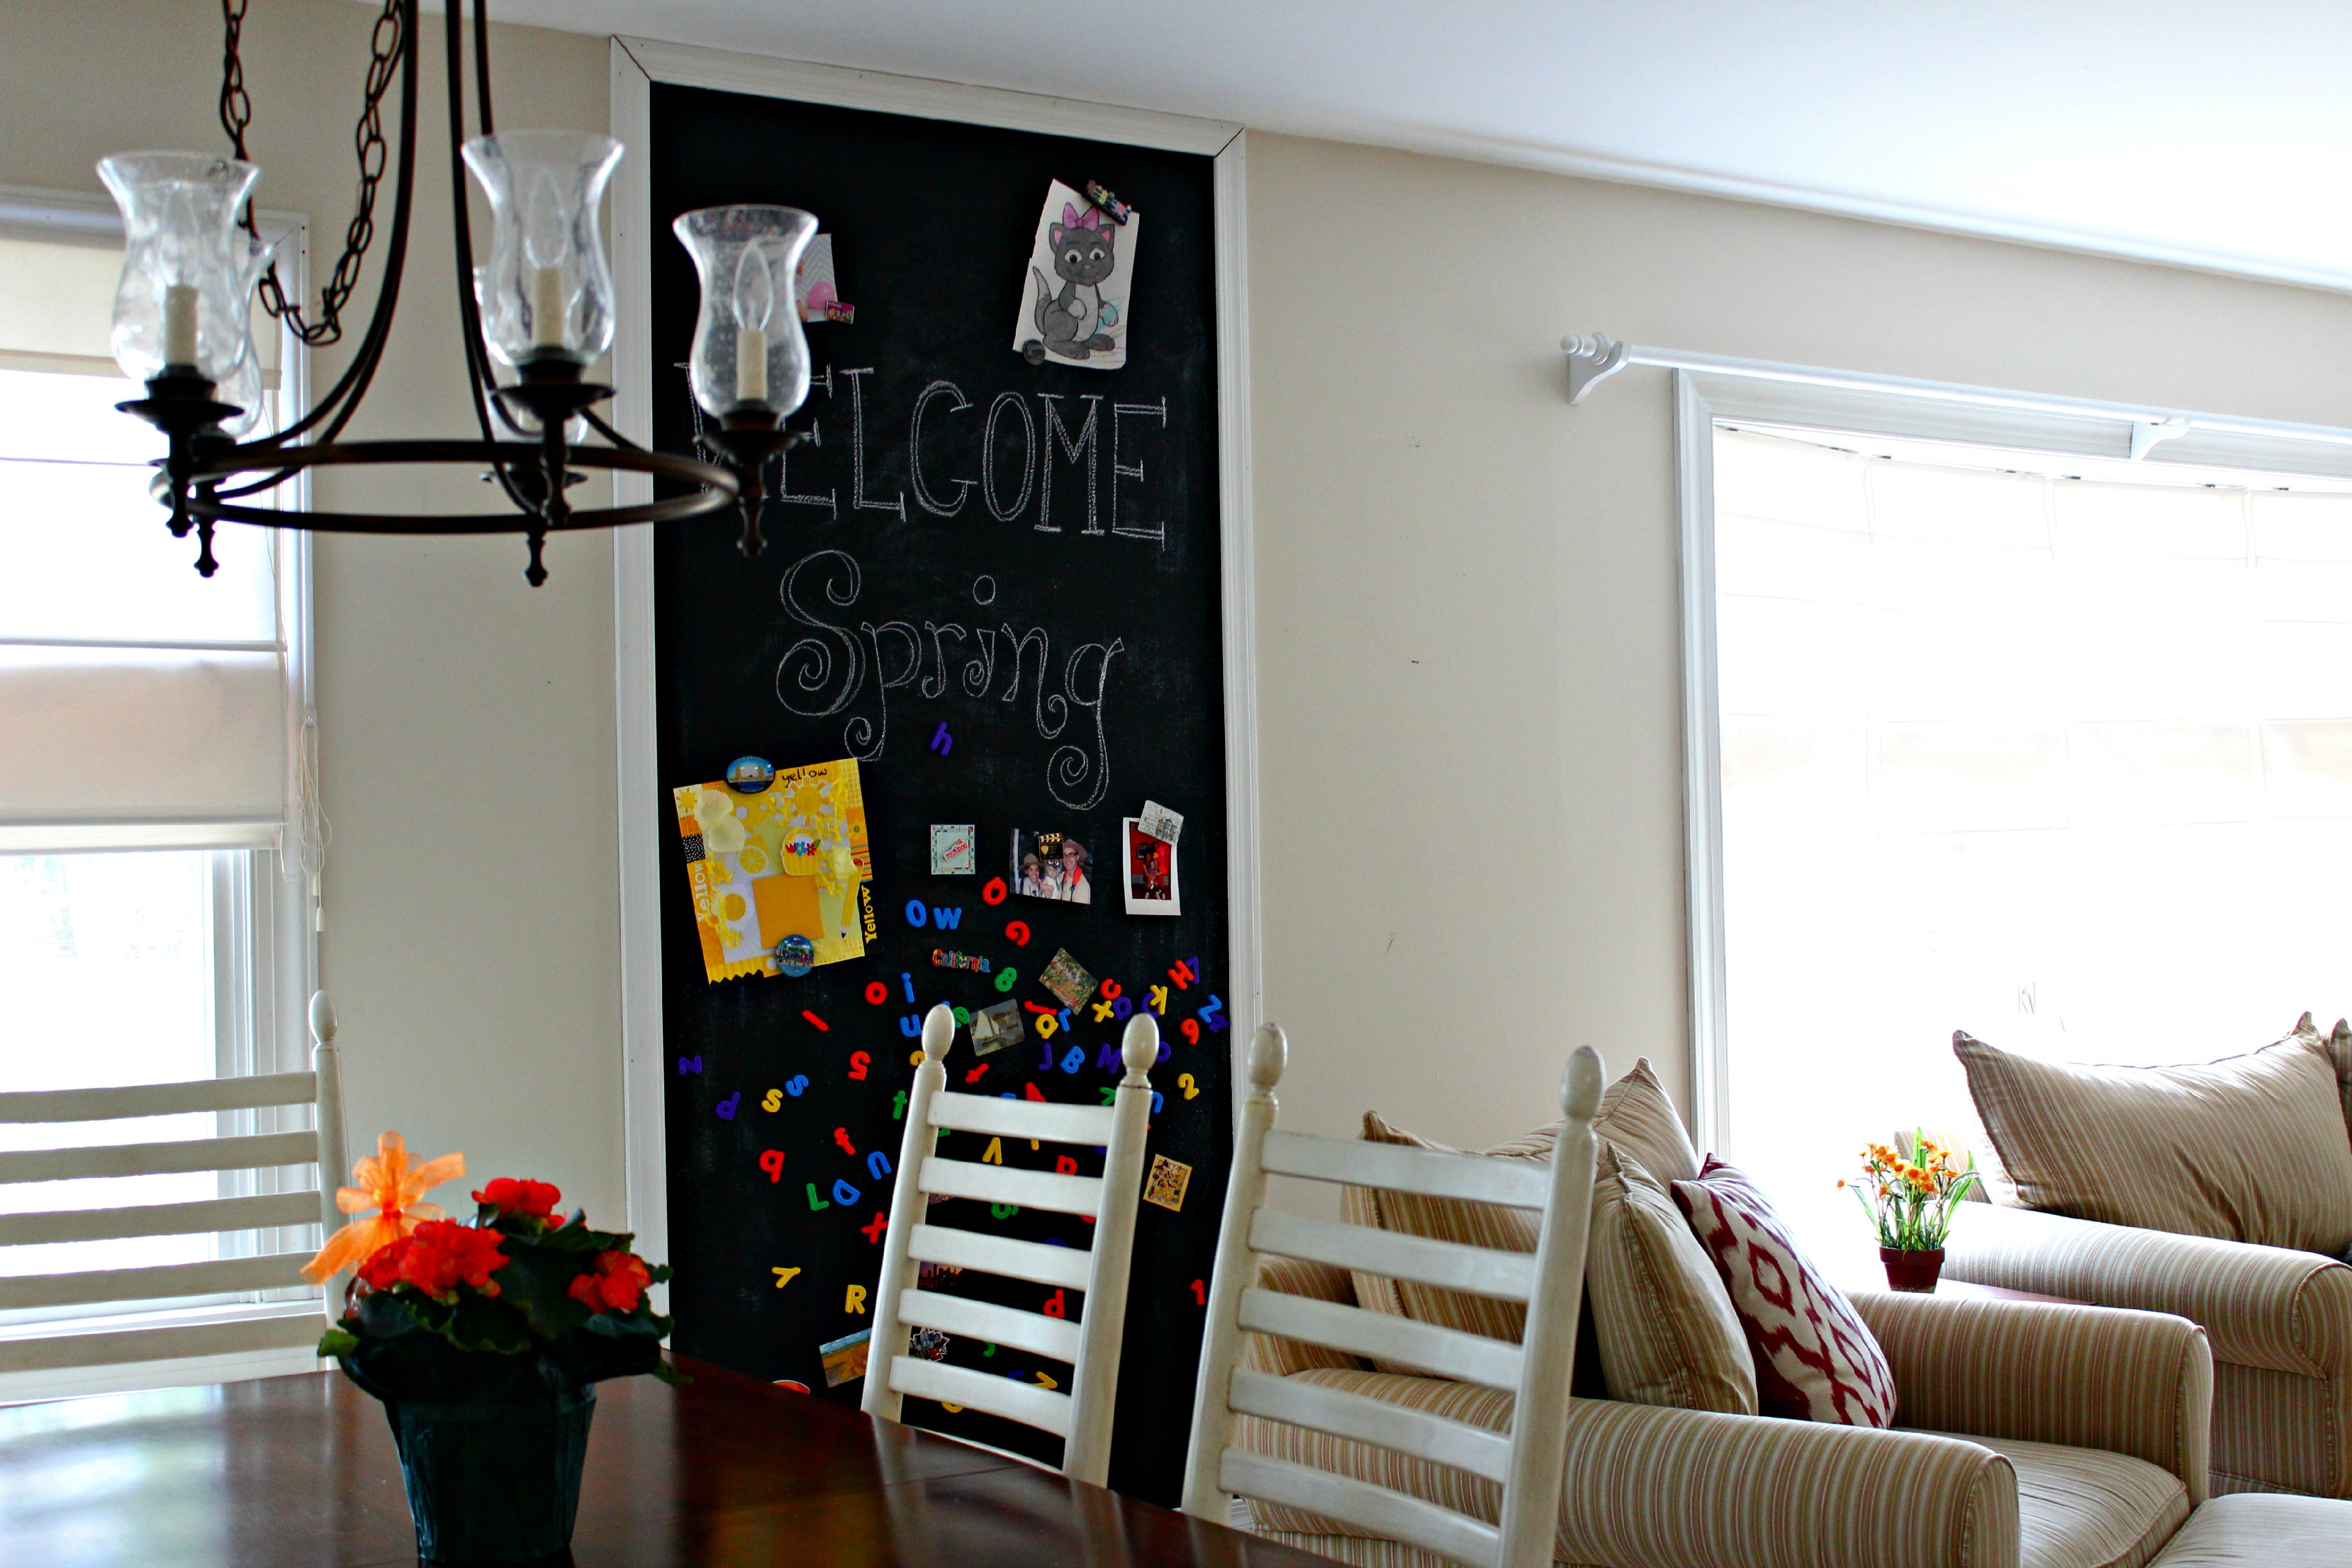
Disclaimer: The beautifully colored cat displayed in the top corner of the chalkboard wall was not done by Owen (obviously). That was all Richard.
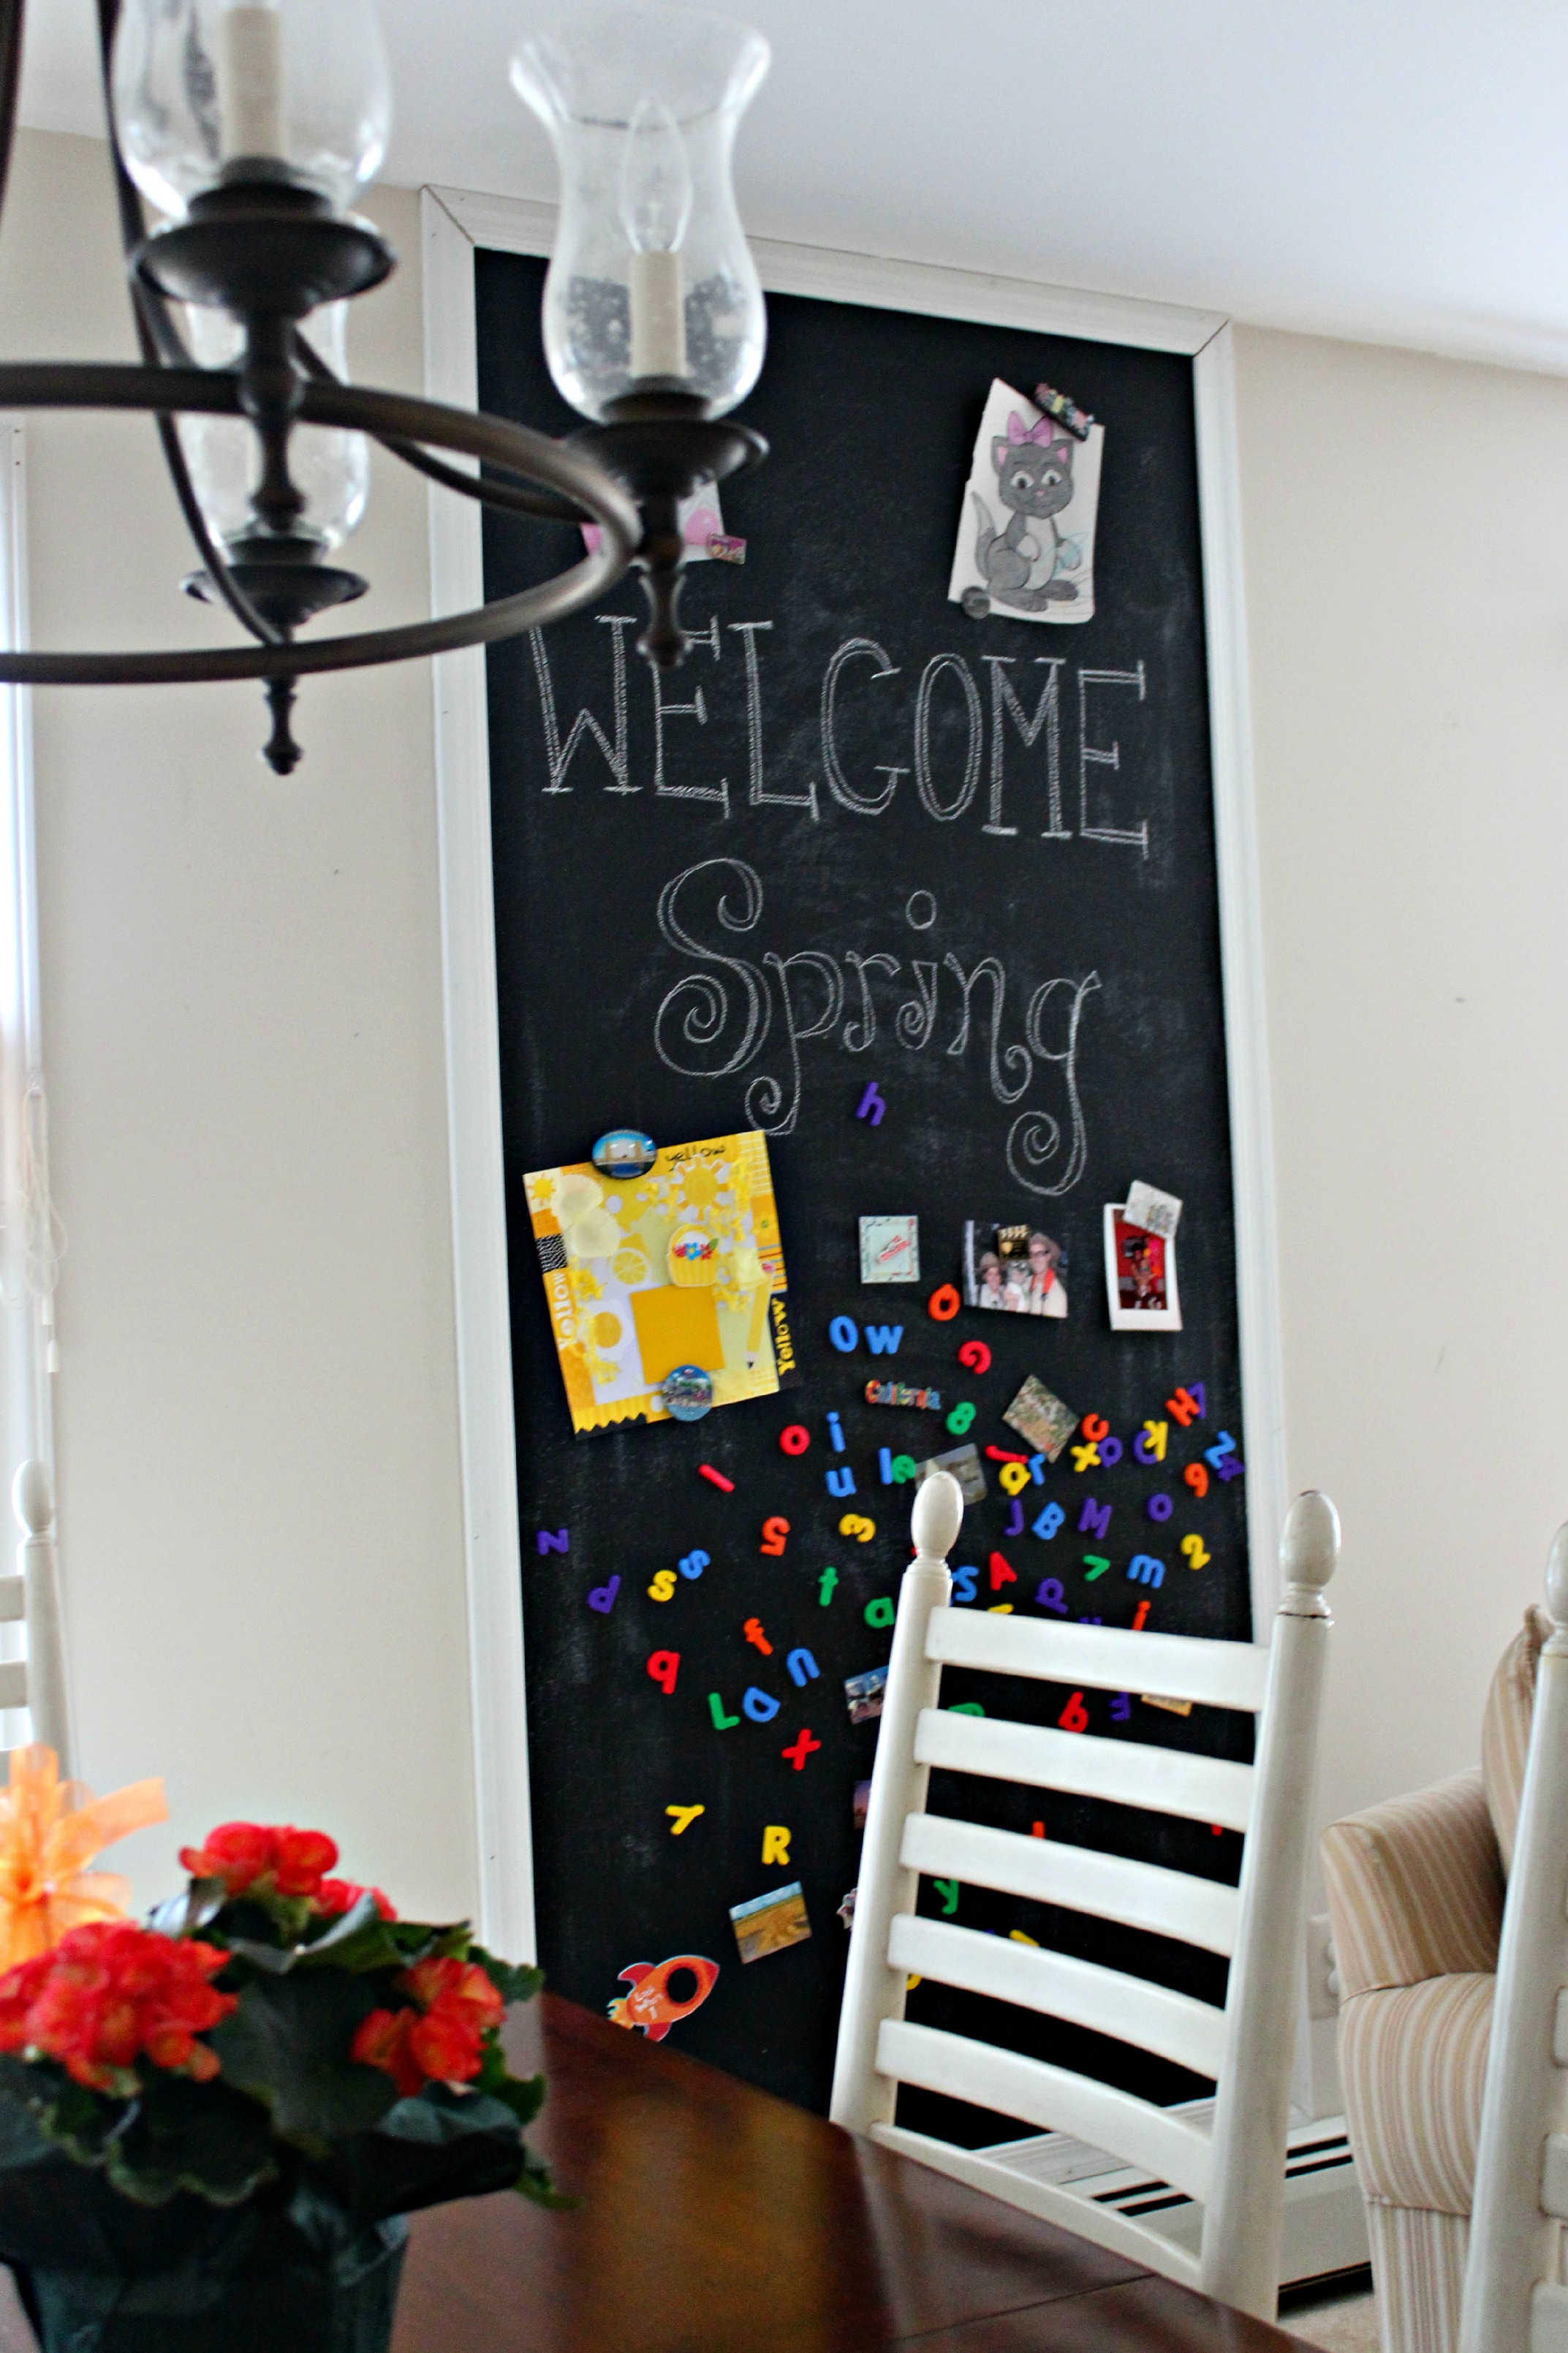
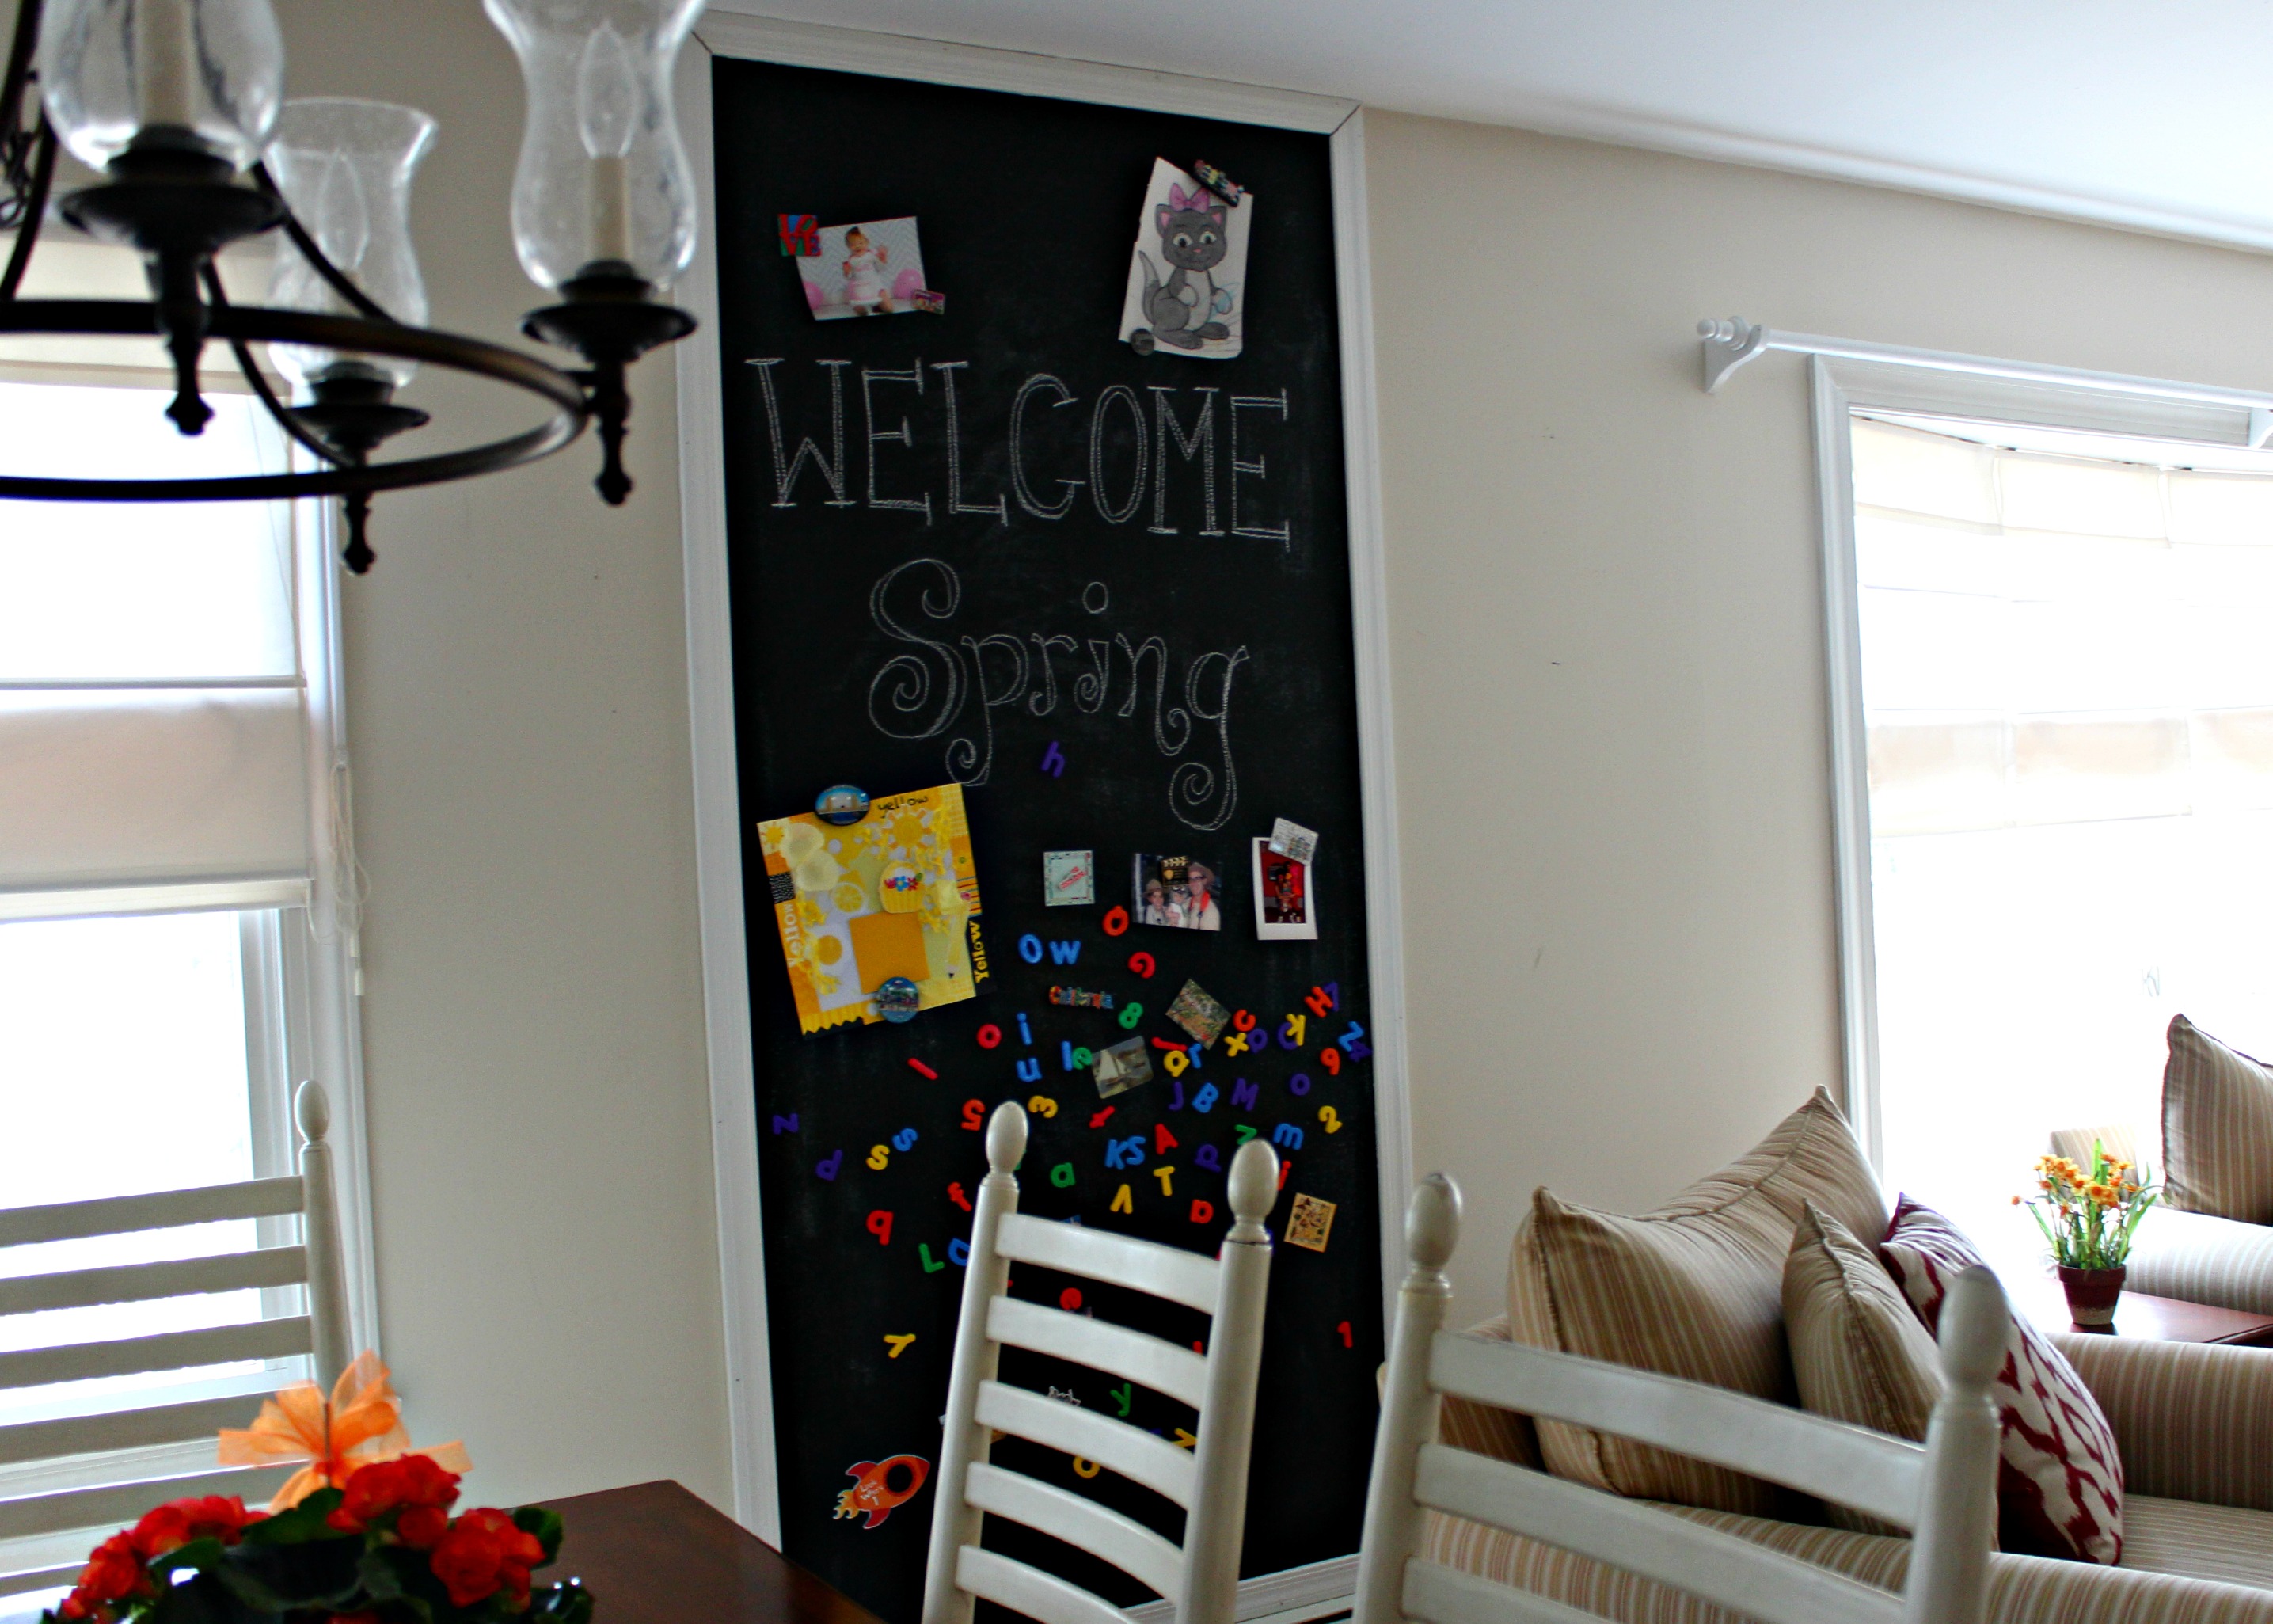
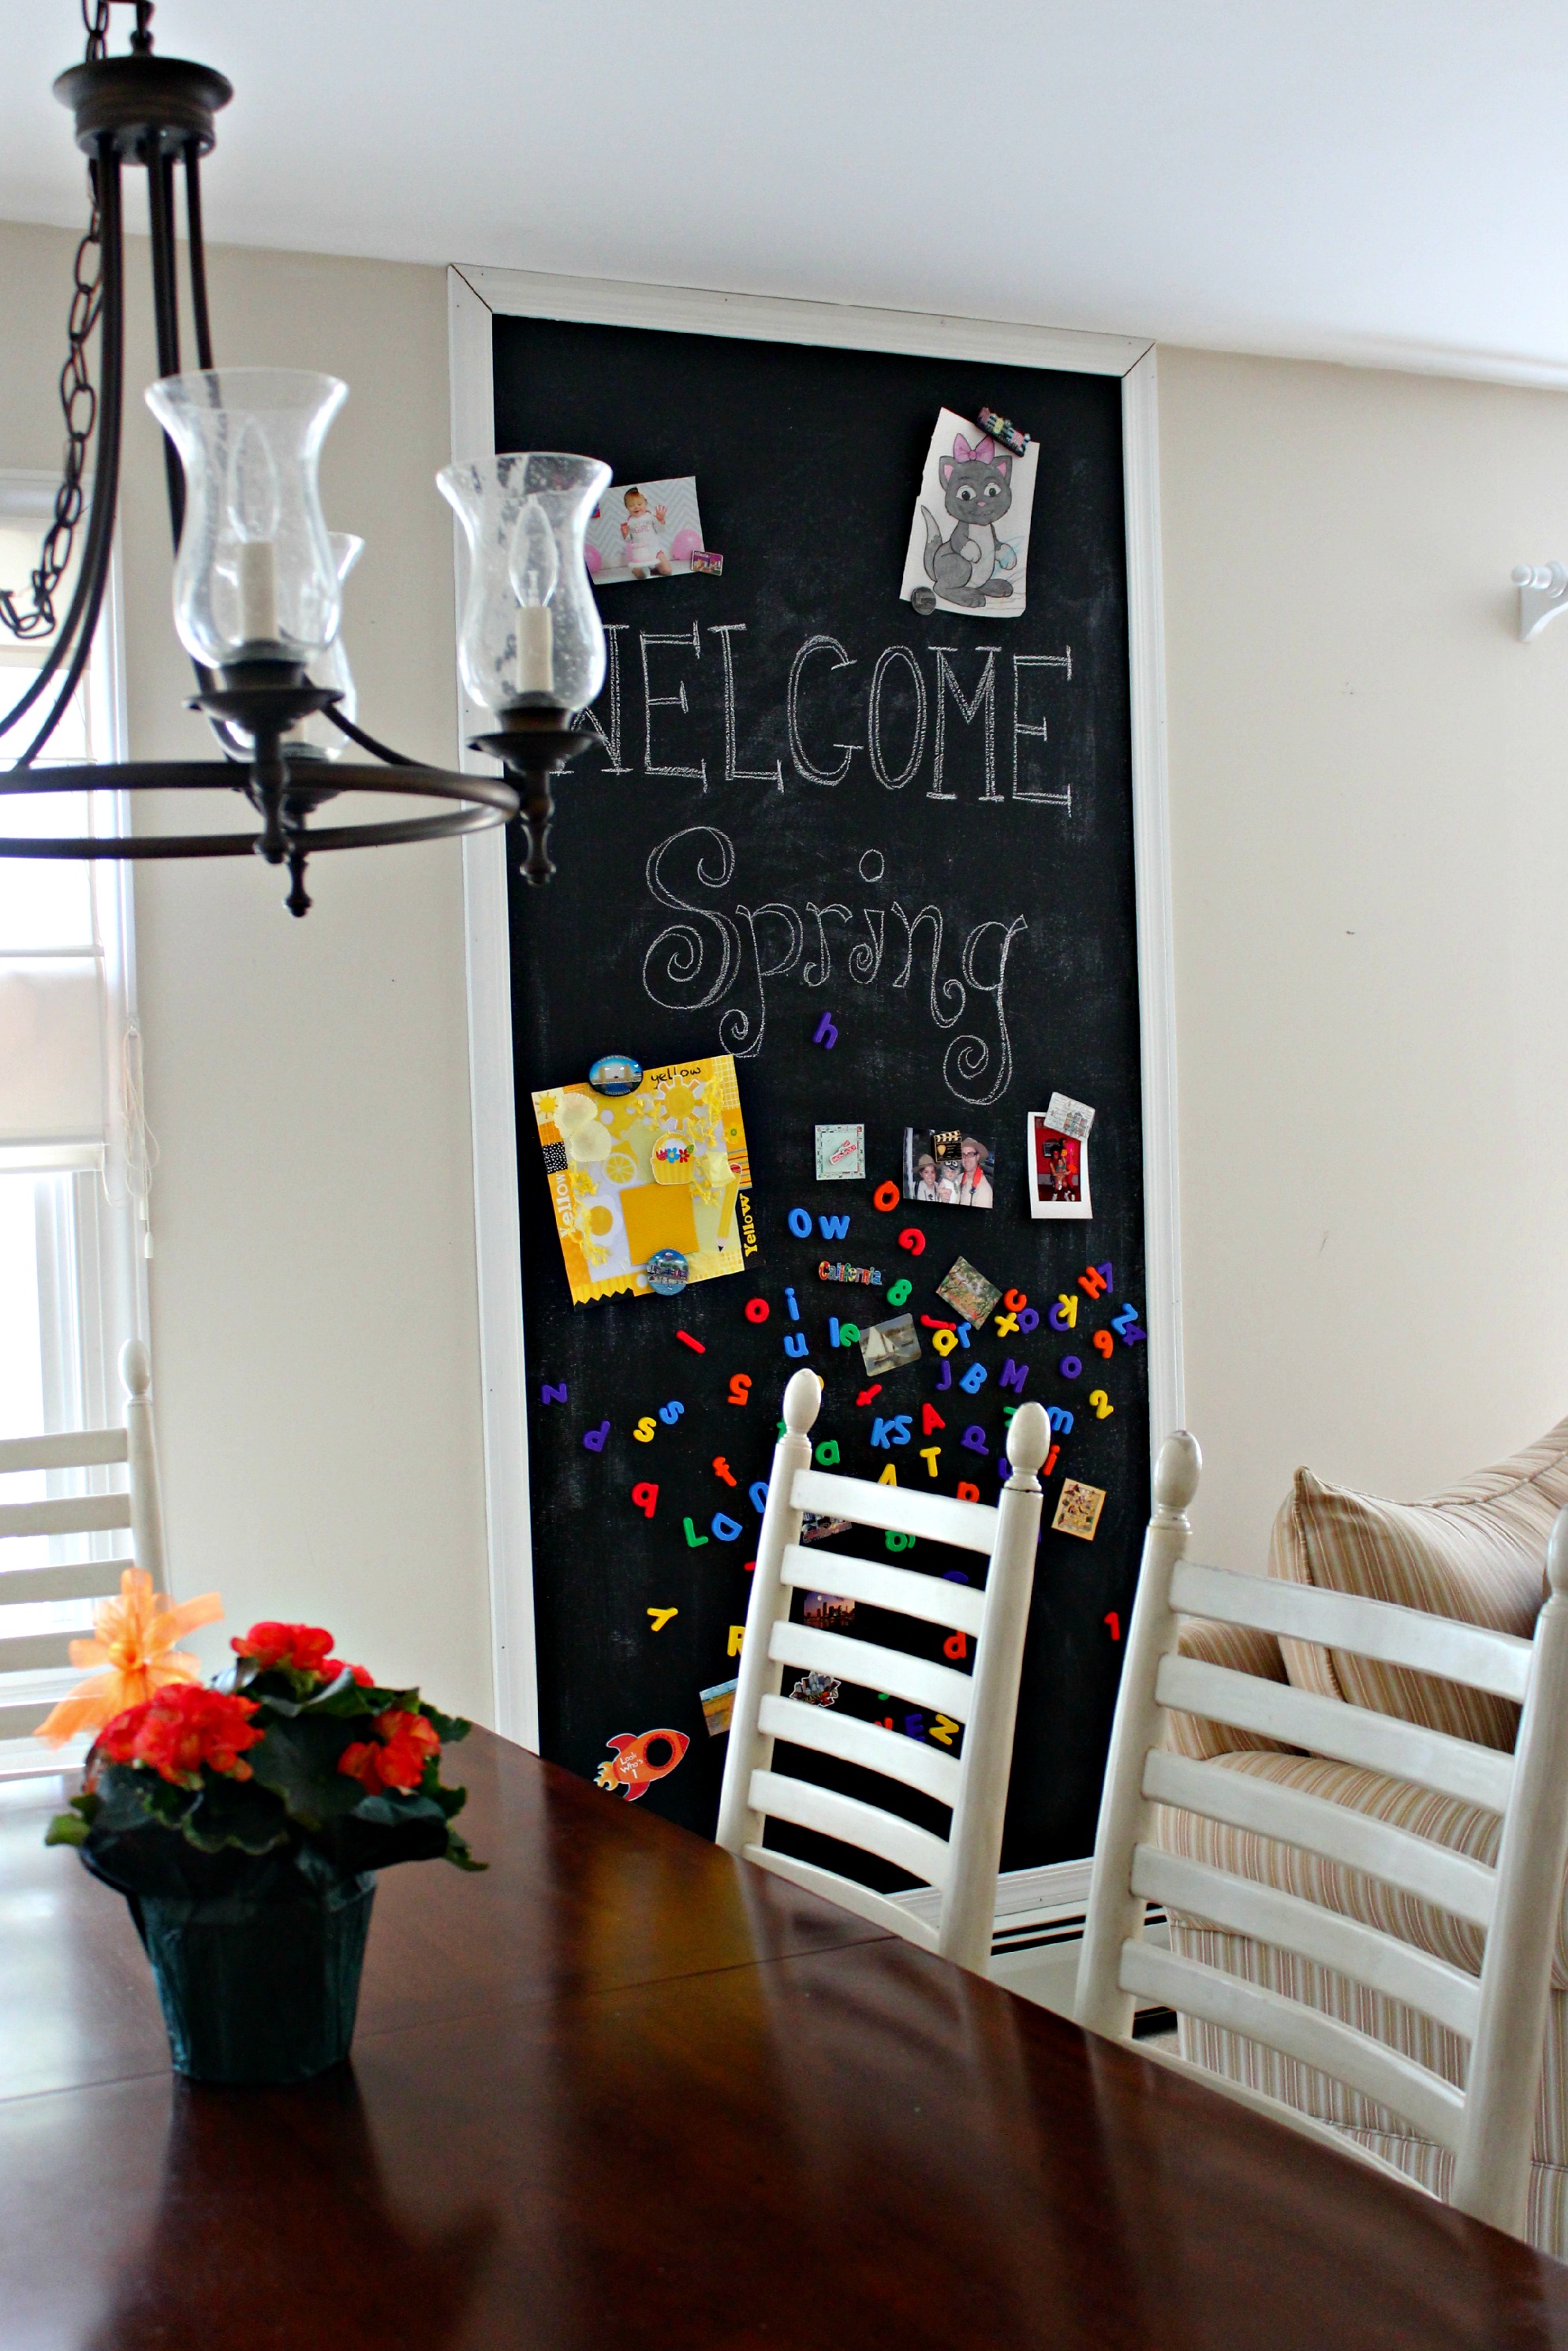
Really adds to the room, right? When Owen first saw it, he said “Whoa!” This project was definitely worth the effort and Richard gets another A+ for making my vision a reality!

Love It! Great job, Richard. Louisa is keeping you busy!! Just saw a program where they made a kitchen island with an old bureau and used the chalkboard paint on one side. They mentioned that you had to rub chalk all over it before using. Never realized you needed to do that.
Thank you!
Richard, you are becoming very handy! Nice job!!
Mom
We used chalkboard paint (https://www.magnet-shop.com/office-education/chalkboard-paint/2138/color-for-school-blackboard-dupli-color-for-3-m2-375-ml-can?number=STF-375.00001) in our kitchen on a cupboard door, we love it. It is practical and pretty:-)
Shopping lists, reminders and notes can find their place there.