I always like to add extra details to invitations. One of my favorite things for an invitation is a cute envelope liner. The inside of the envelope is really the first thing people see when they open an invitation, so why not make it look special?
The first time I decided to use envelope liners, I made the mistake of ordering pre-made liners online. They’re not cheap and I quickly realized they were something I could easily do myself. And you can too!
Not only do you save money, but you can also be as creative as you want to be when you make your own. You can use gift wrap, book pages, newspapers, and more. Any paper will work! It can take your invitation design to a whole new level.
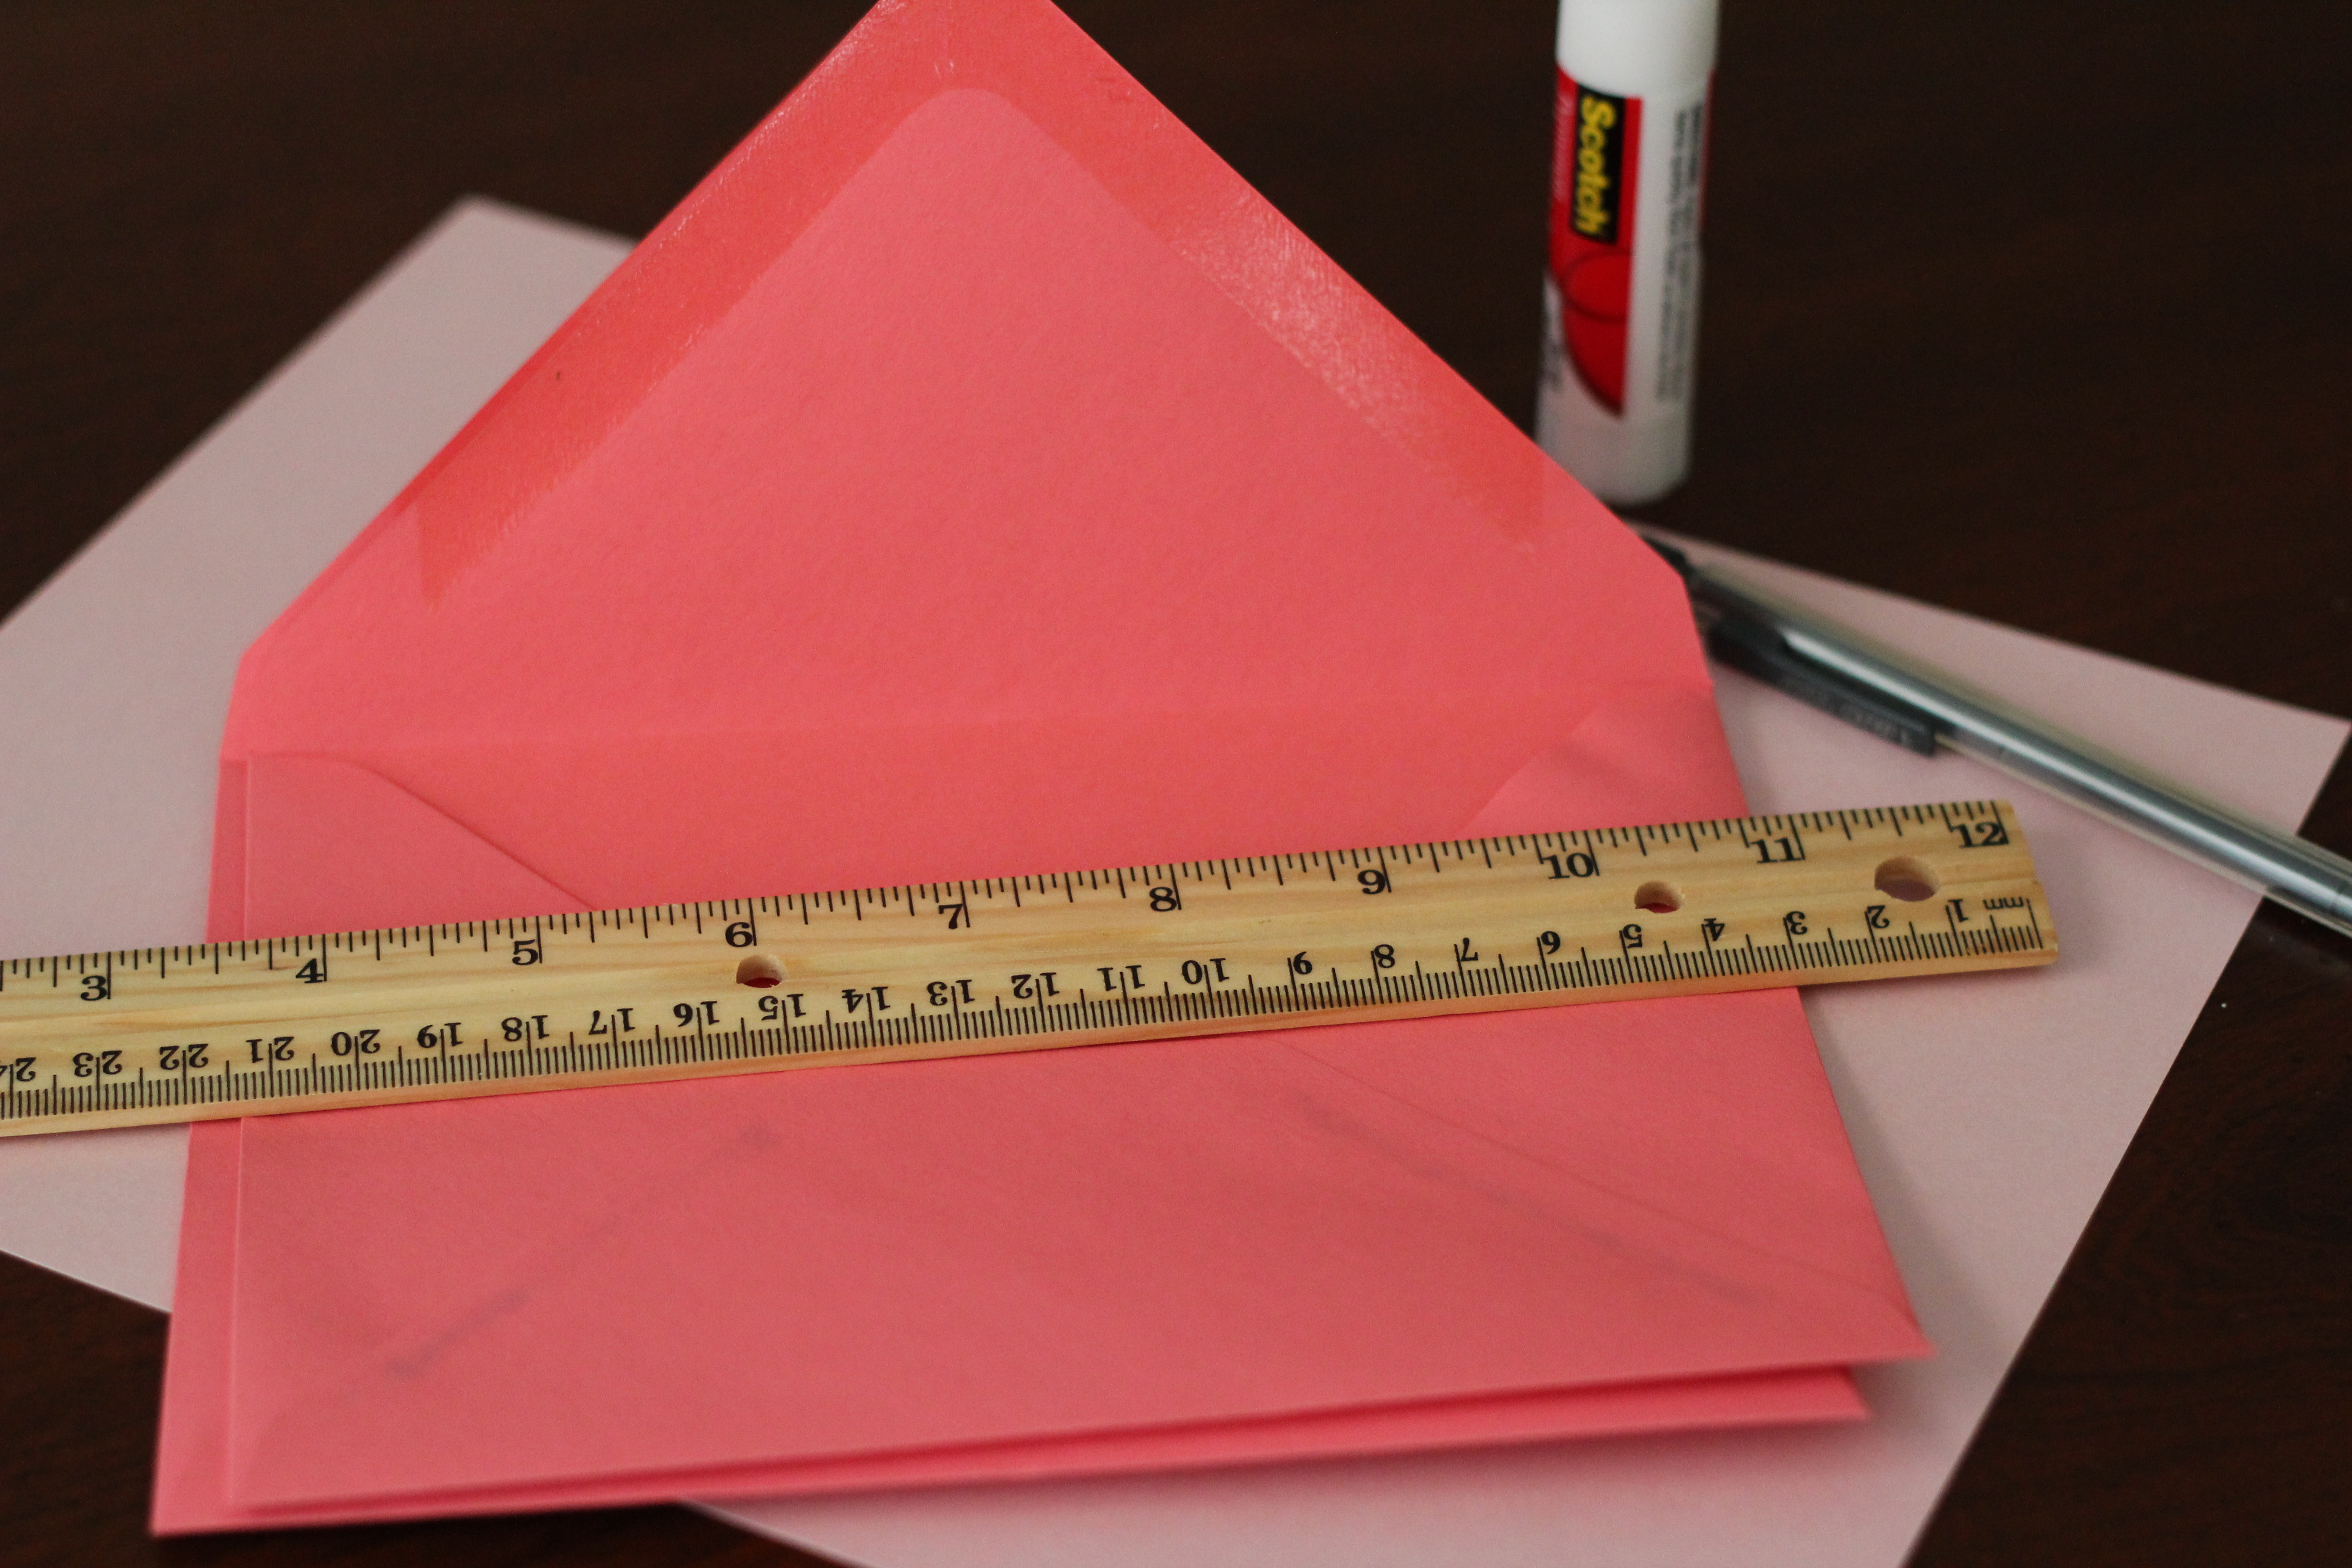
Here’s what you’ll need to make DIY envelope liners:
Envelopes (obviously)
Paper of your choice
Scissors
Pencil
Ruler
Glue stick
And here’s how you make them:
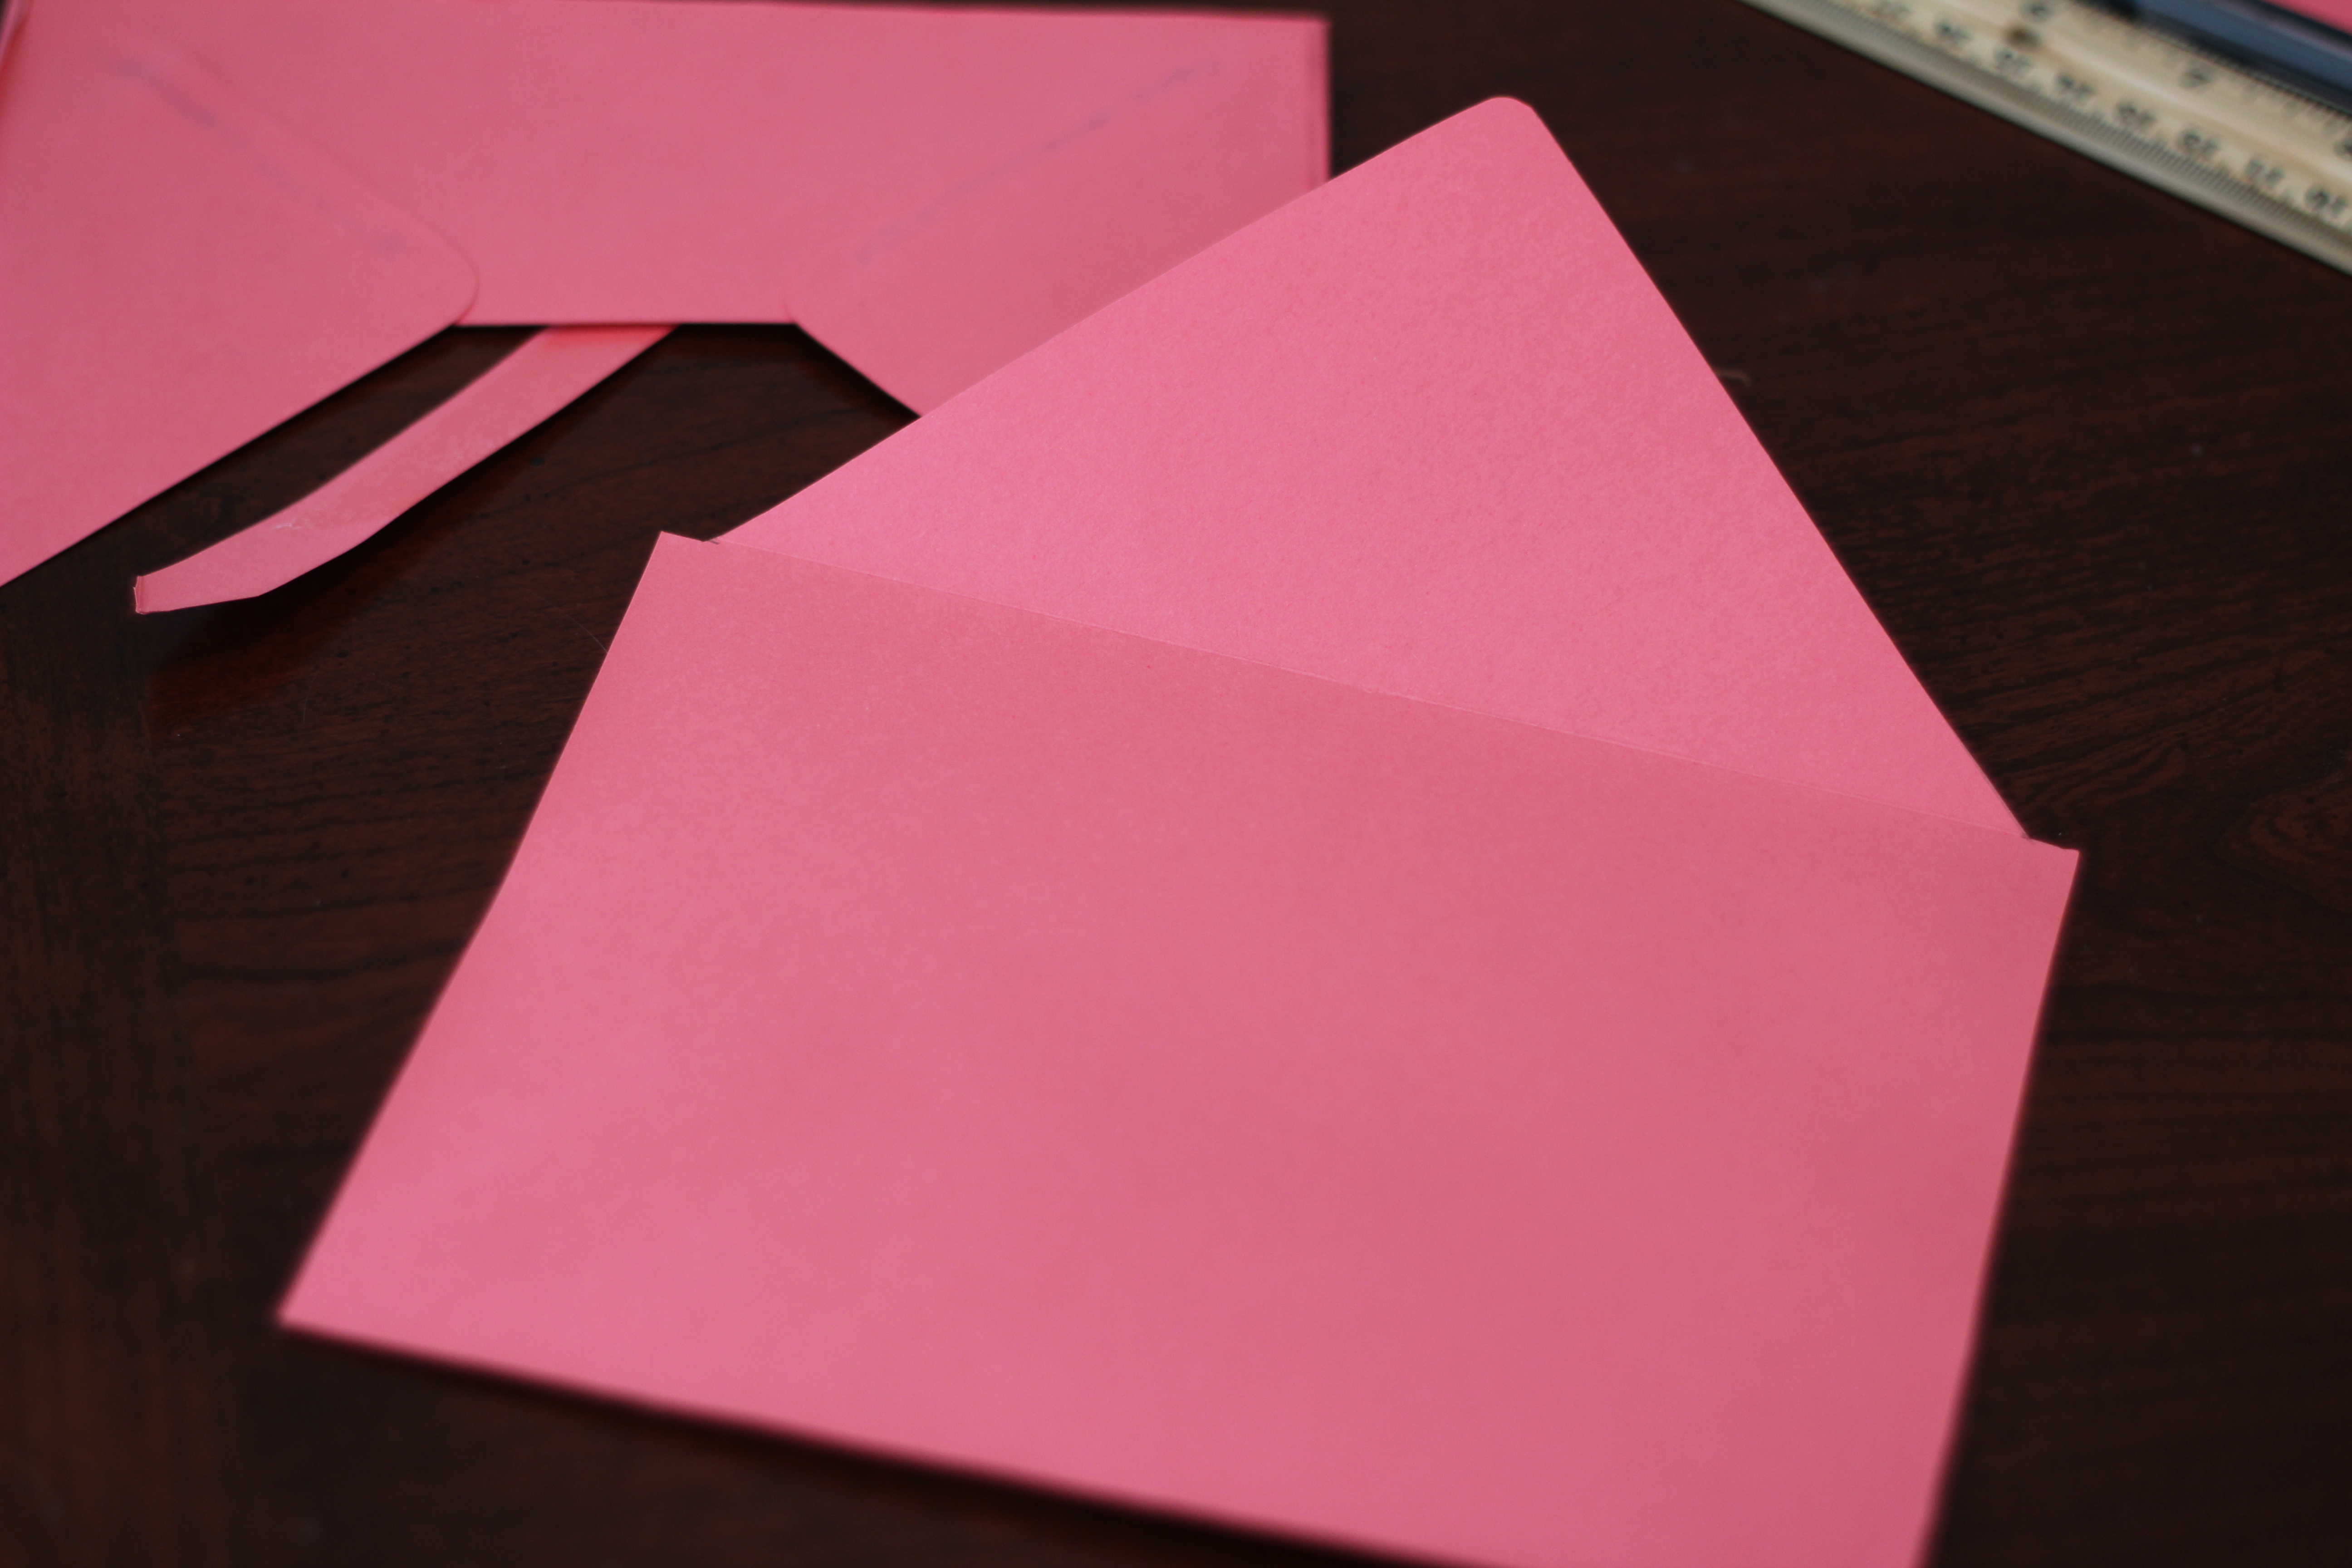
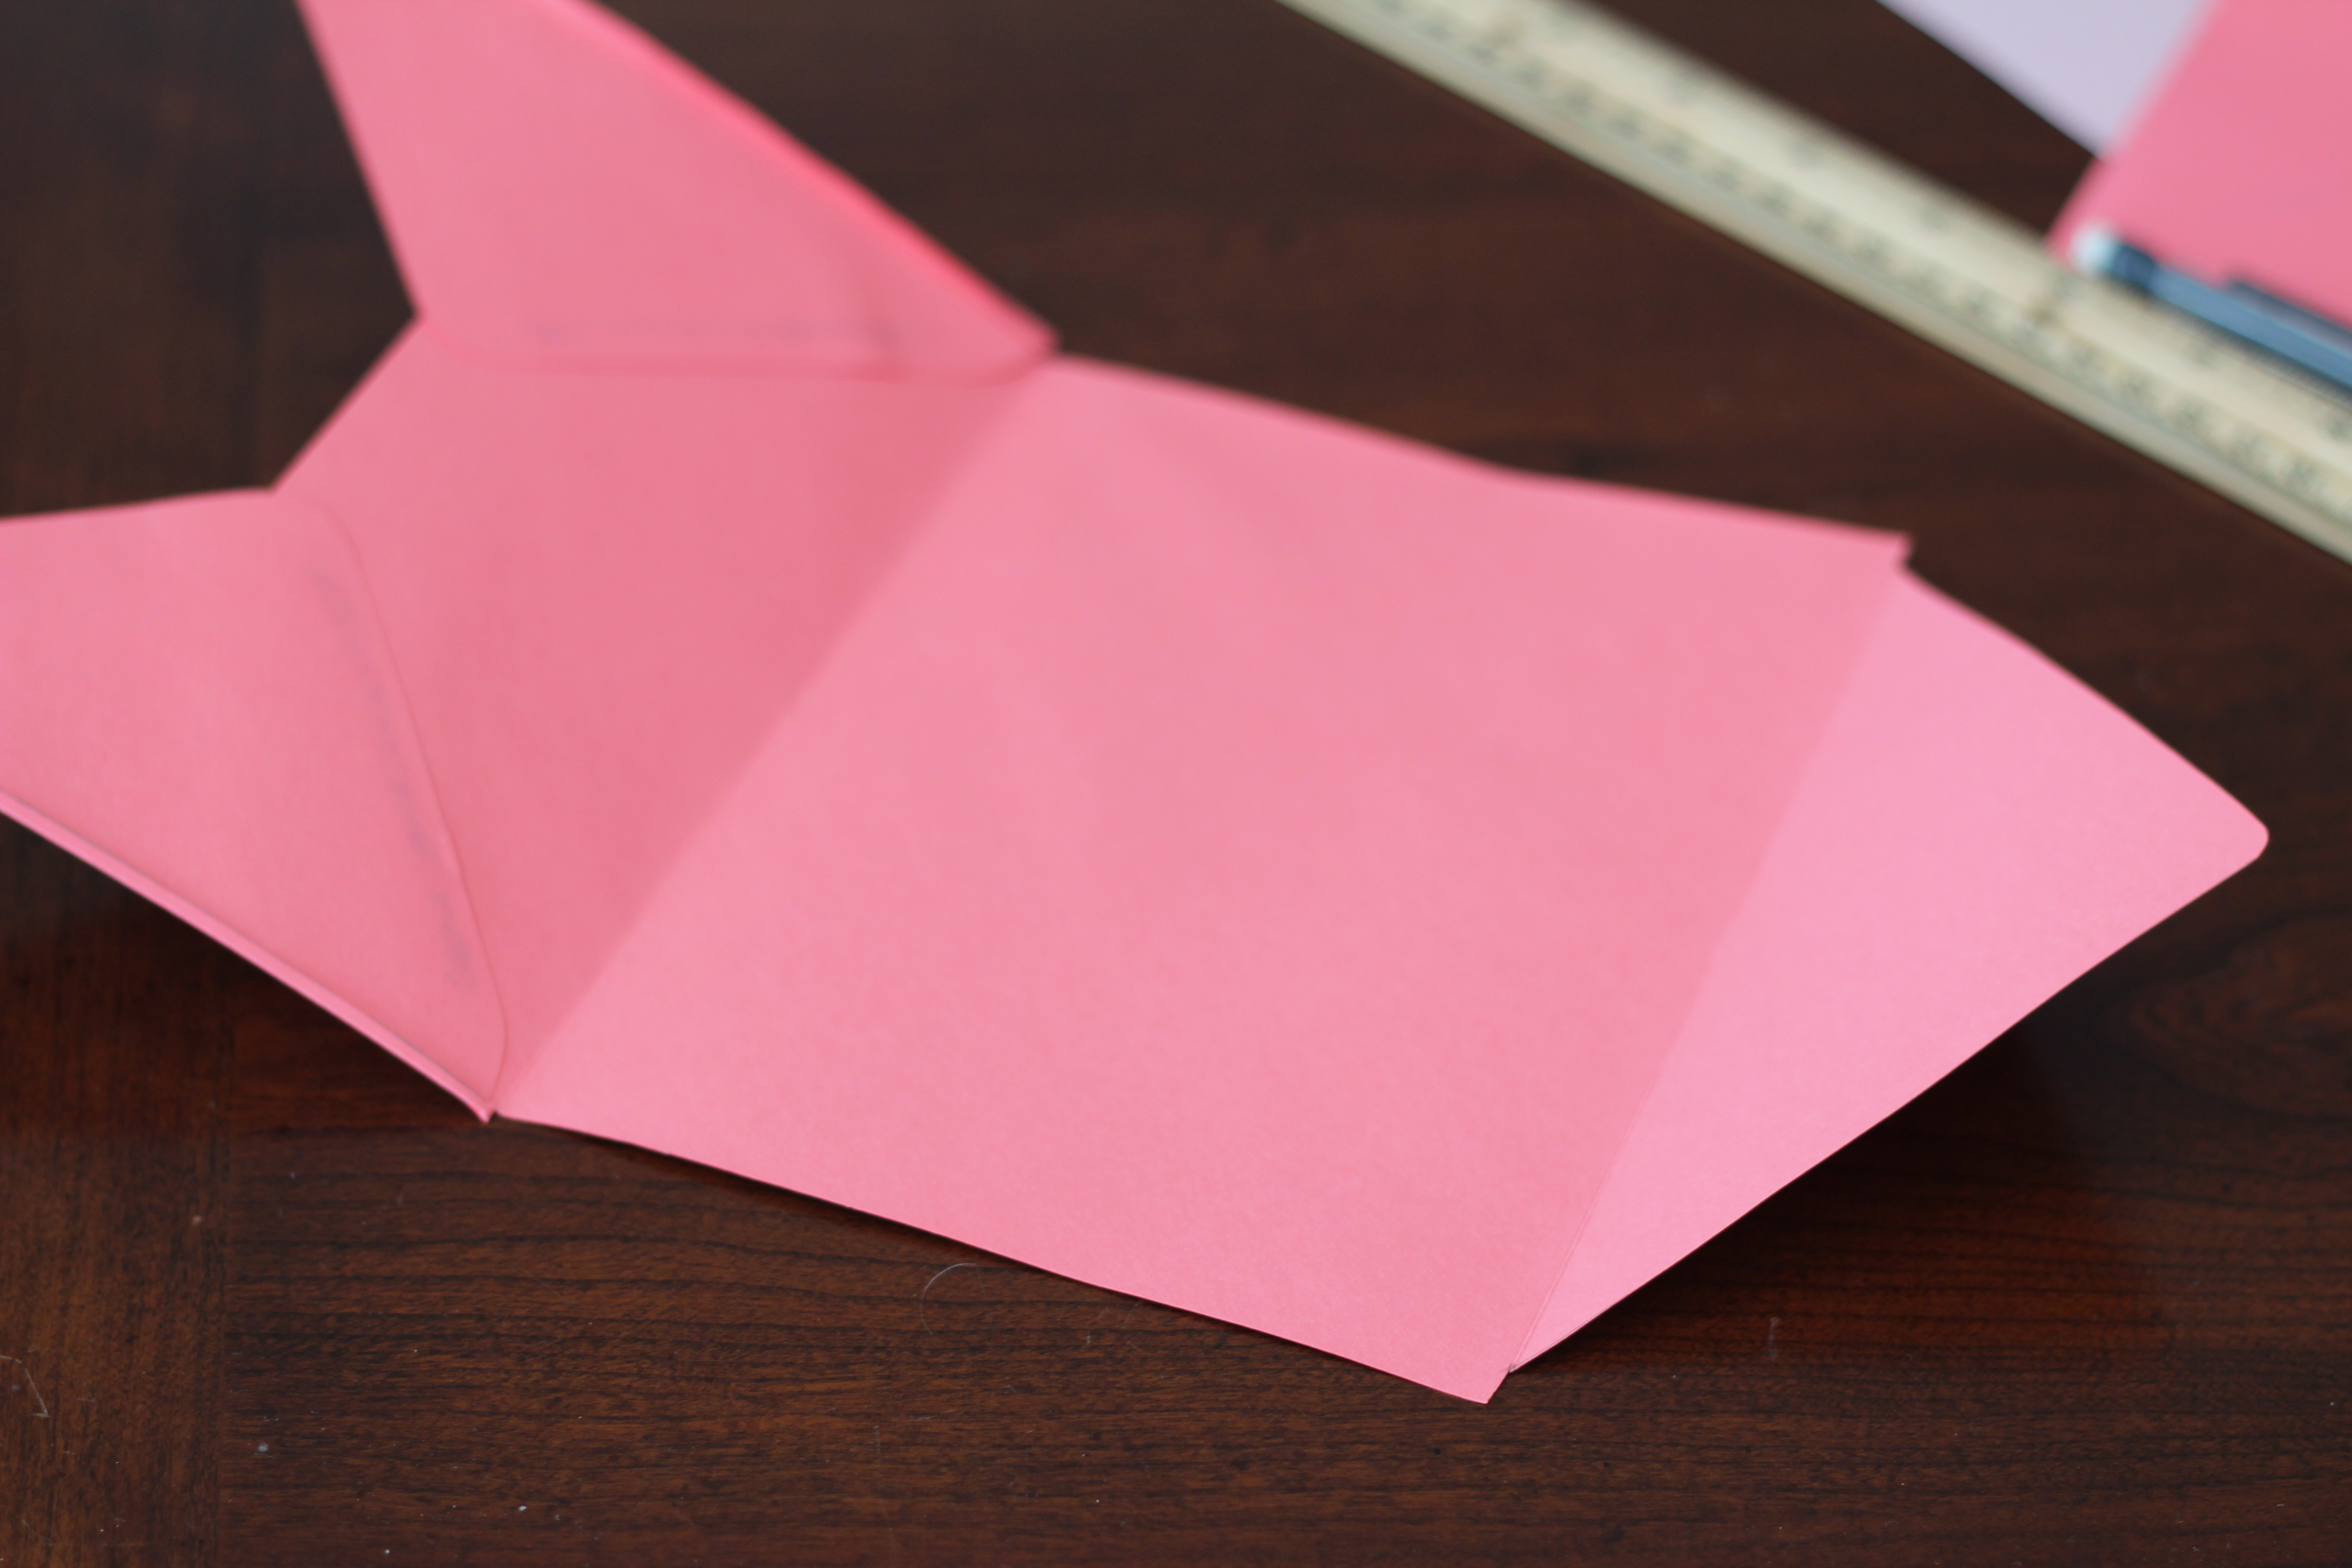
First, you’ll need to make a template. The easiest way to do this is to use one of the envelopes. Using a ruler and a pencil, make the outline for your template on the envelope. Your template needs to be smaller than the envelope and you need to leave the seal area exposed. So make the template outline about a quarter of an inch away from the seal.
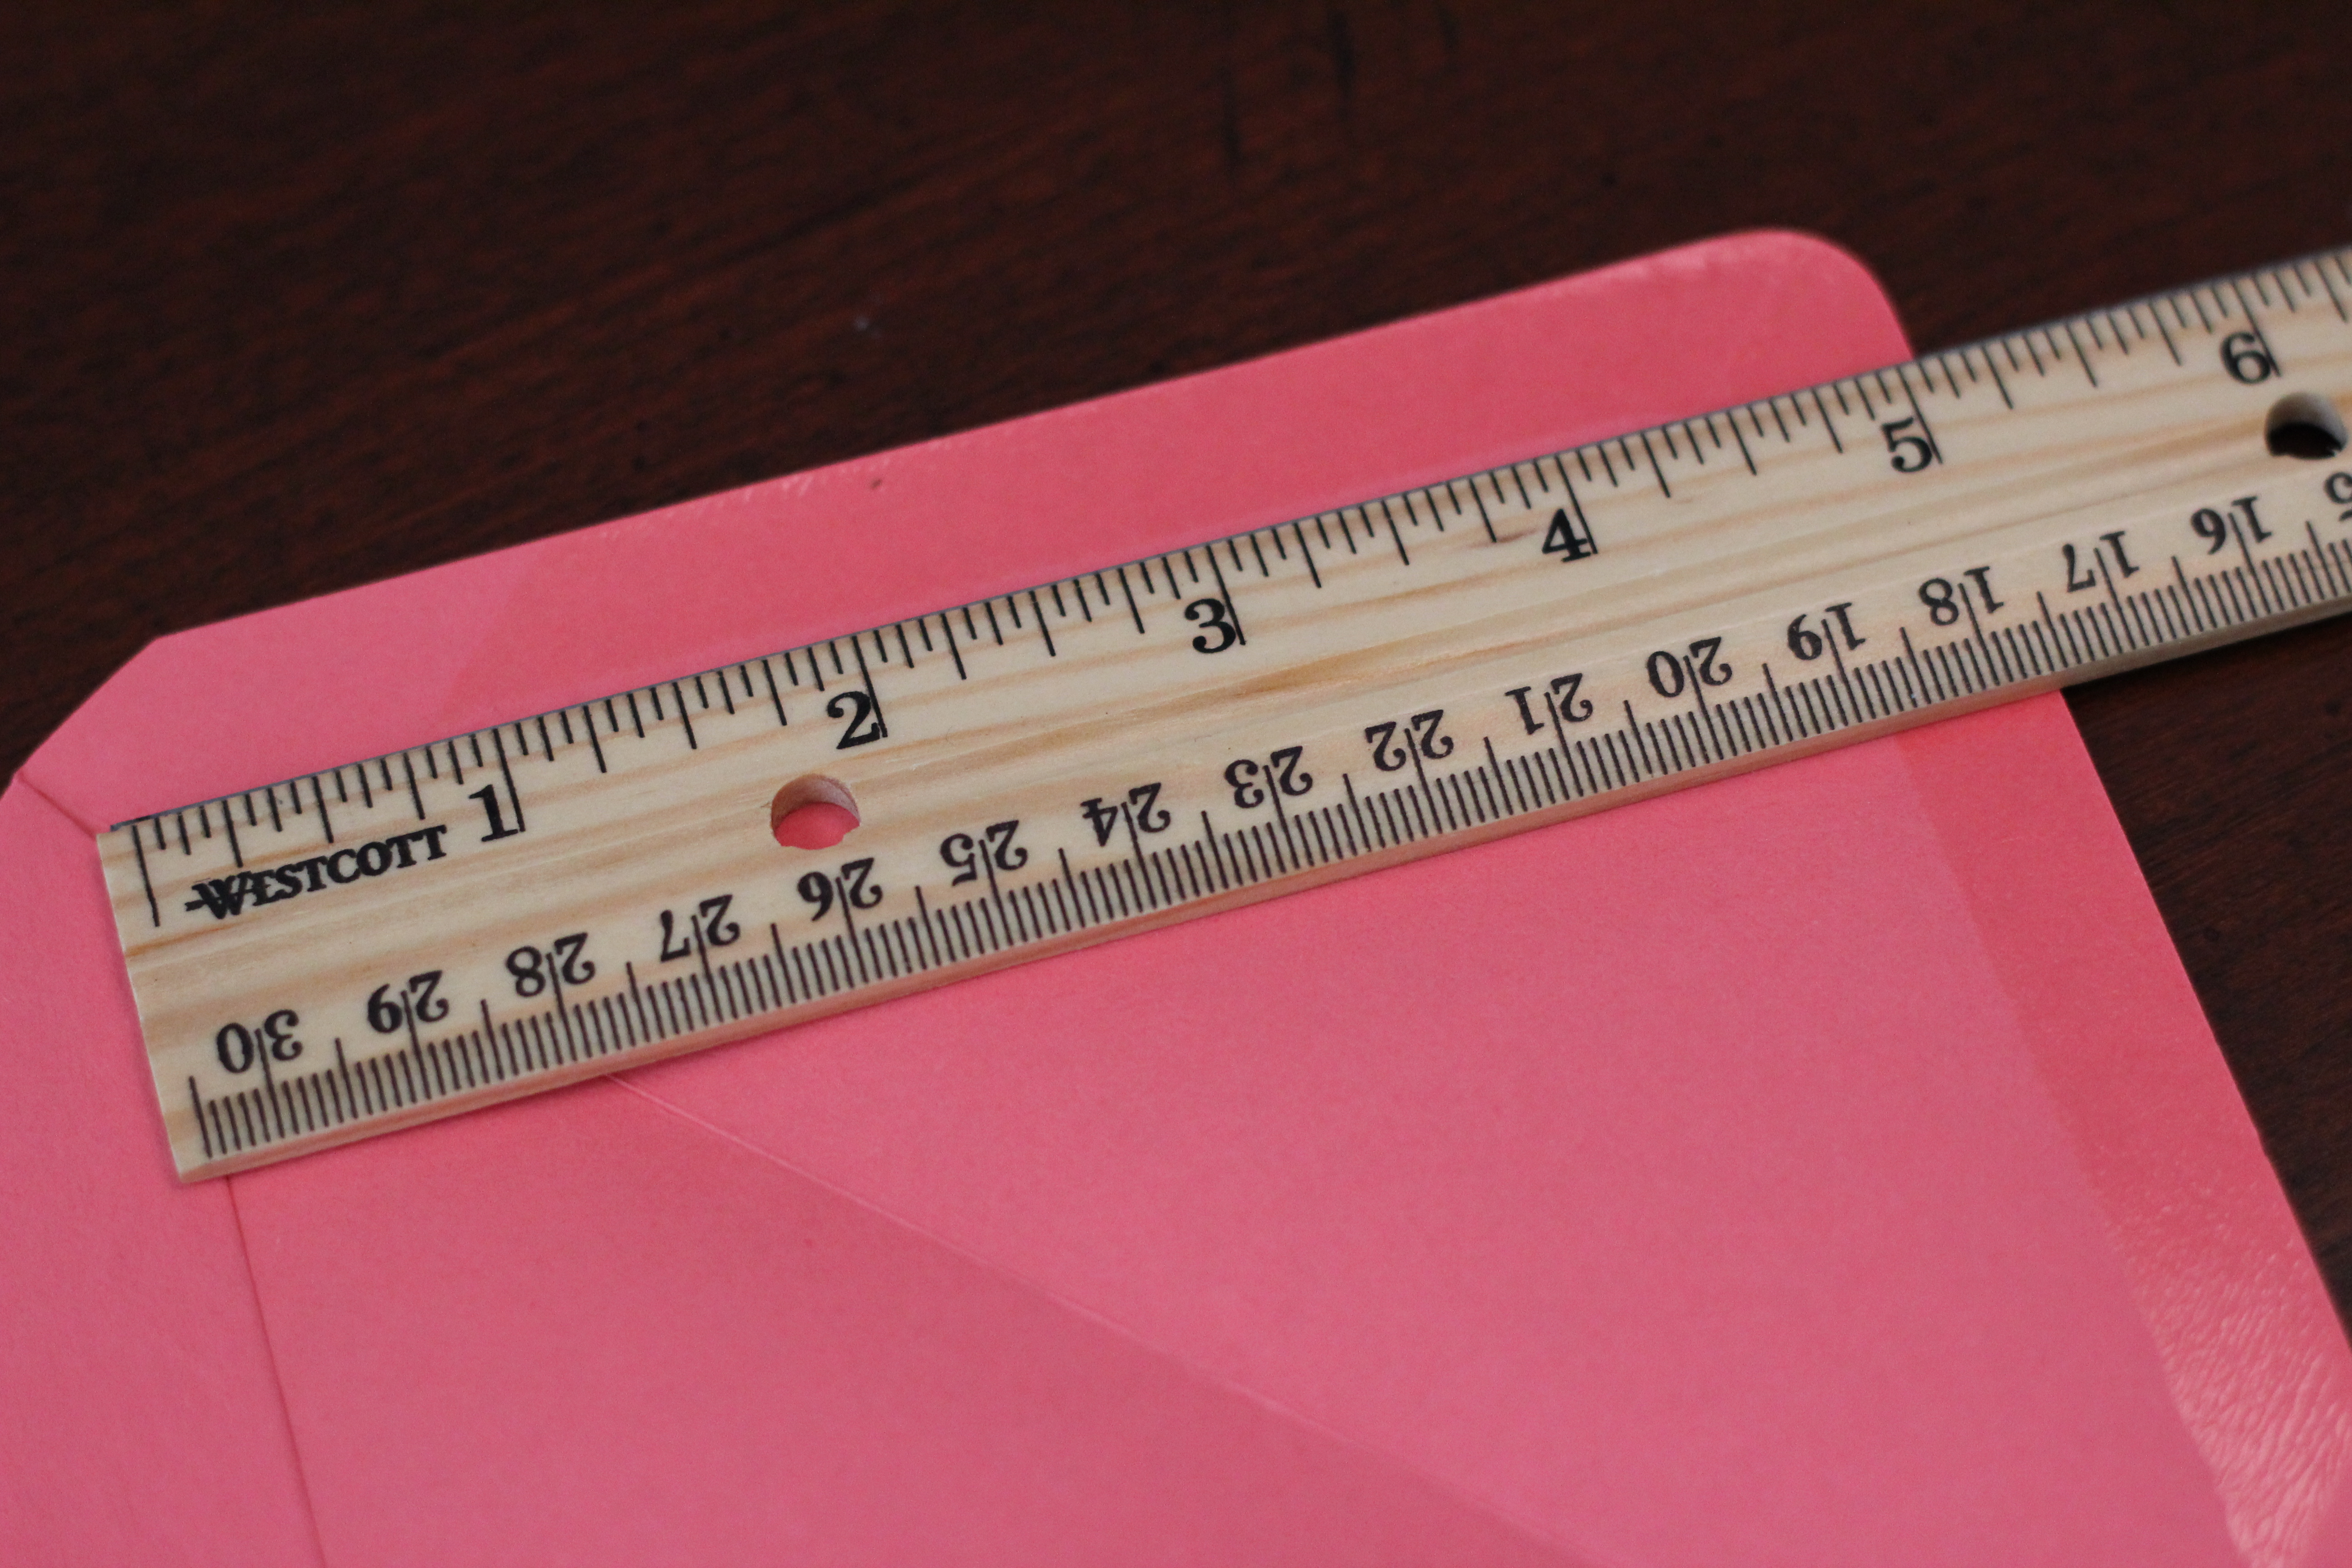
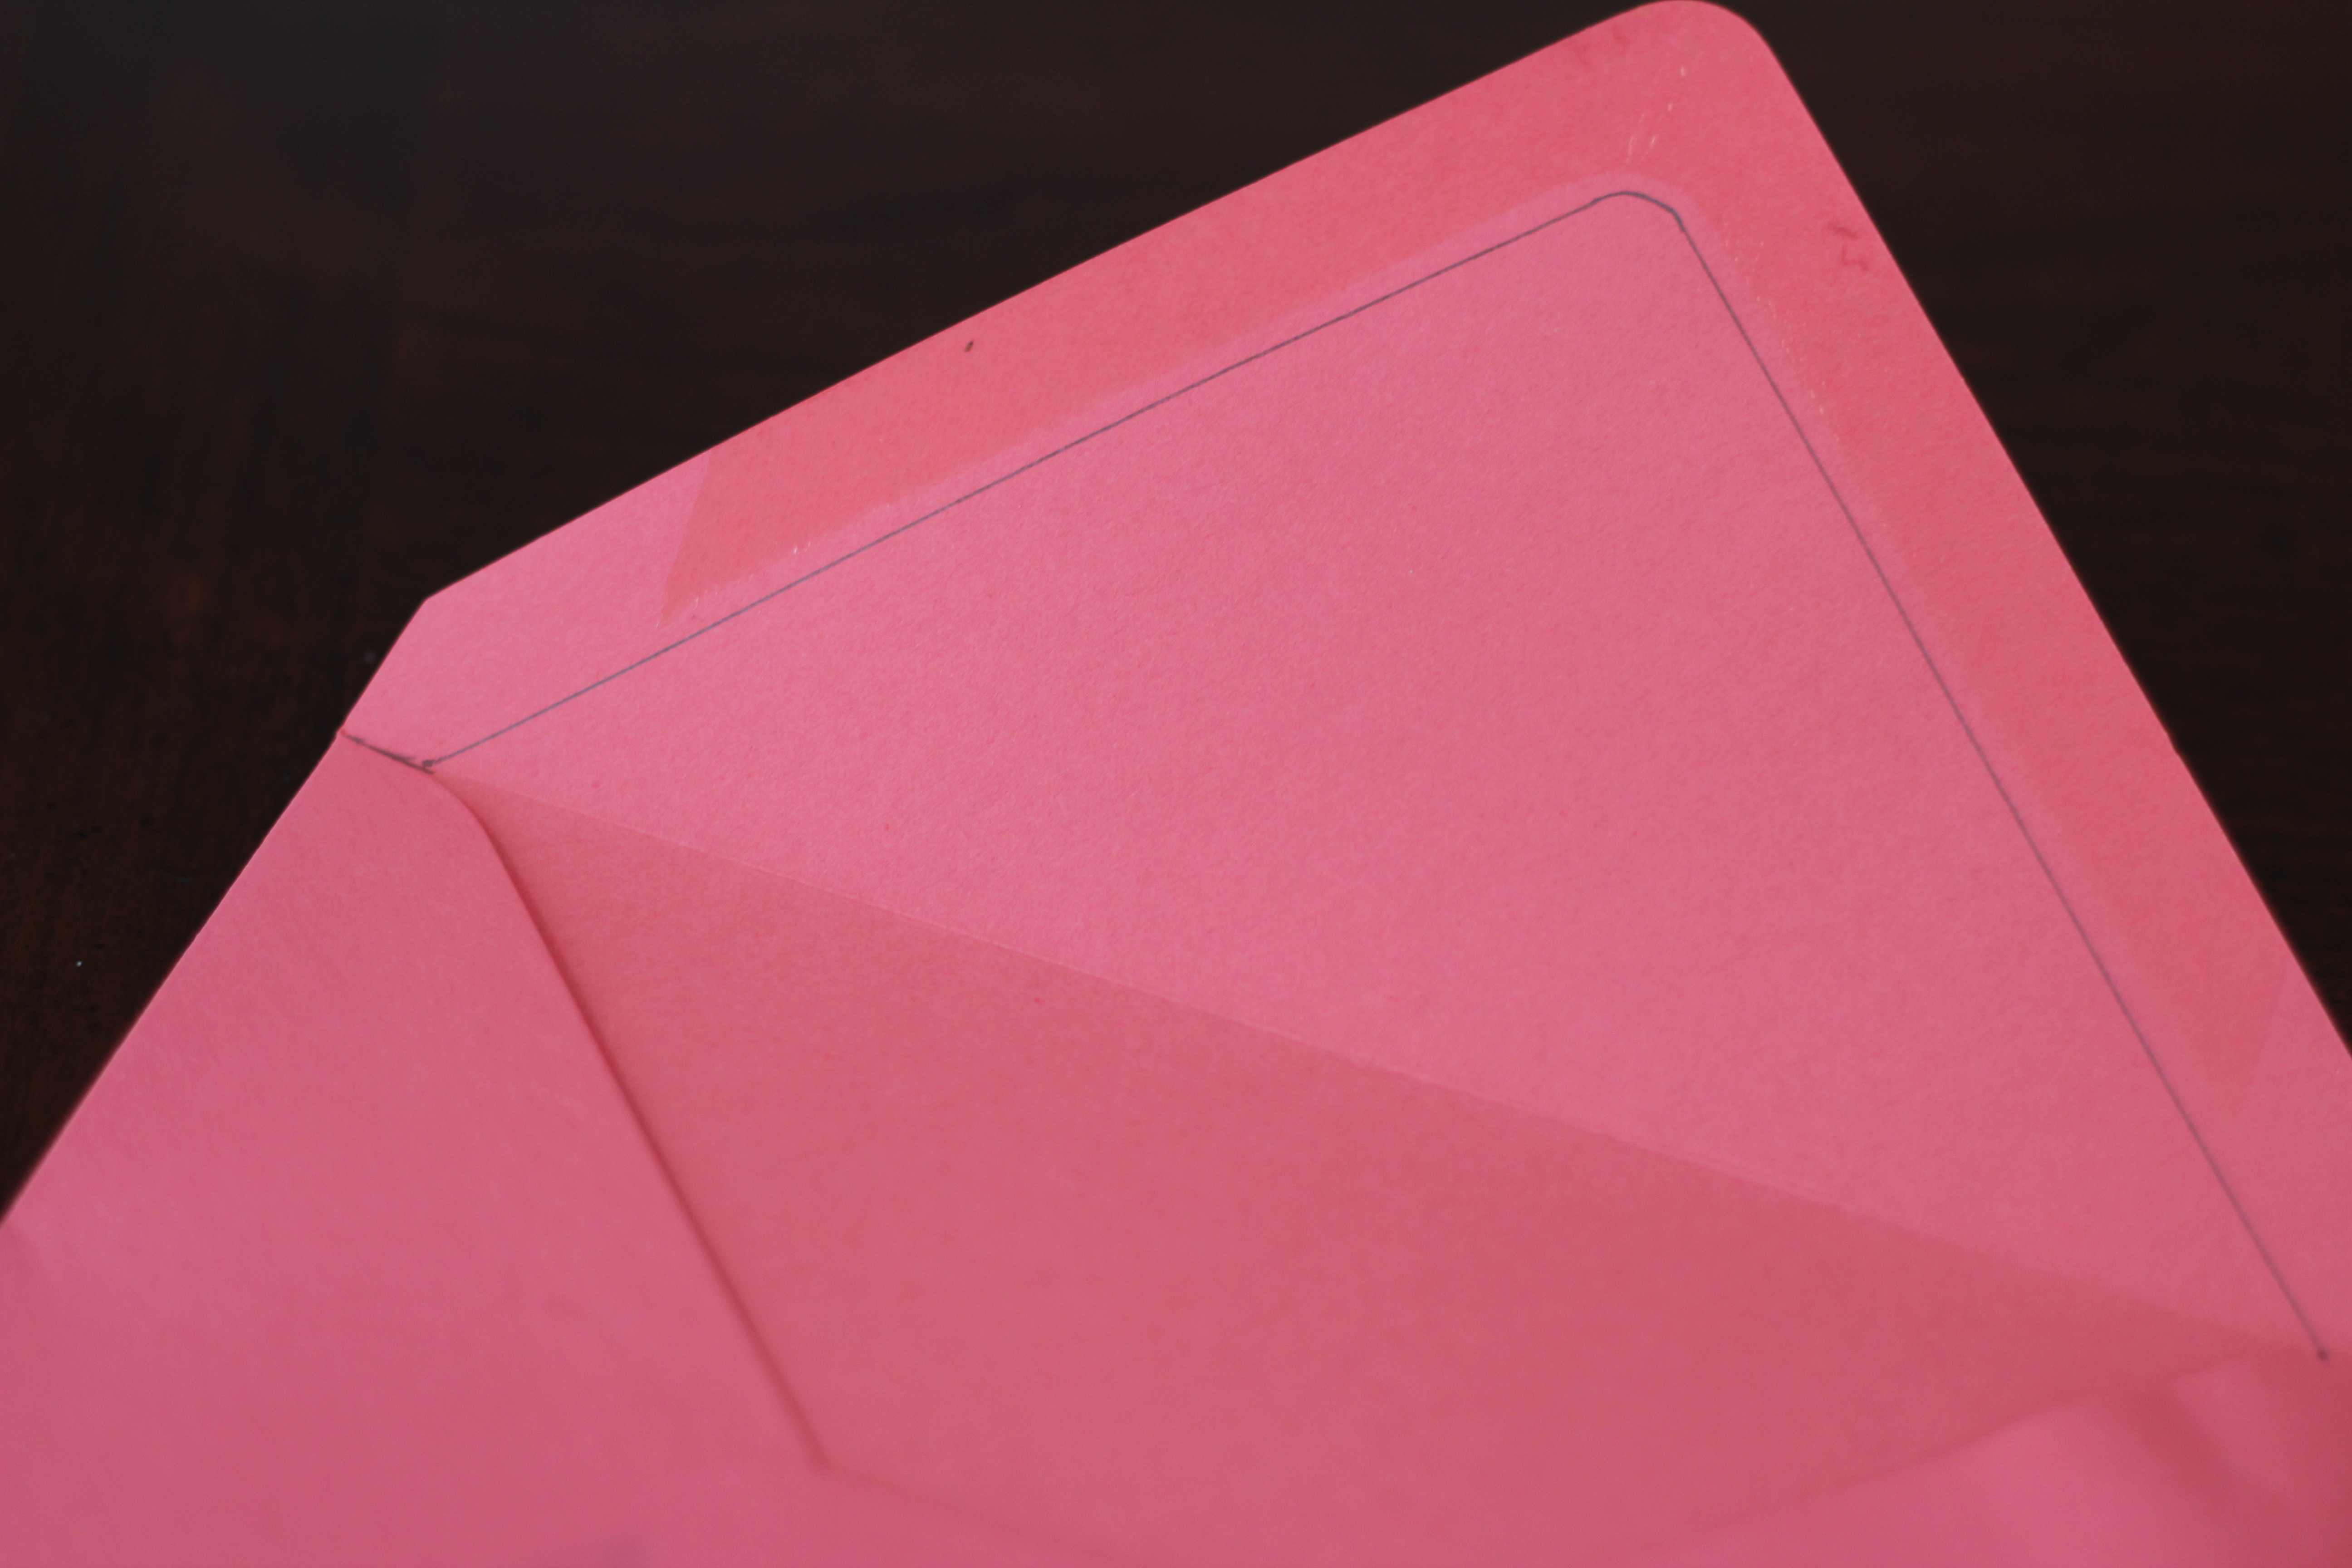
And then draw lines about a quarter of an inch from the side edges of the envelope.
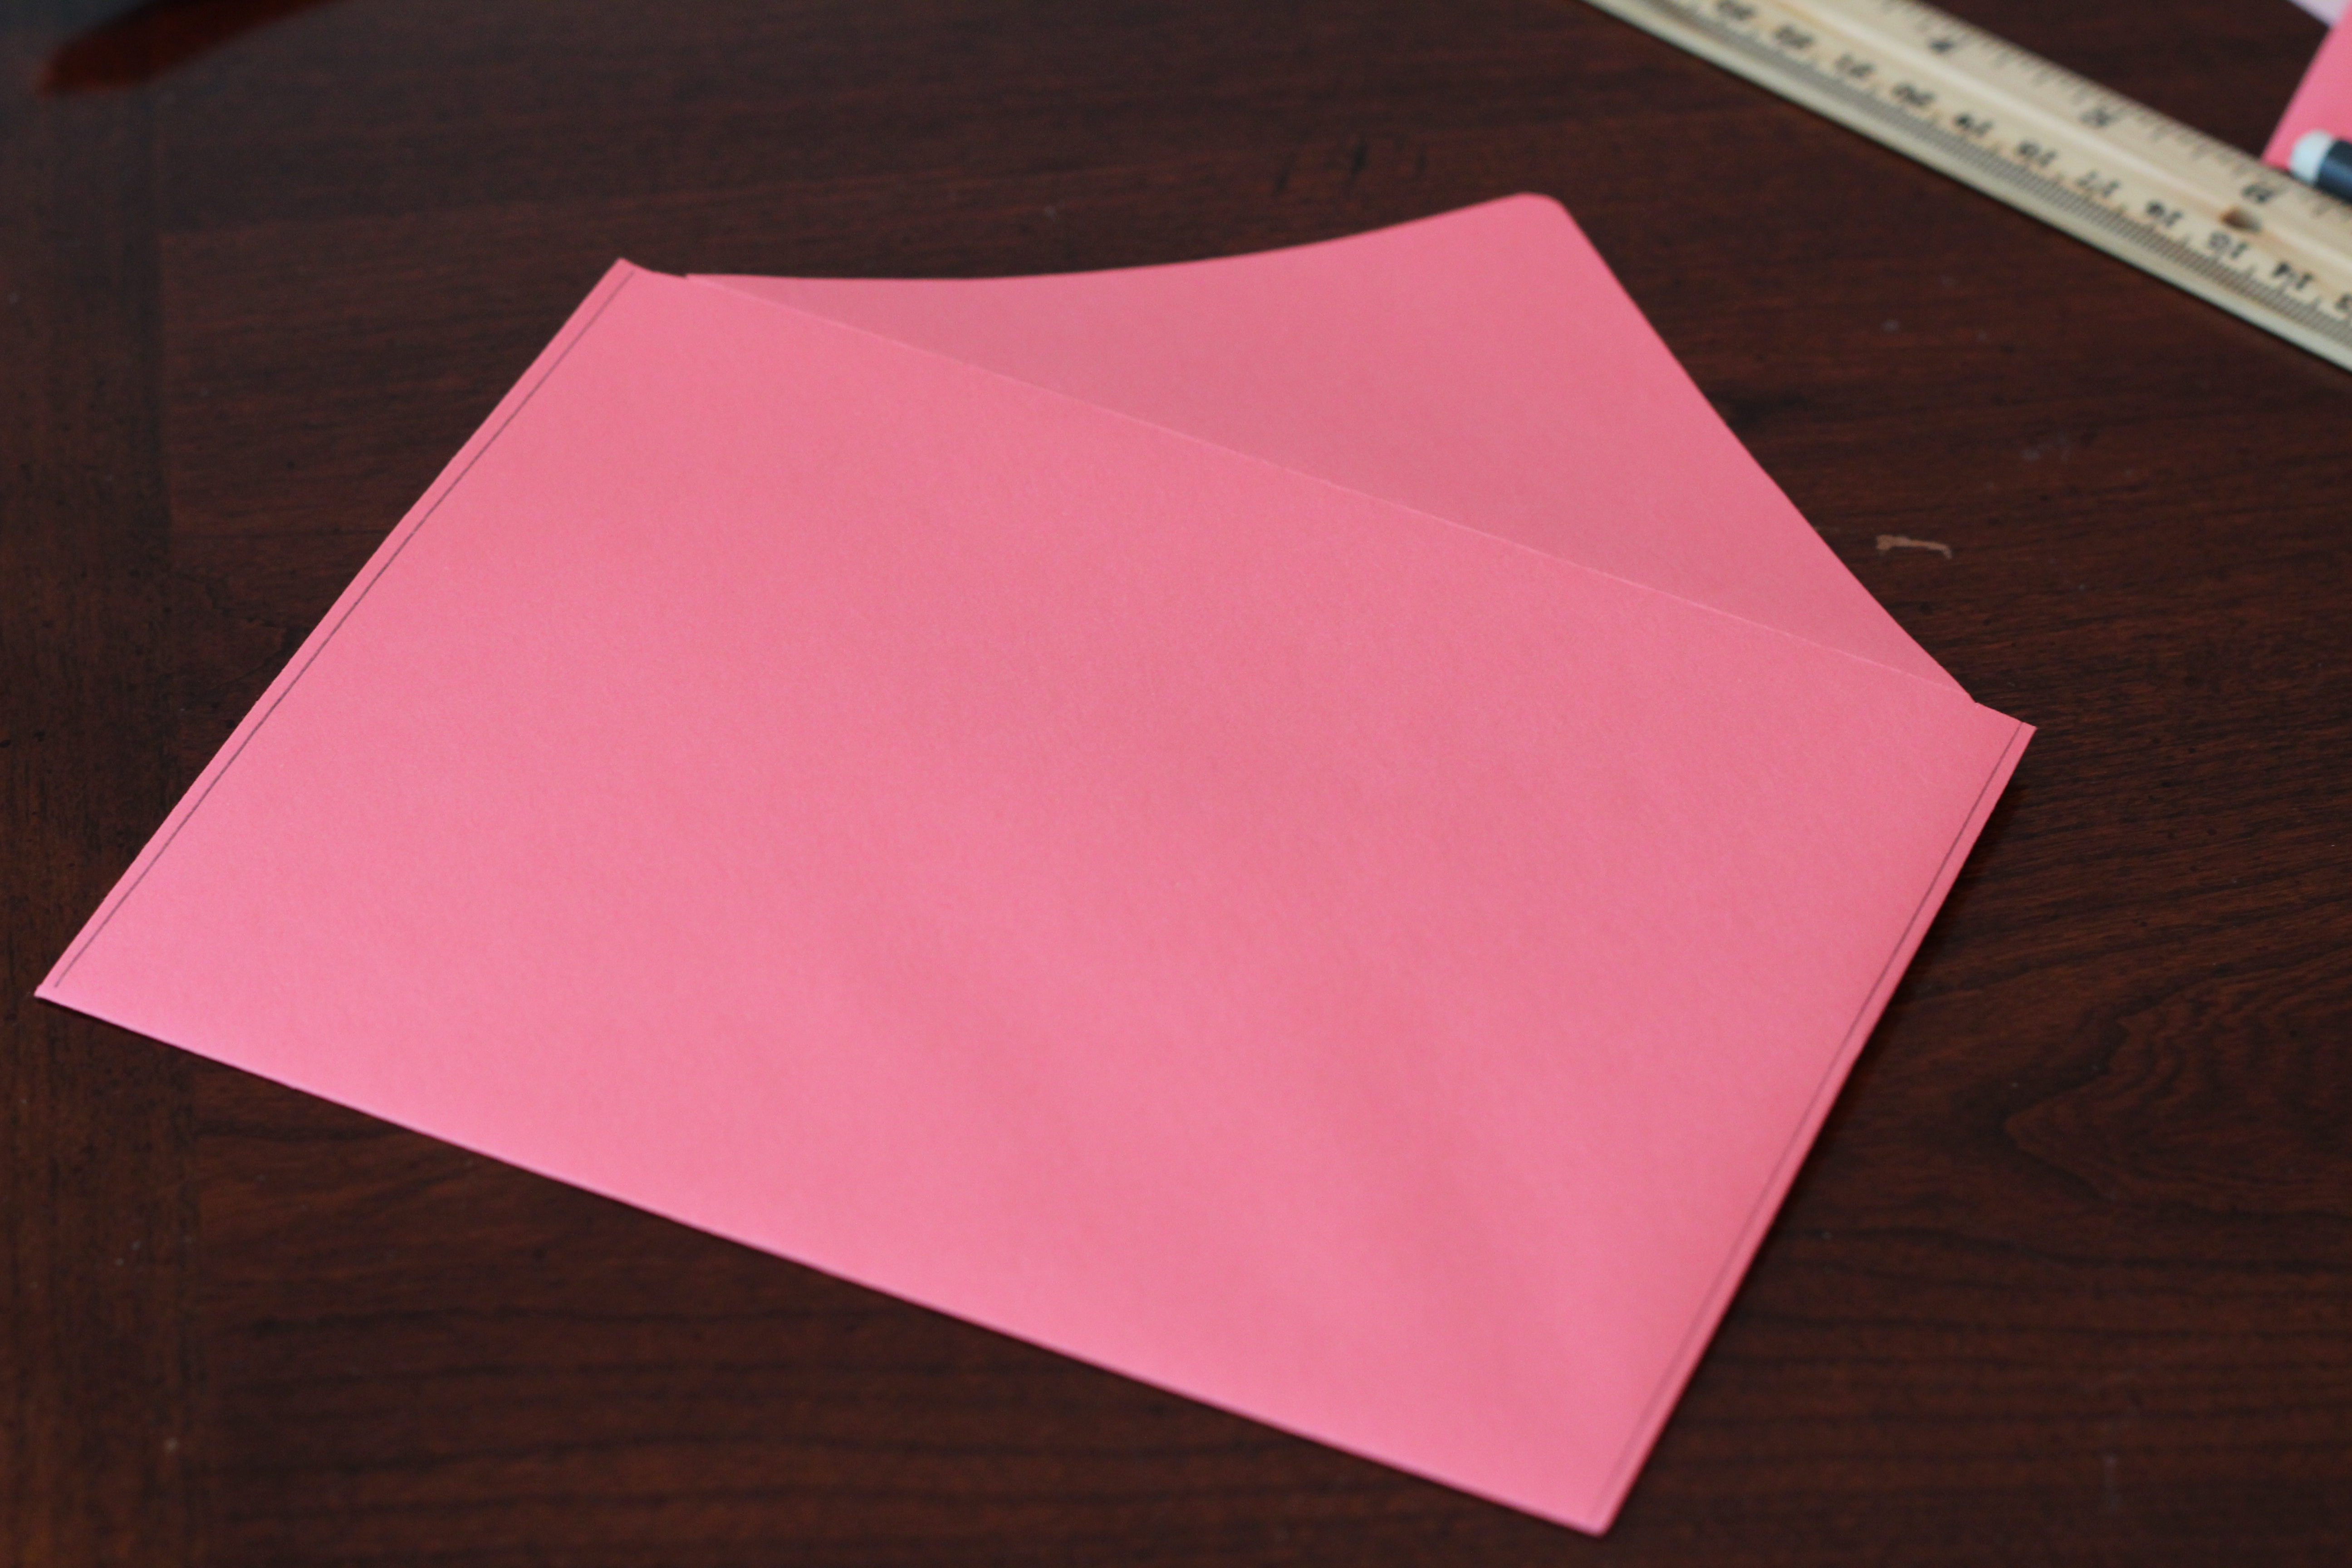
Cut out the template along the lines you drew on the envelope.
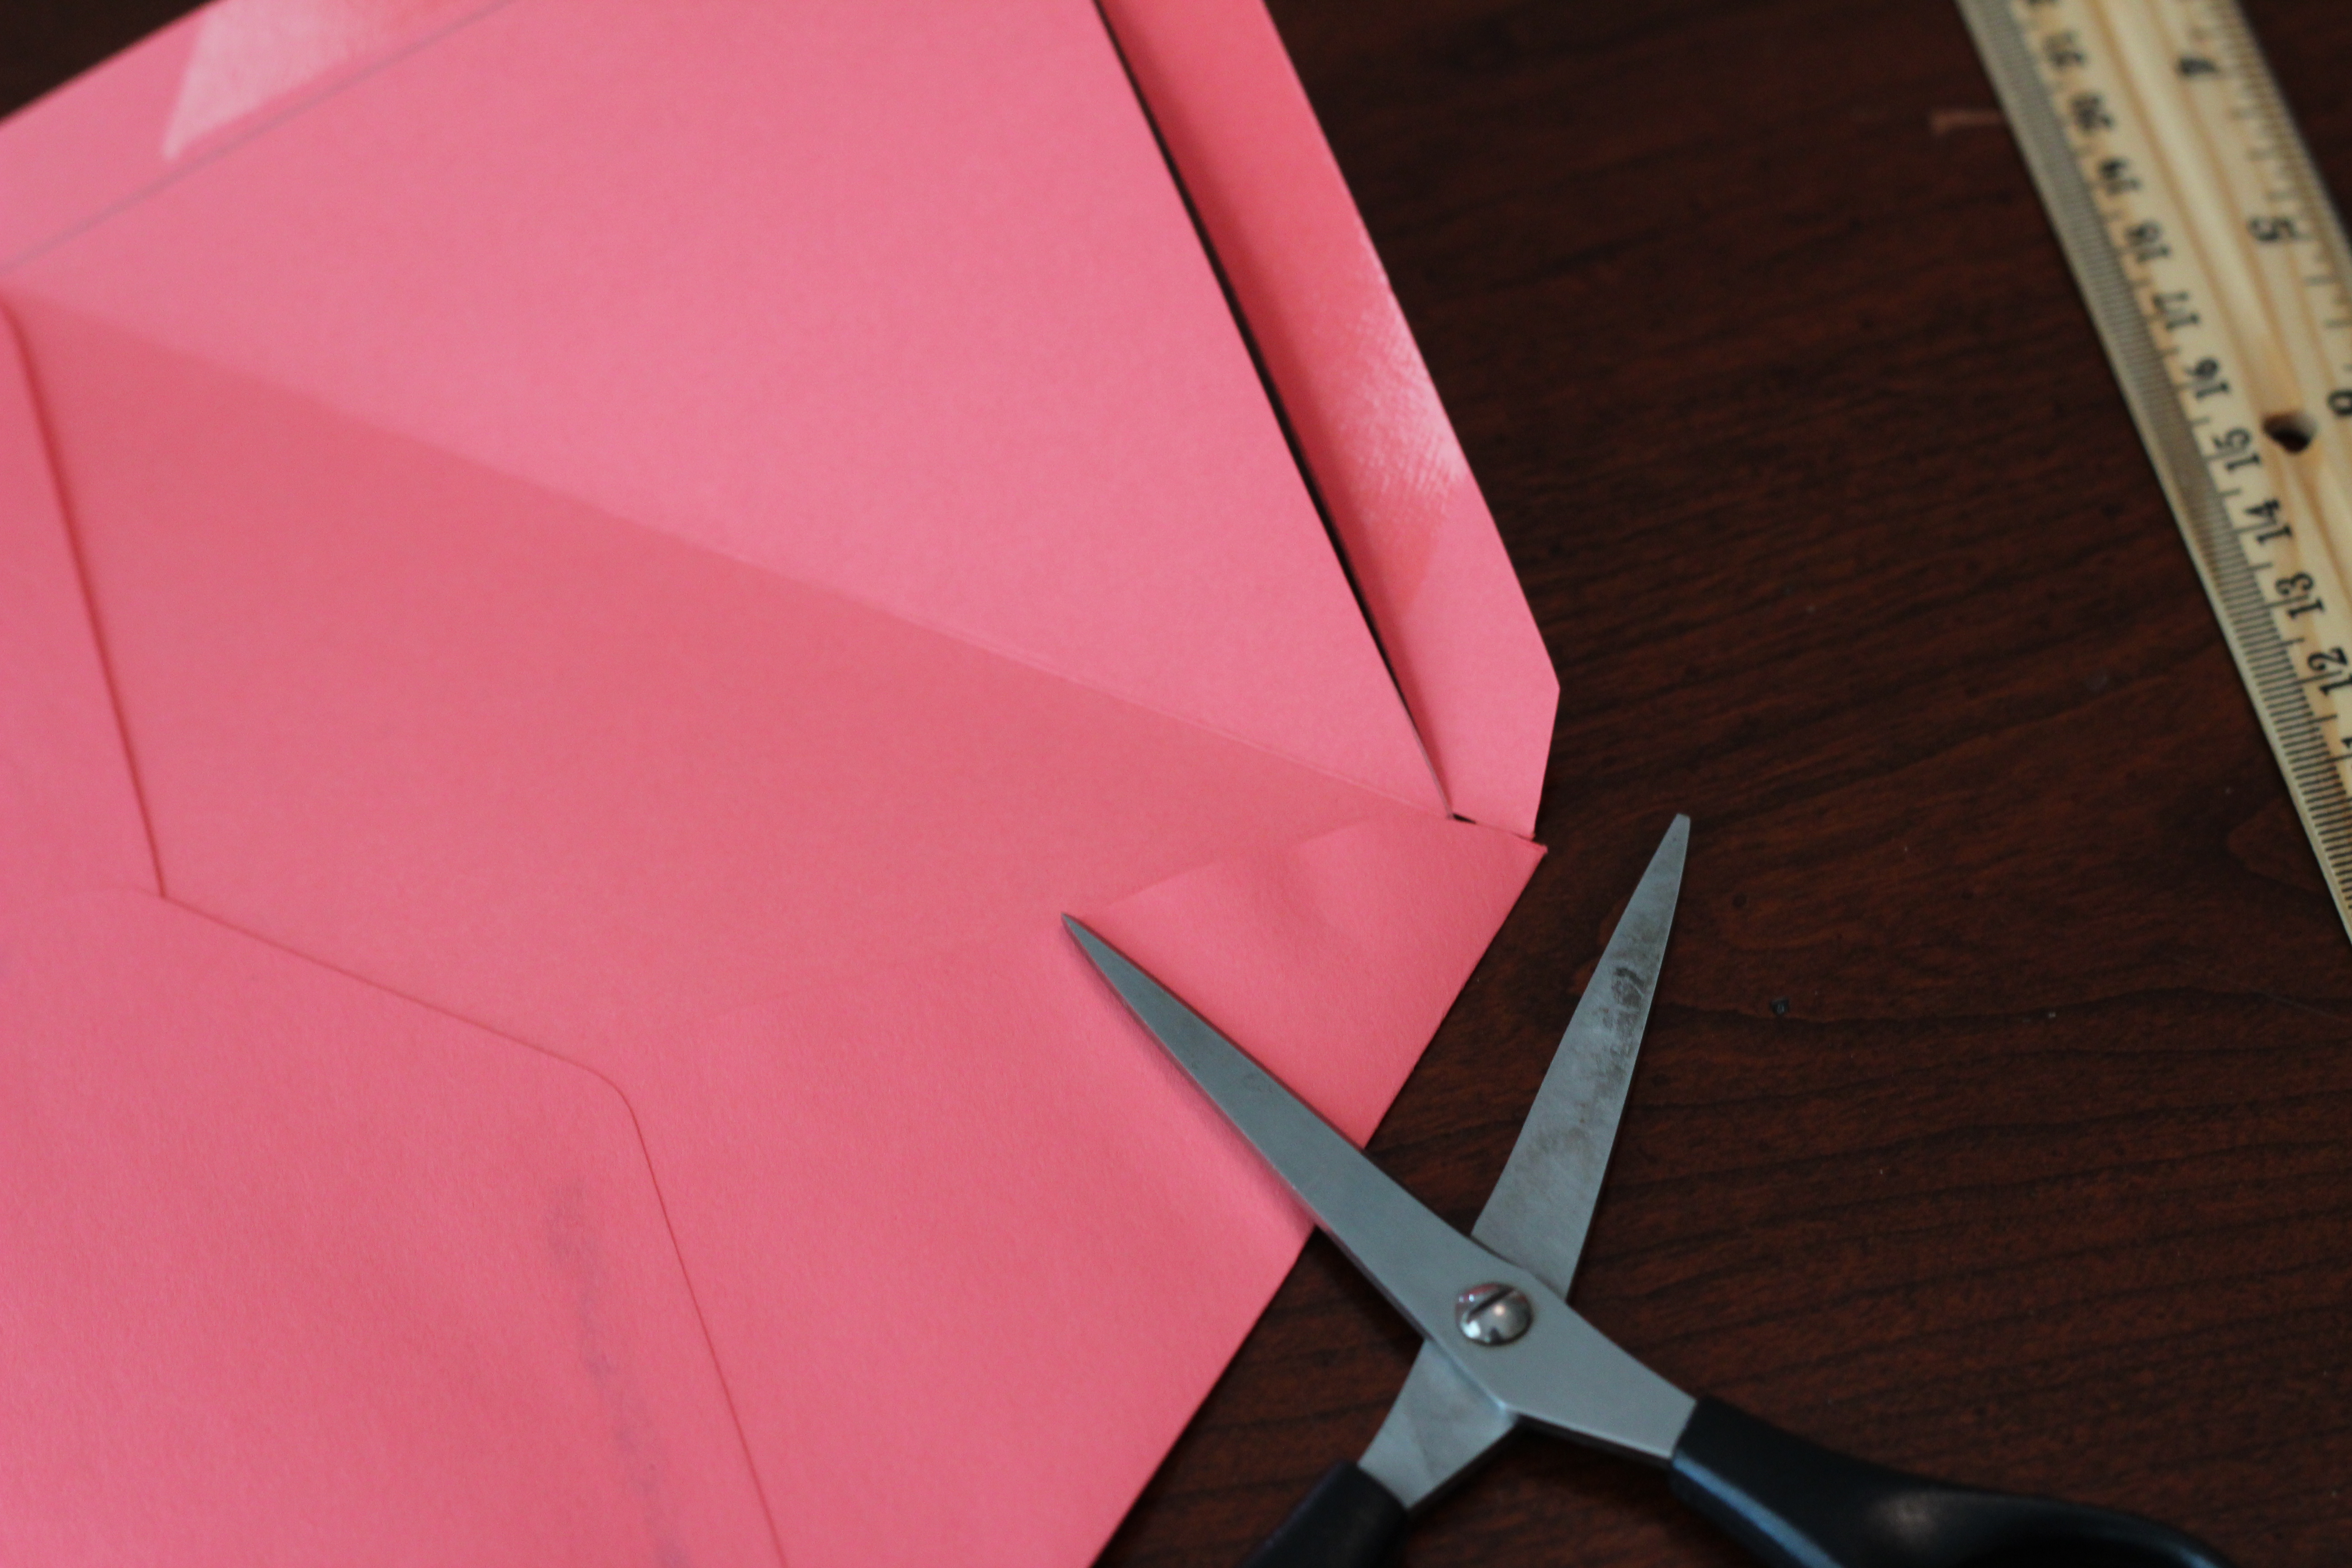
Ta-dah! You have an envelope liner template!
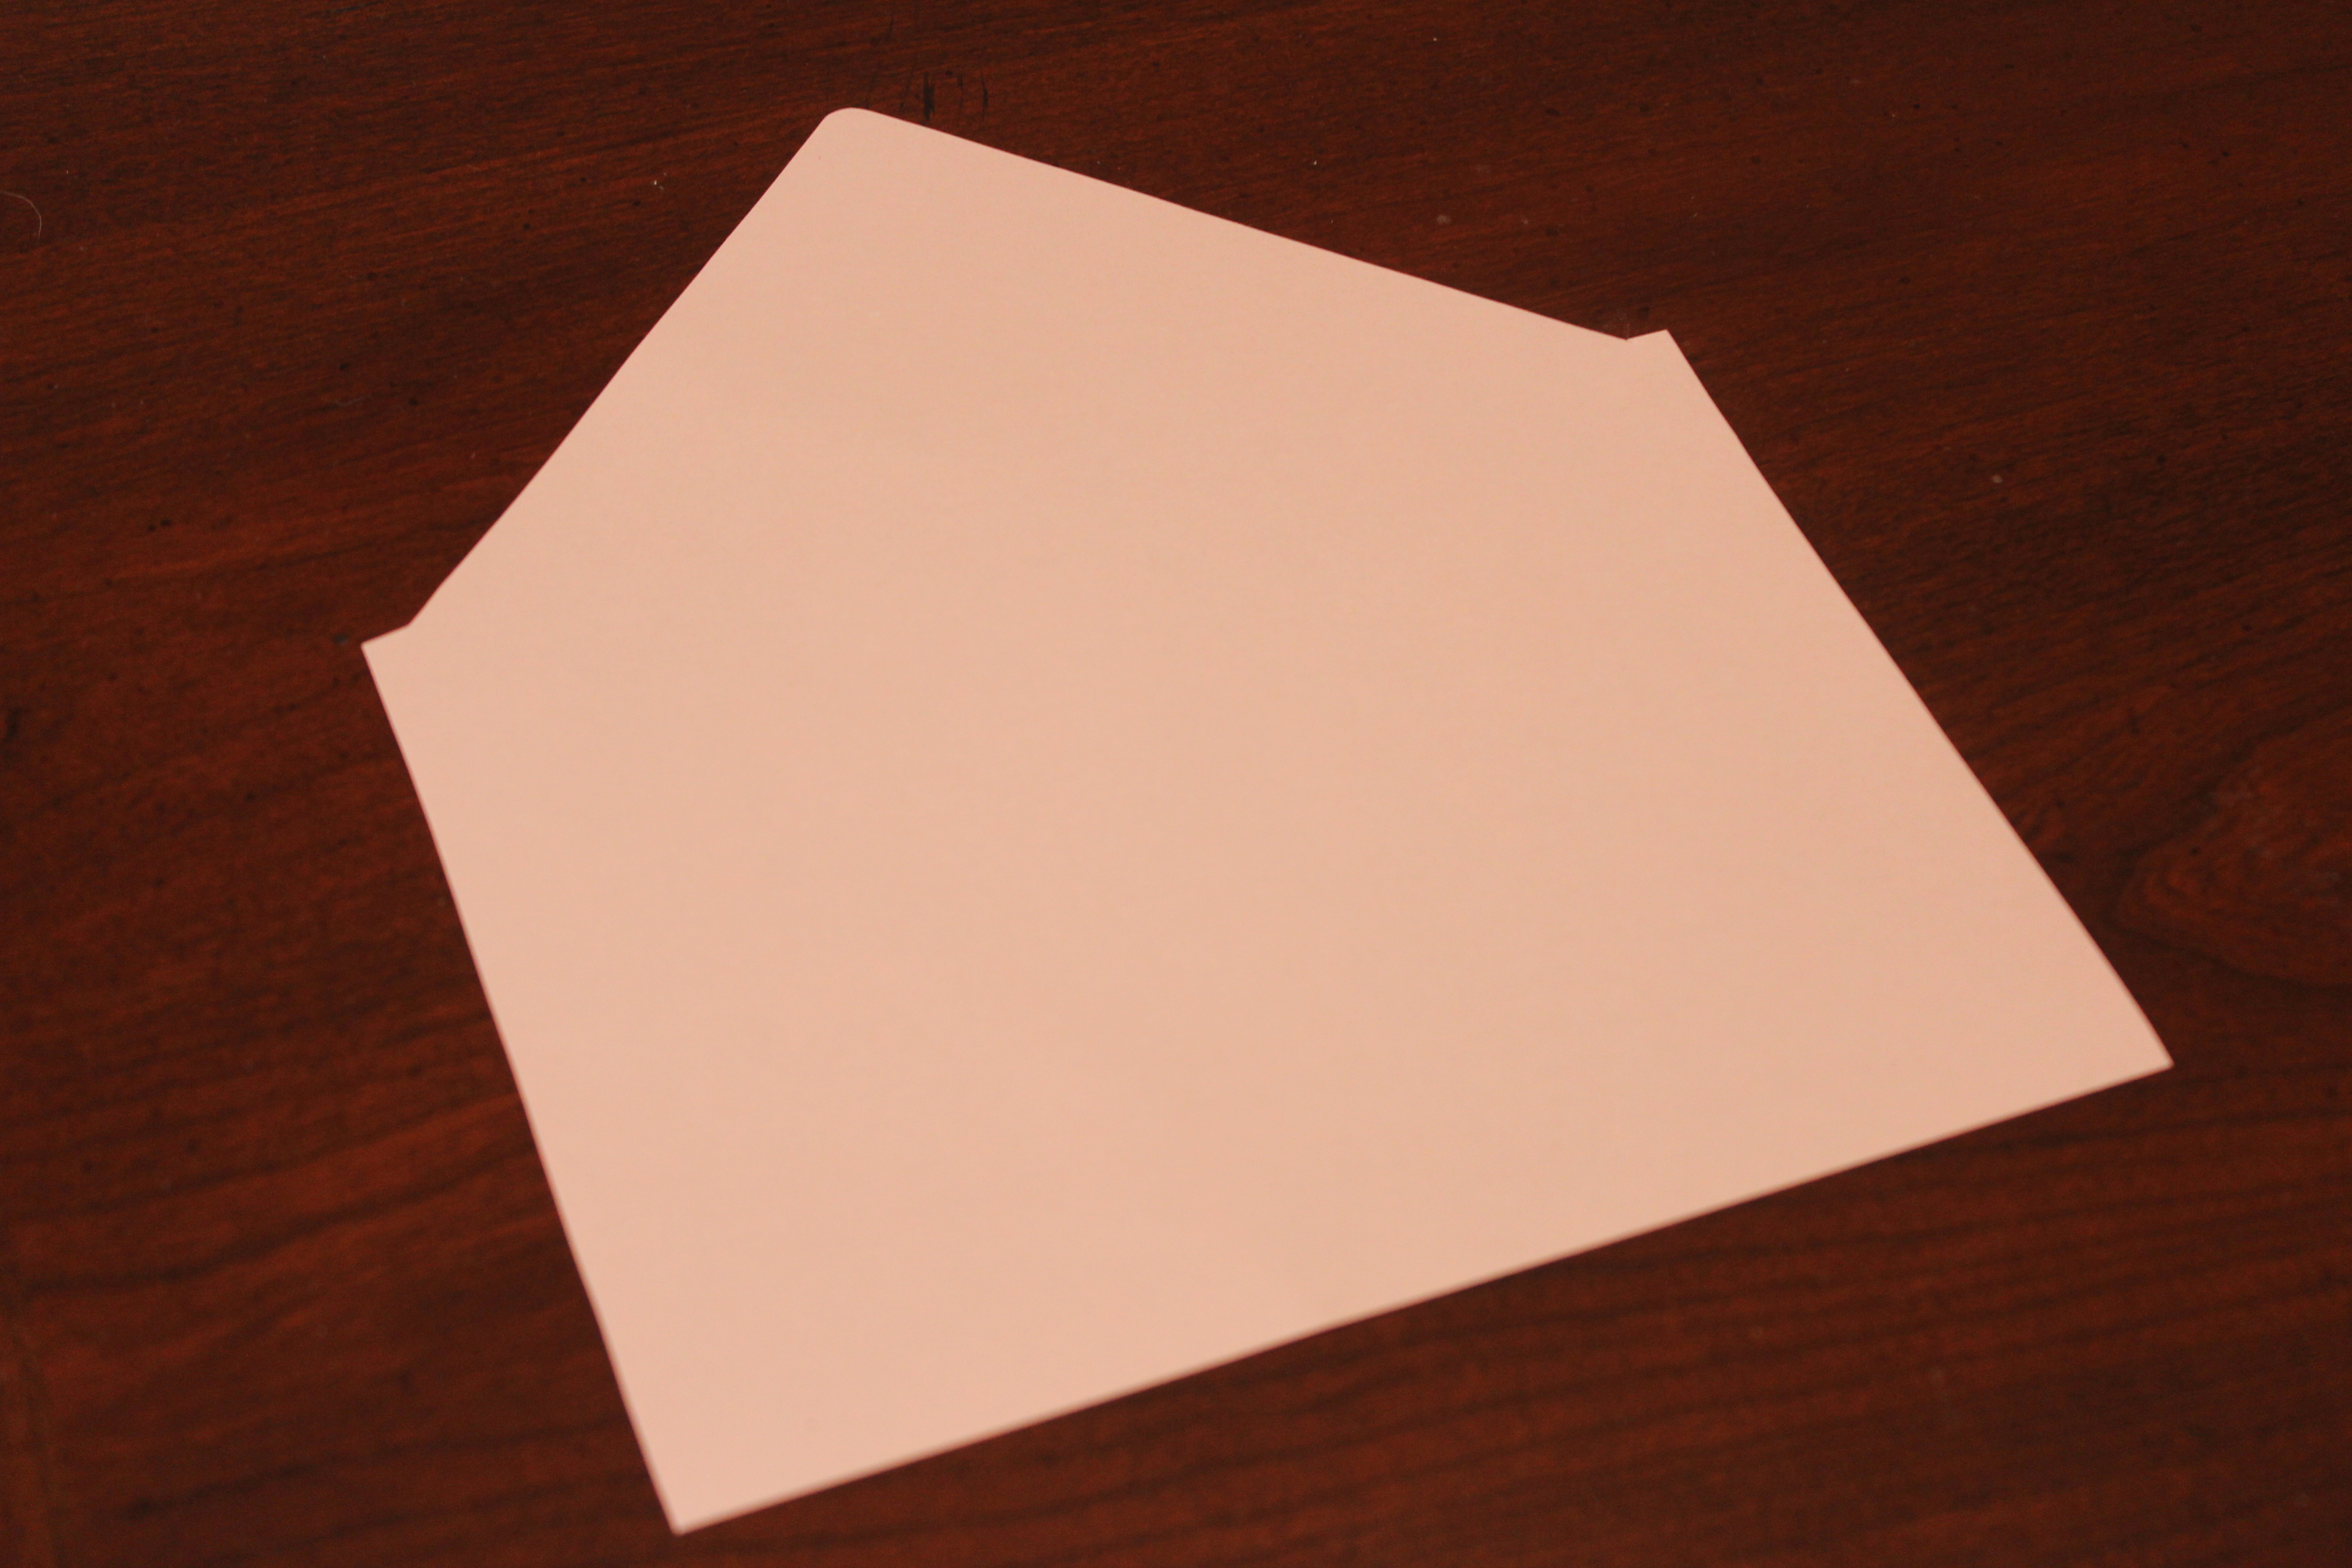
Now use the template to trace the liners on the paper of your choice (make sure you trace on the back side of the paper – this way you don’t have to worry about about any pencil lines showing). This is the fun part, because you can use something really creative, like copies of photos or brightly patterned scrapbook paper. For this liner, I used a light pink pearlescent paper.
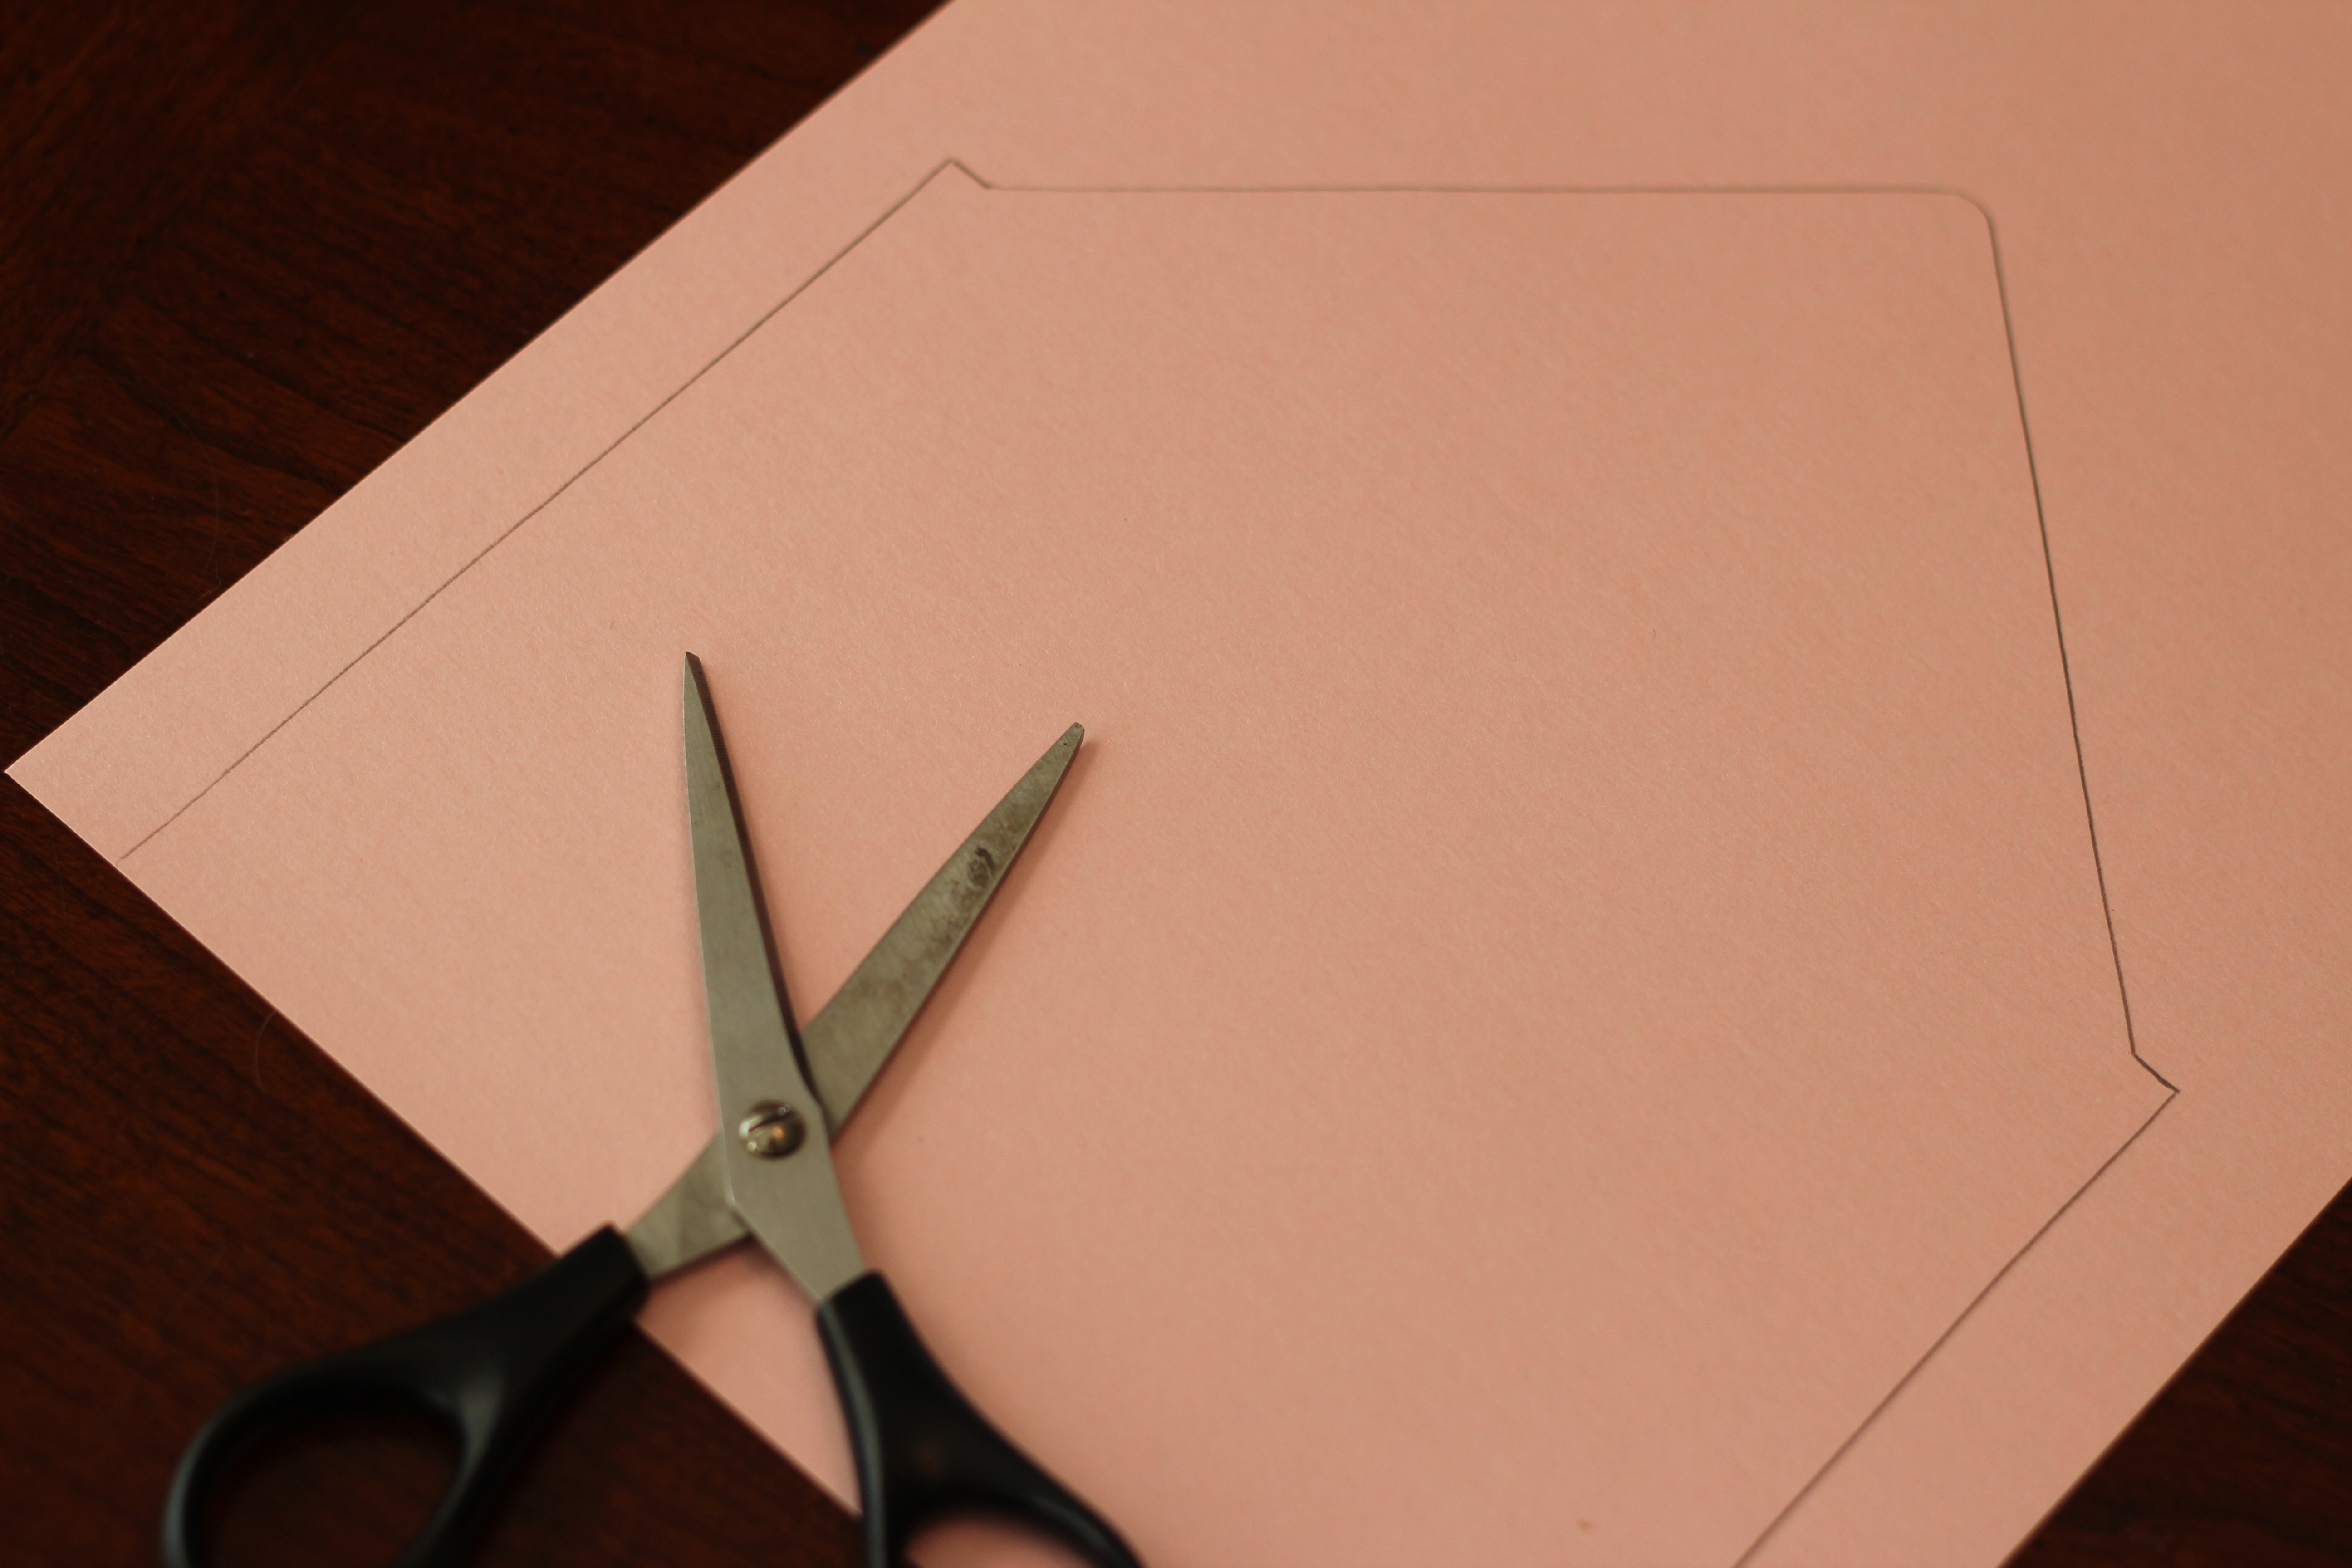
Once you’ve traced the liners using the template, cut them out.
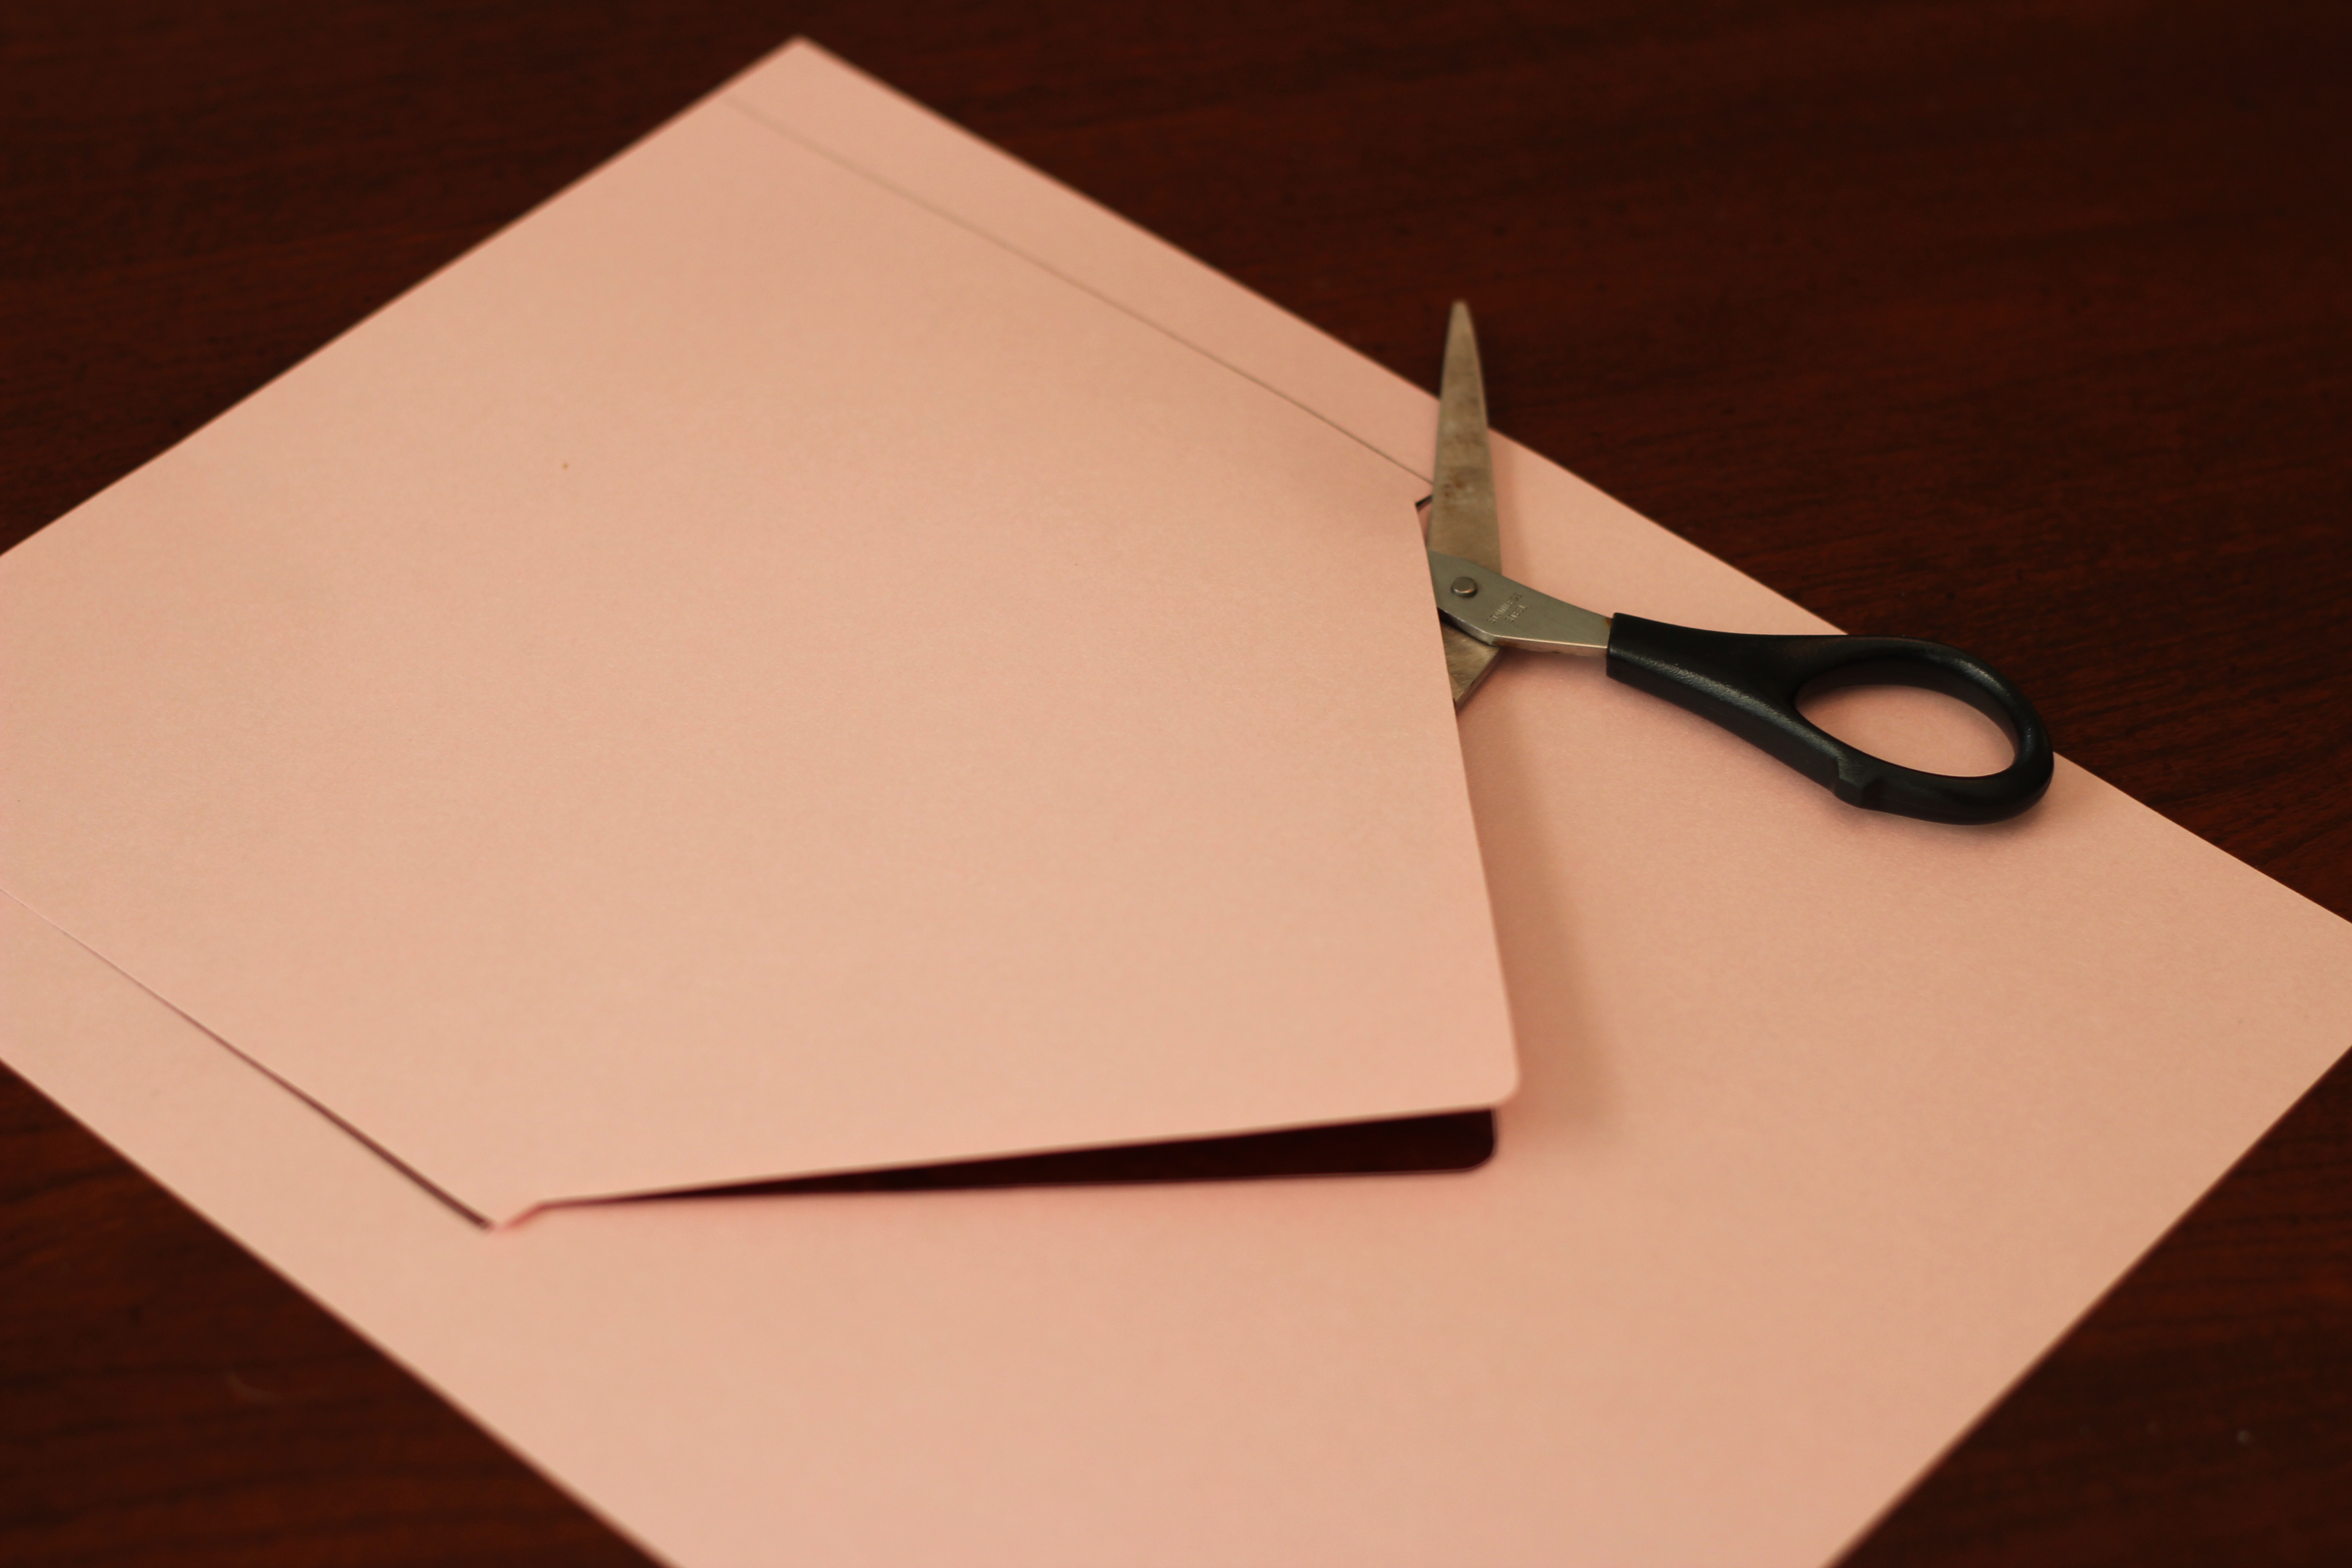
Put the liners in the envelopes.
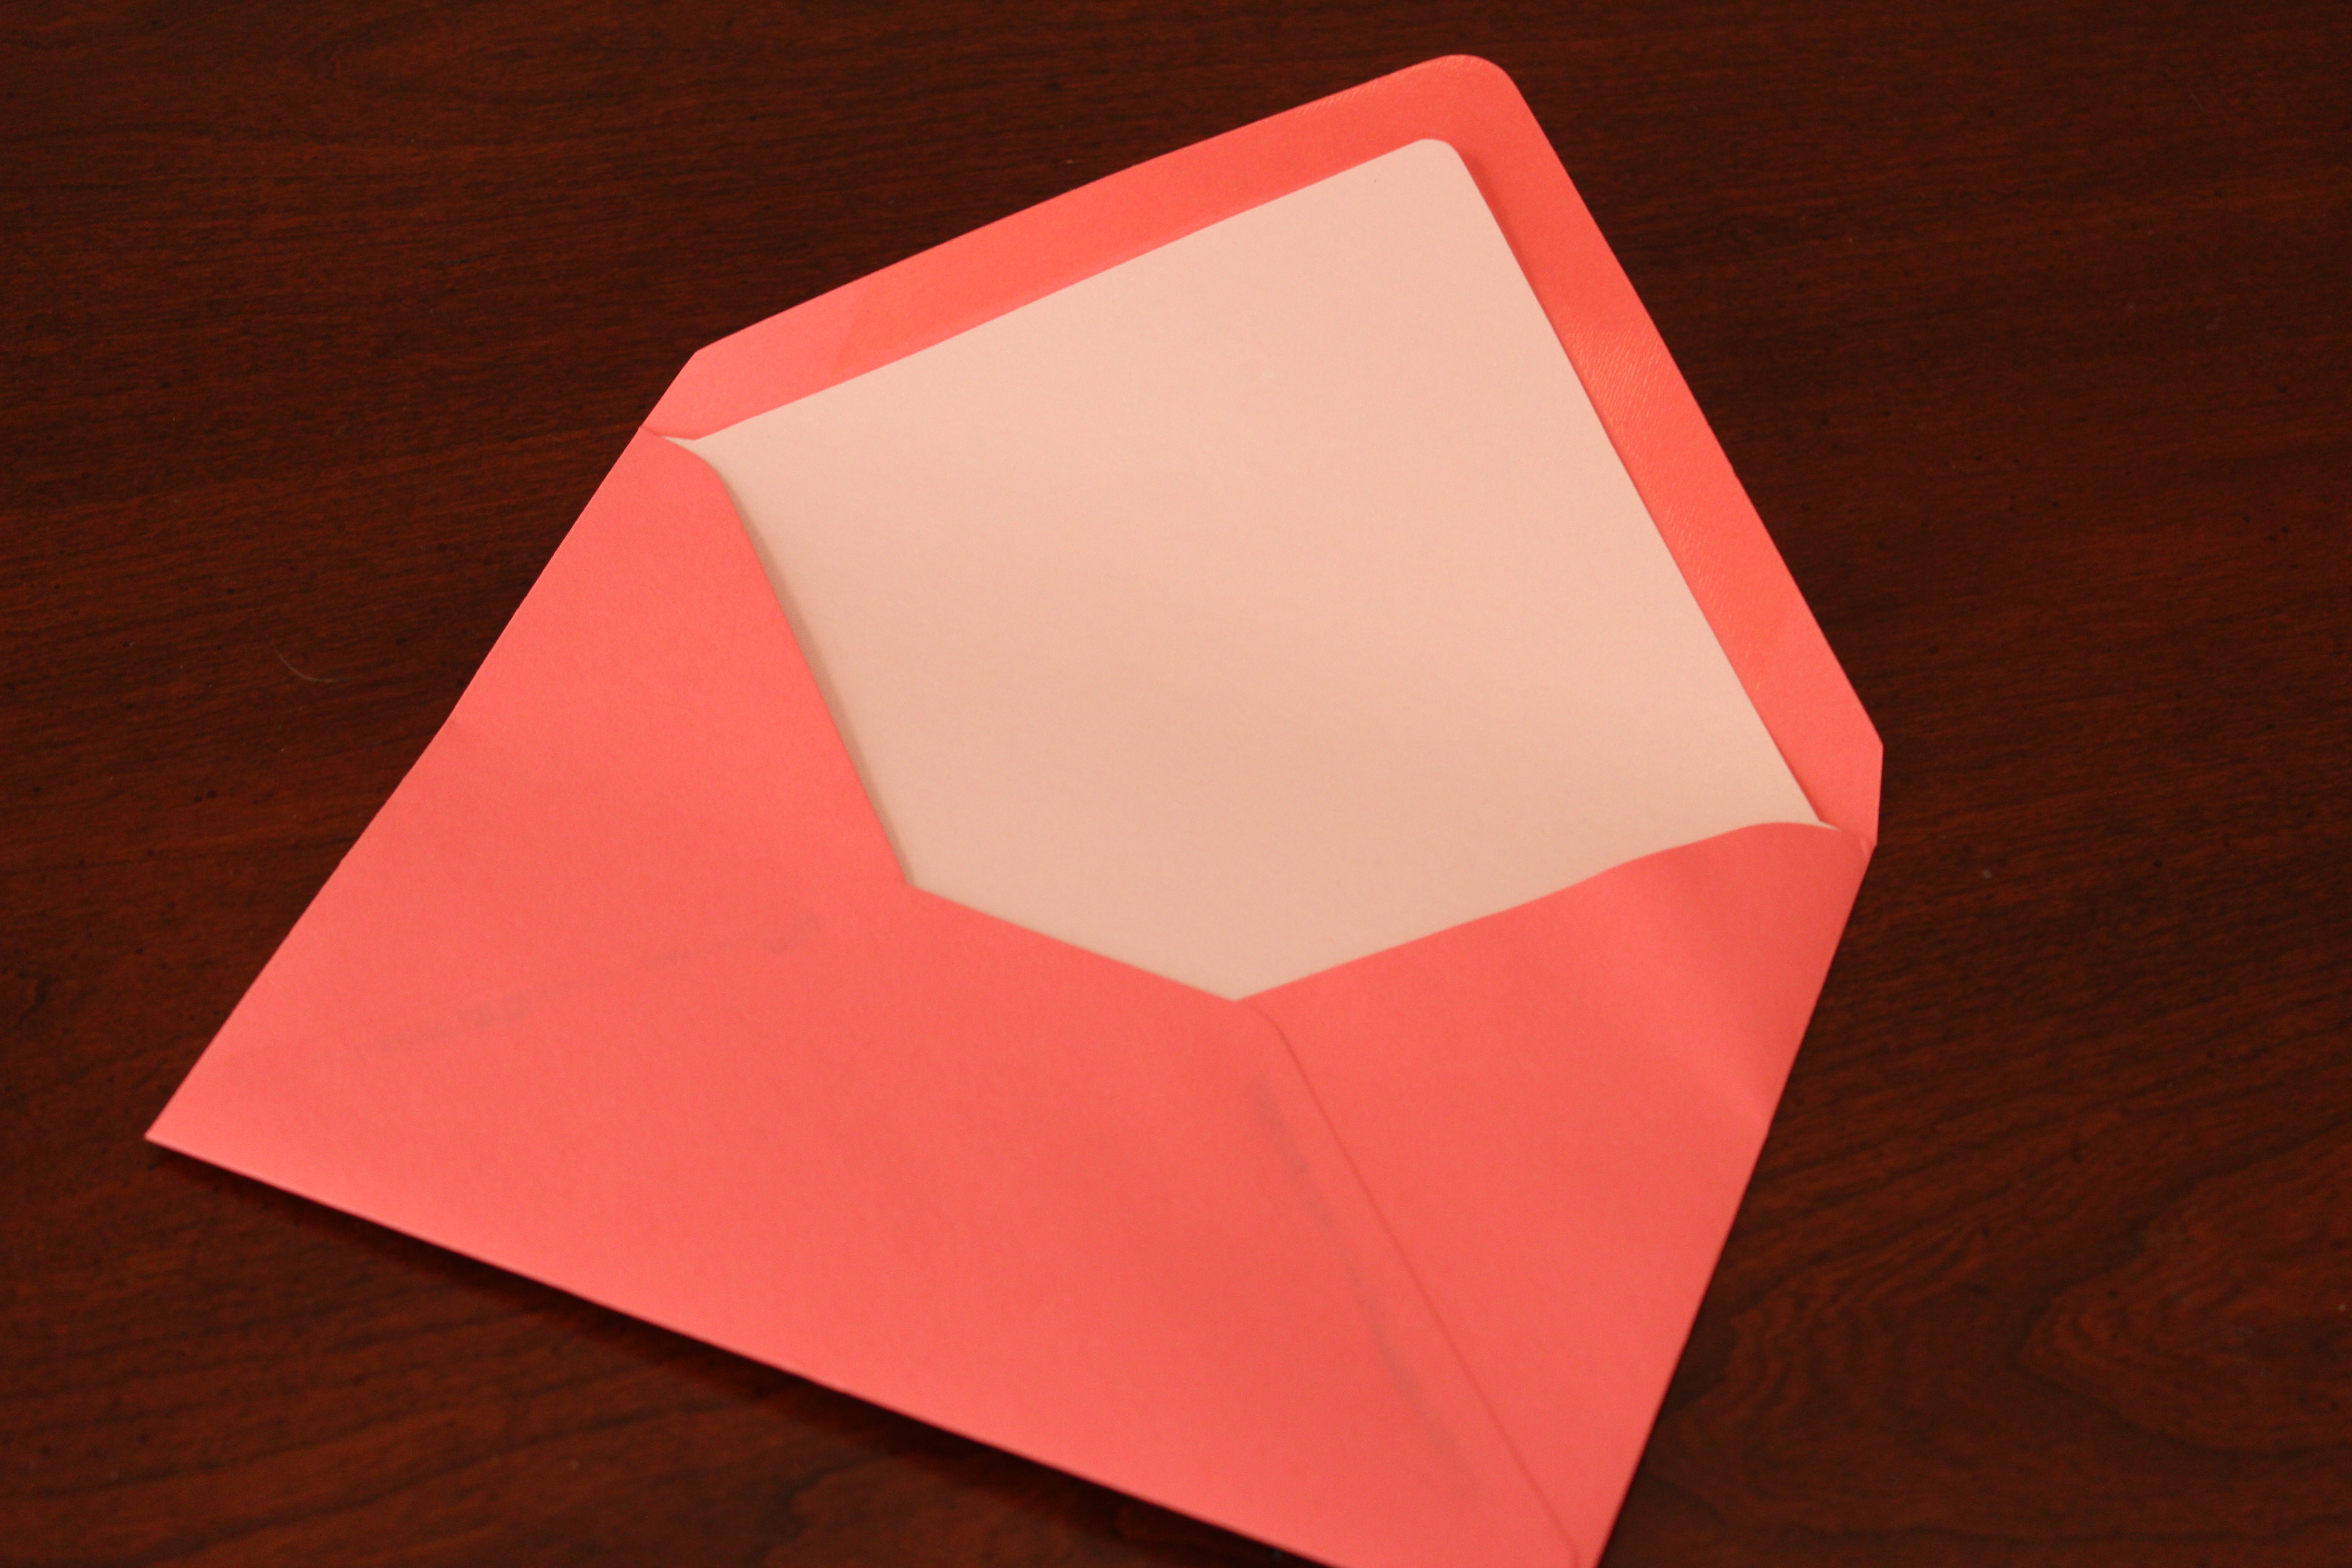
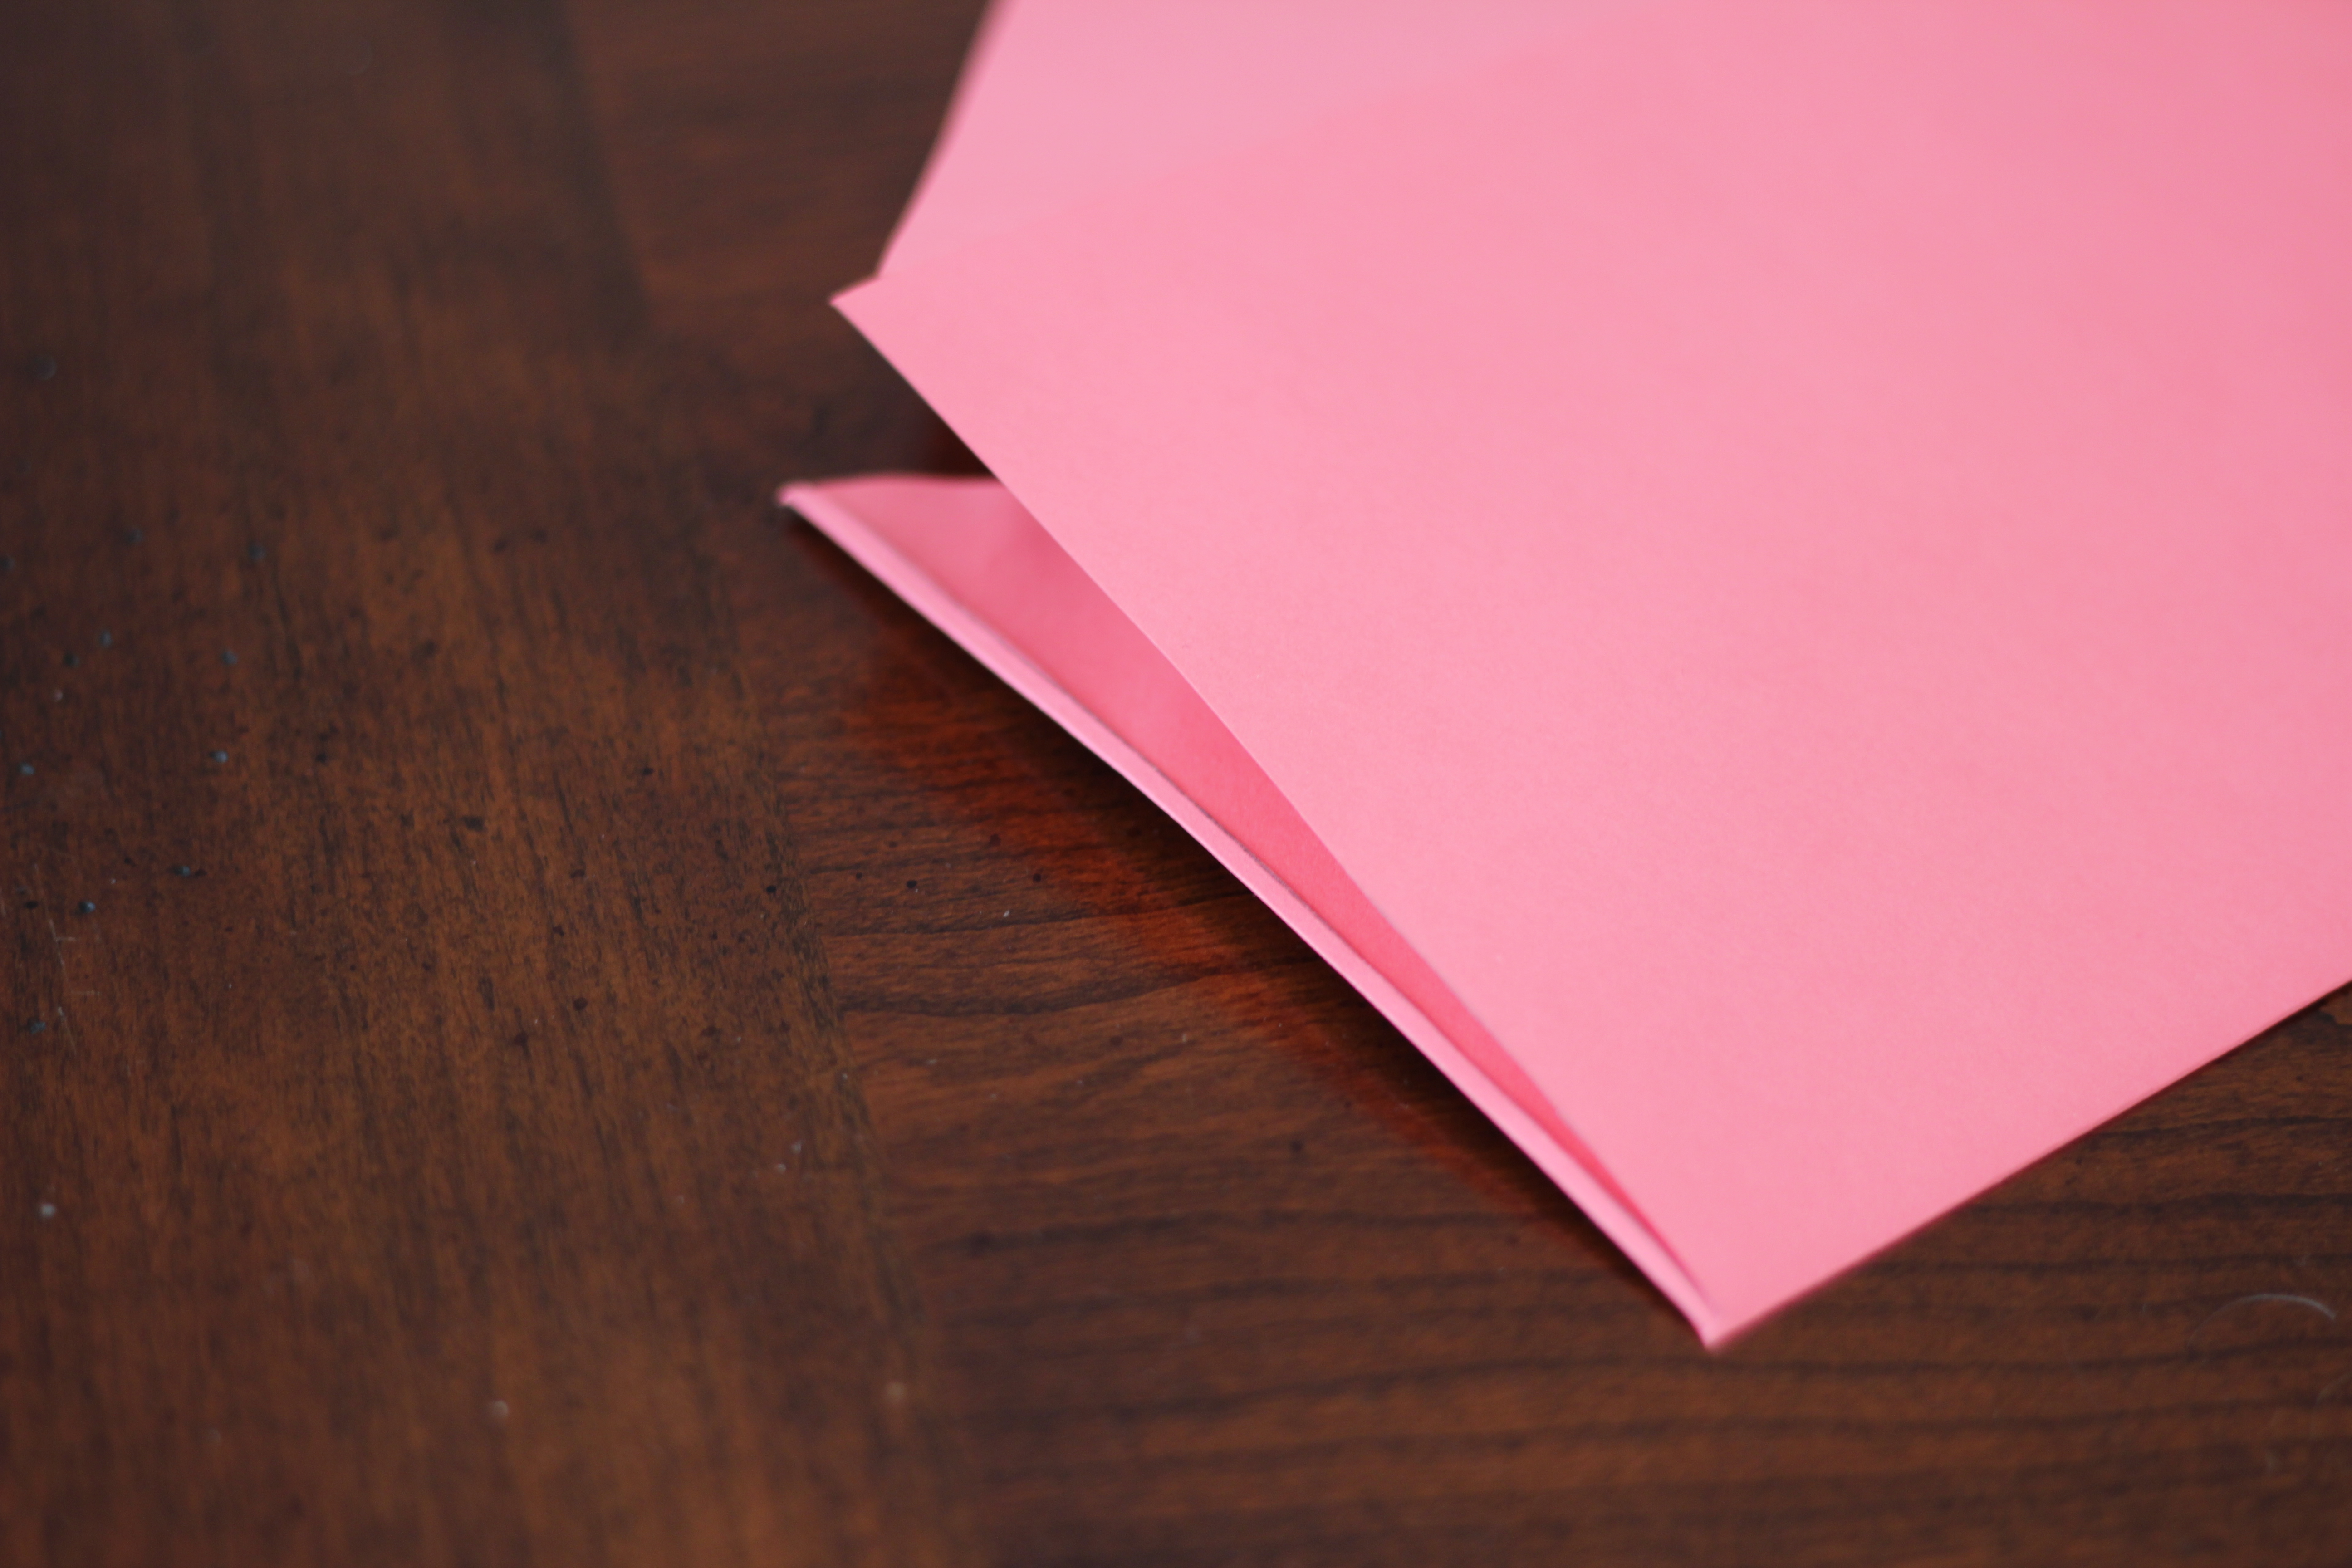
Carefully fold the liner along the envelope fold.
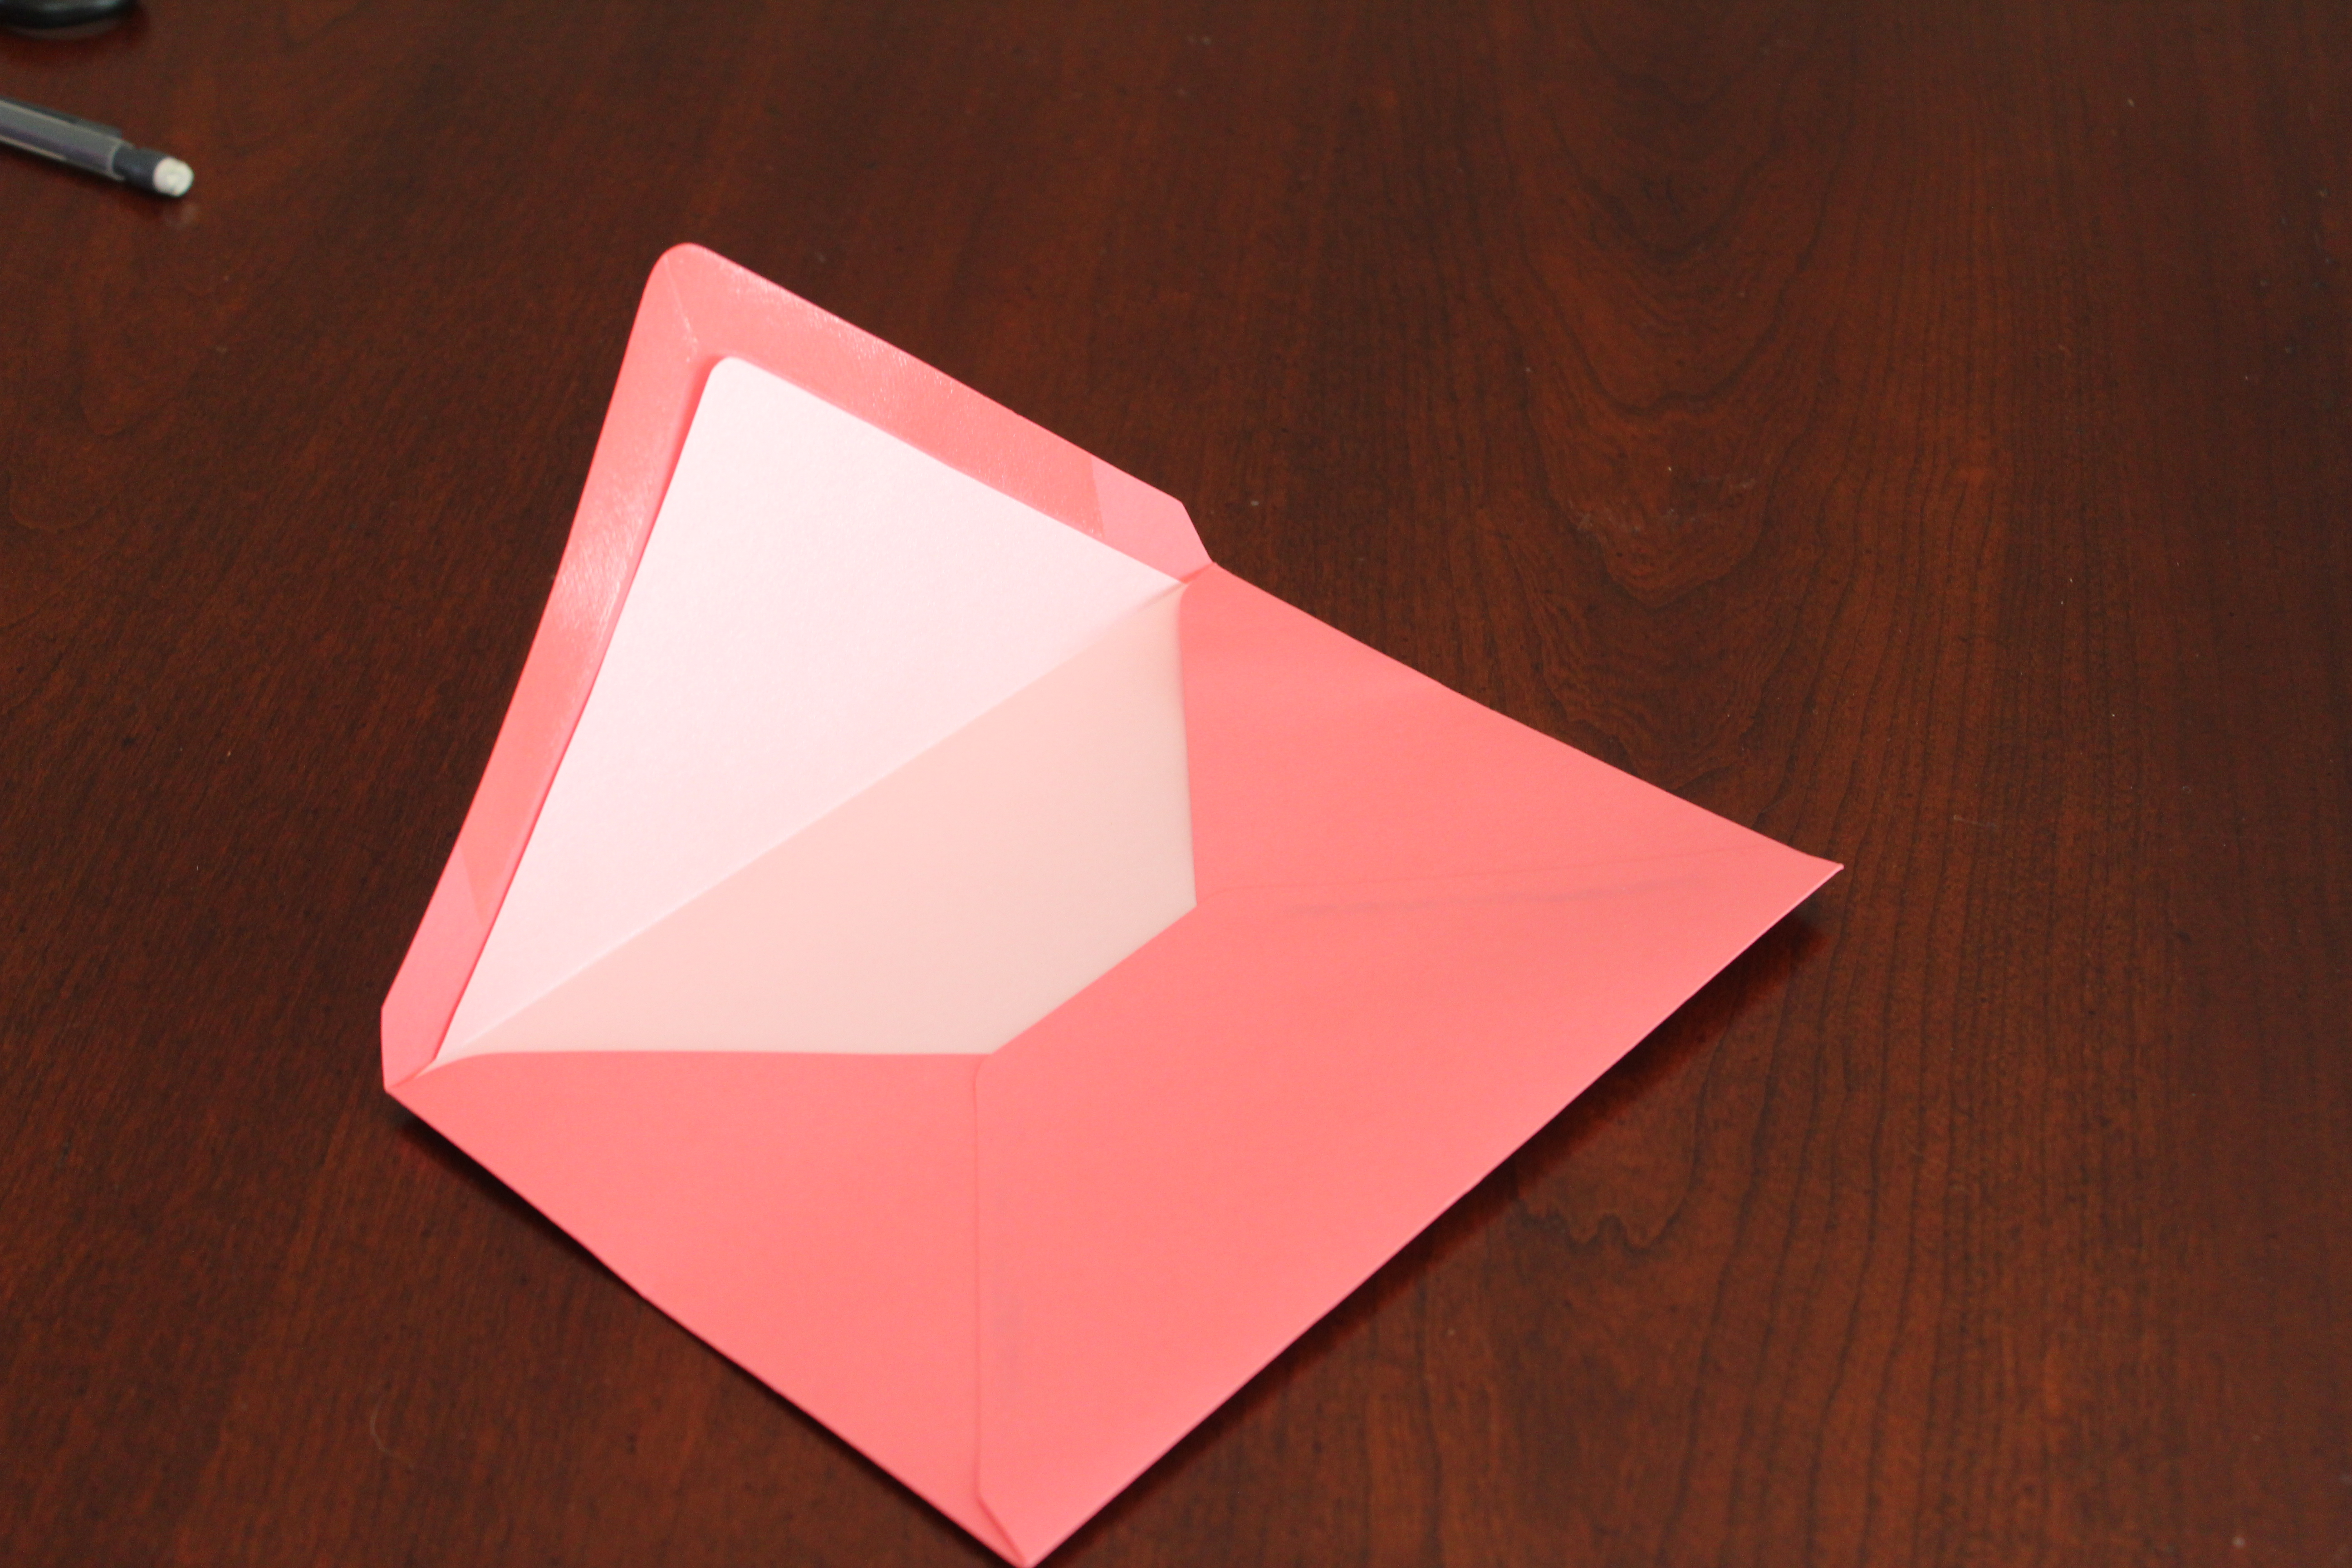
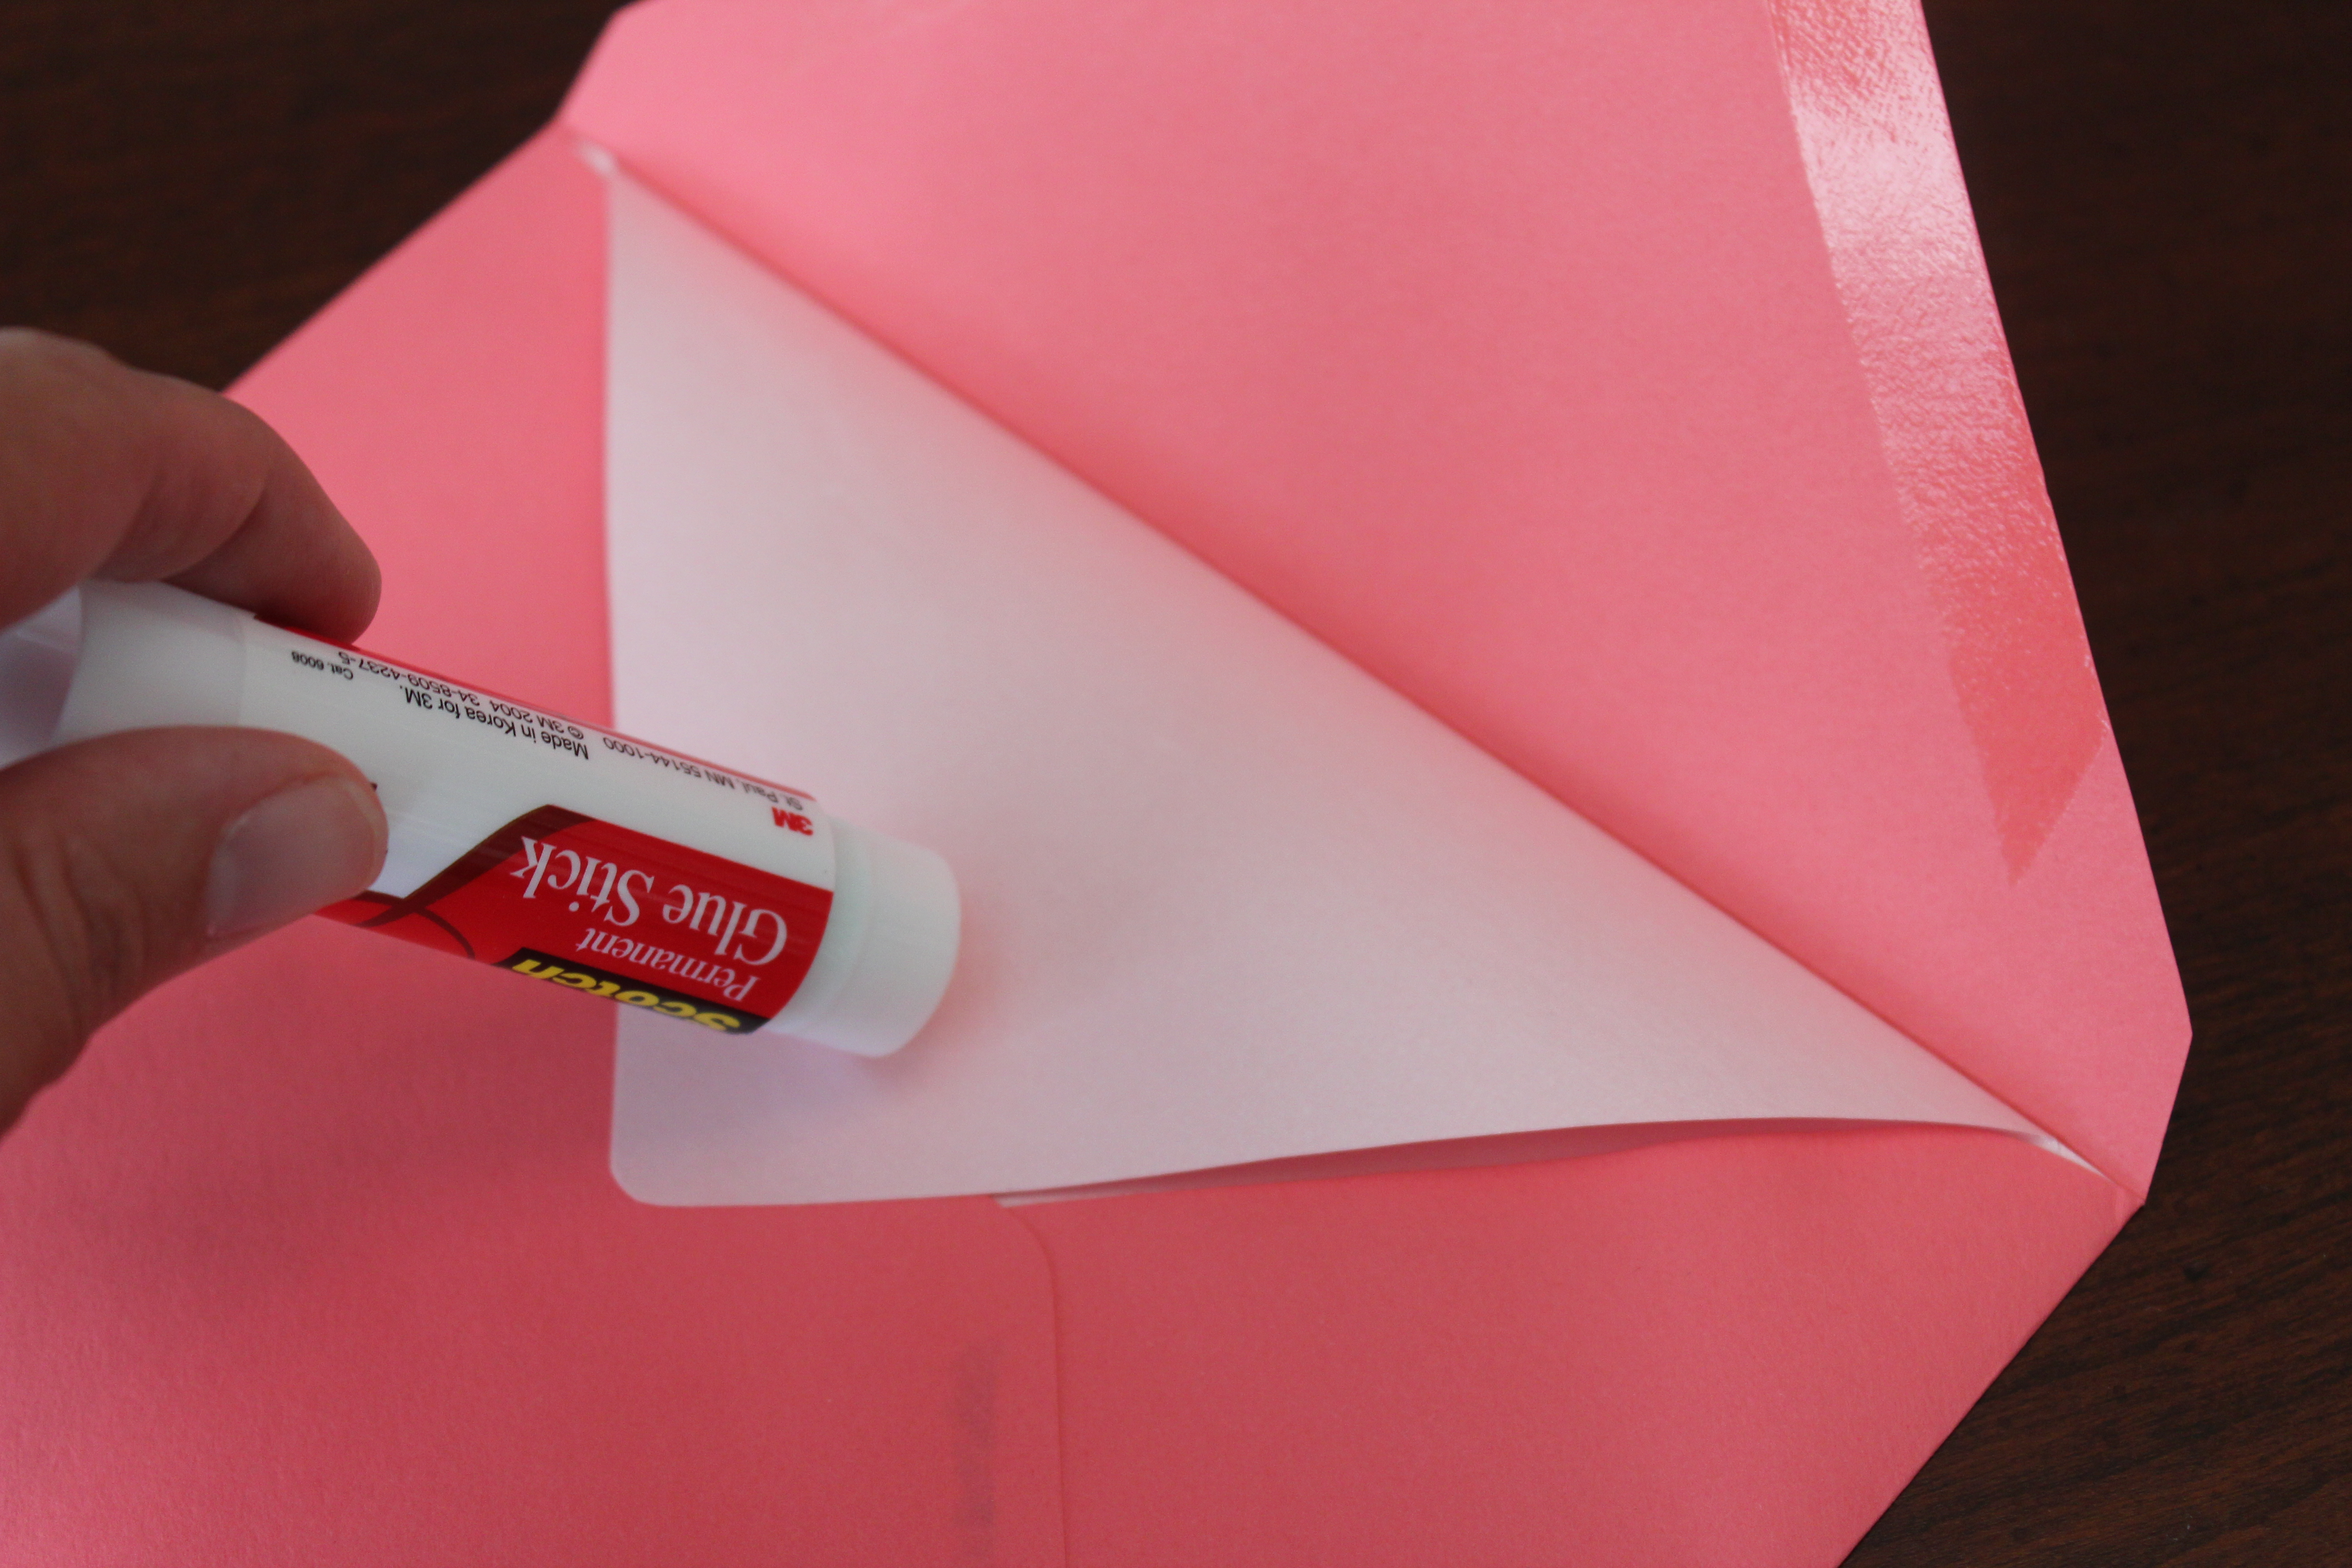
Then glue the back of the envelope liner above the fold.
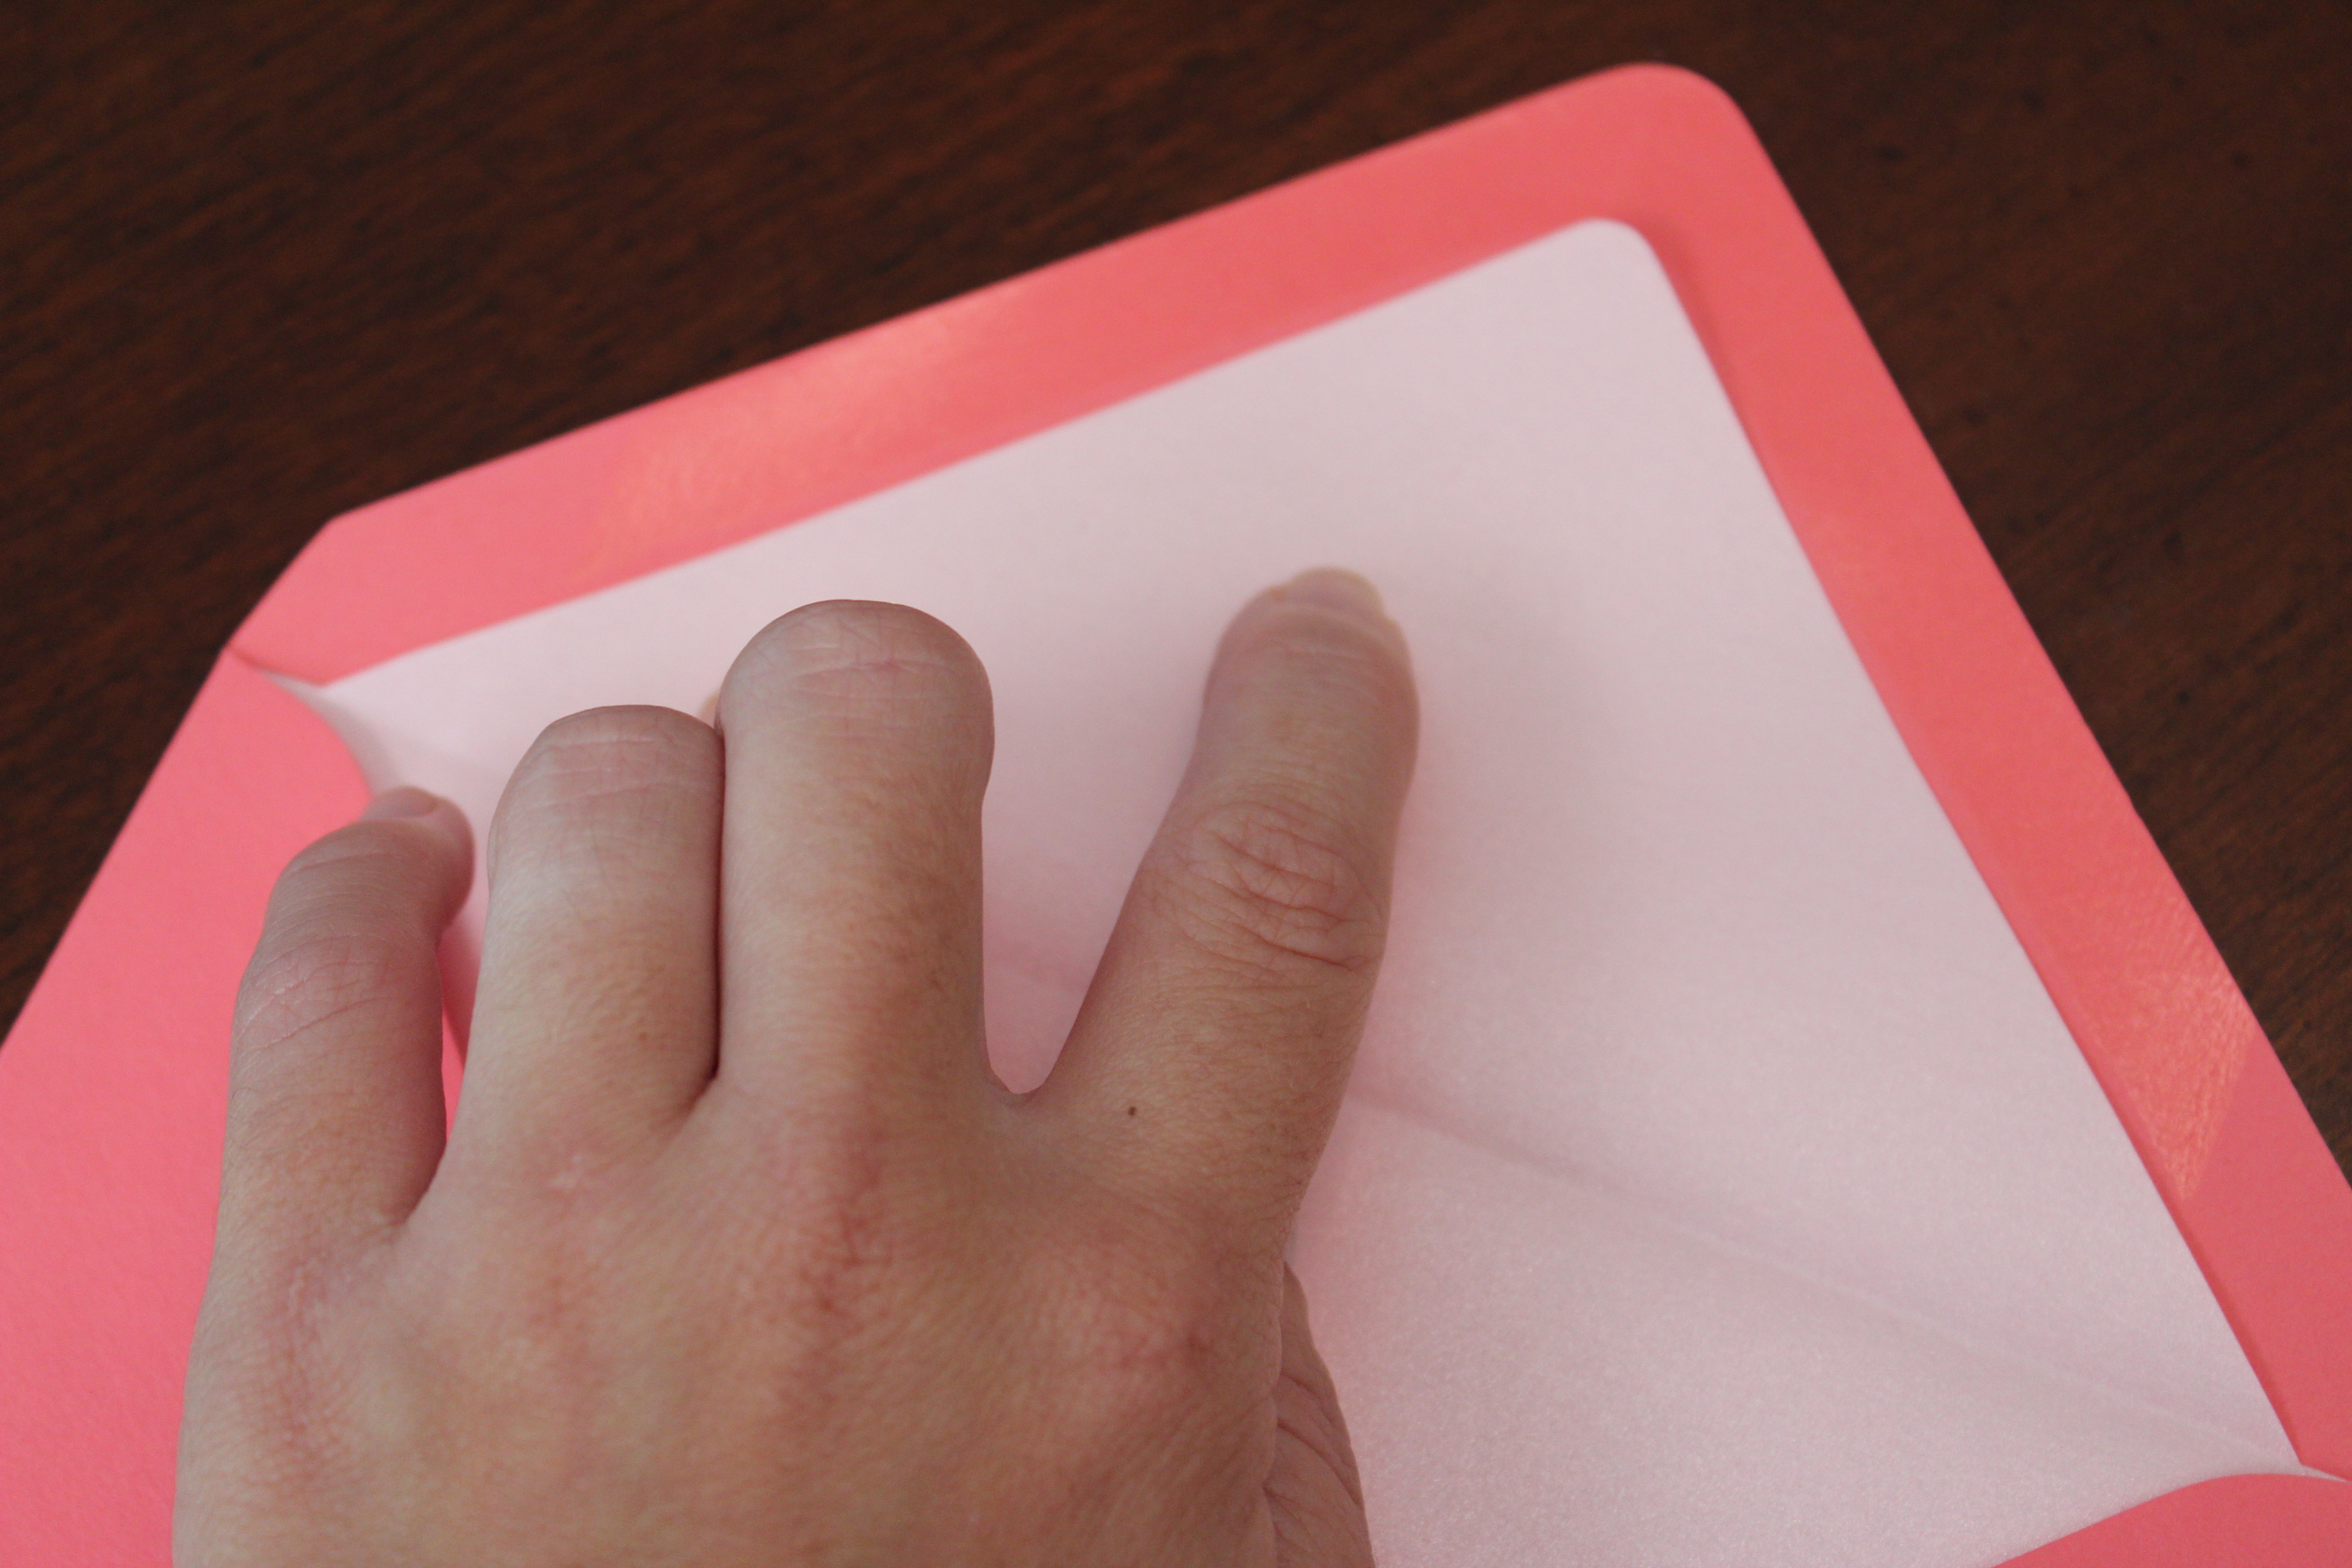
Firmly press the liner on the envelope so you have a smooth seal, no wrinkles.
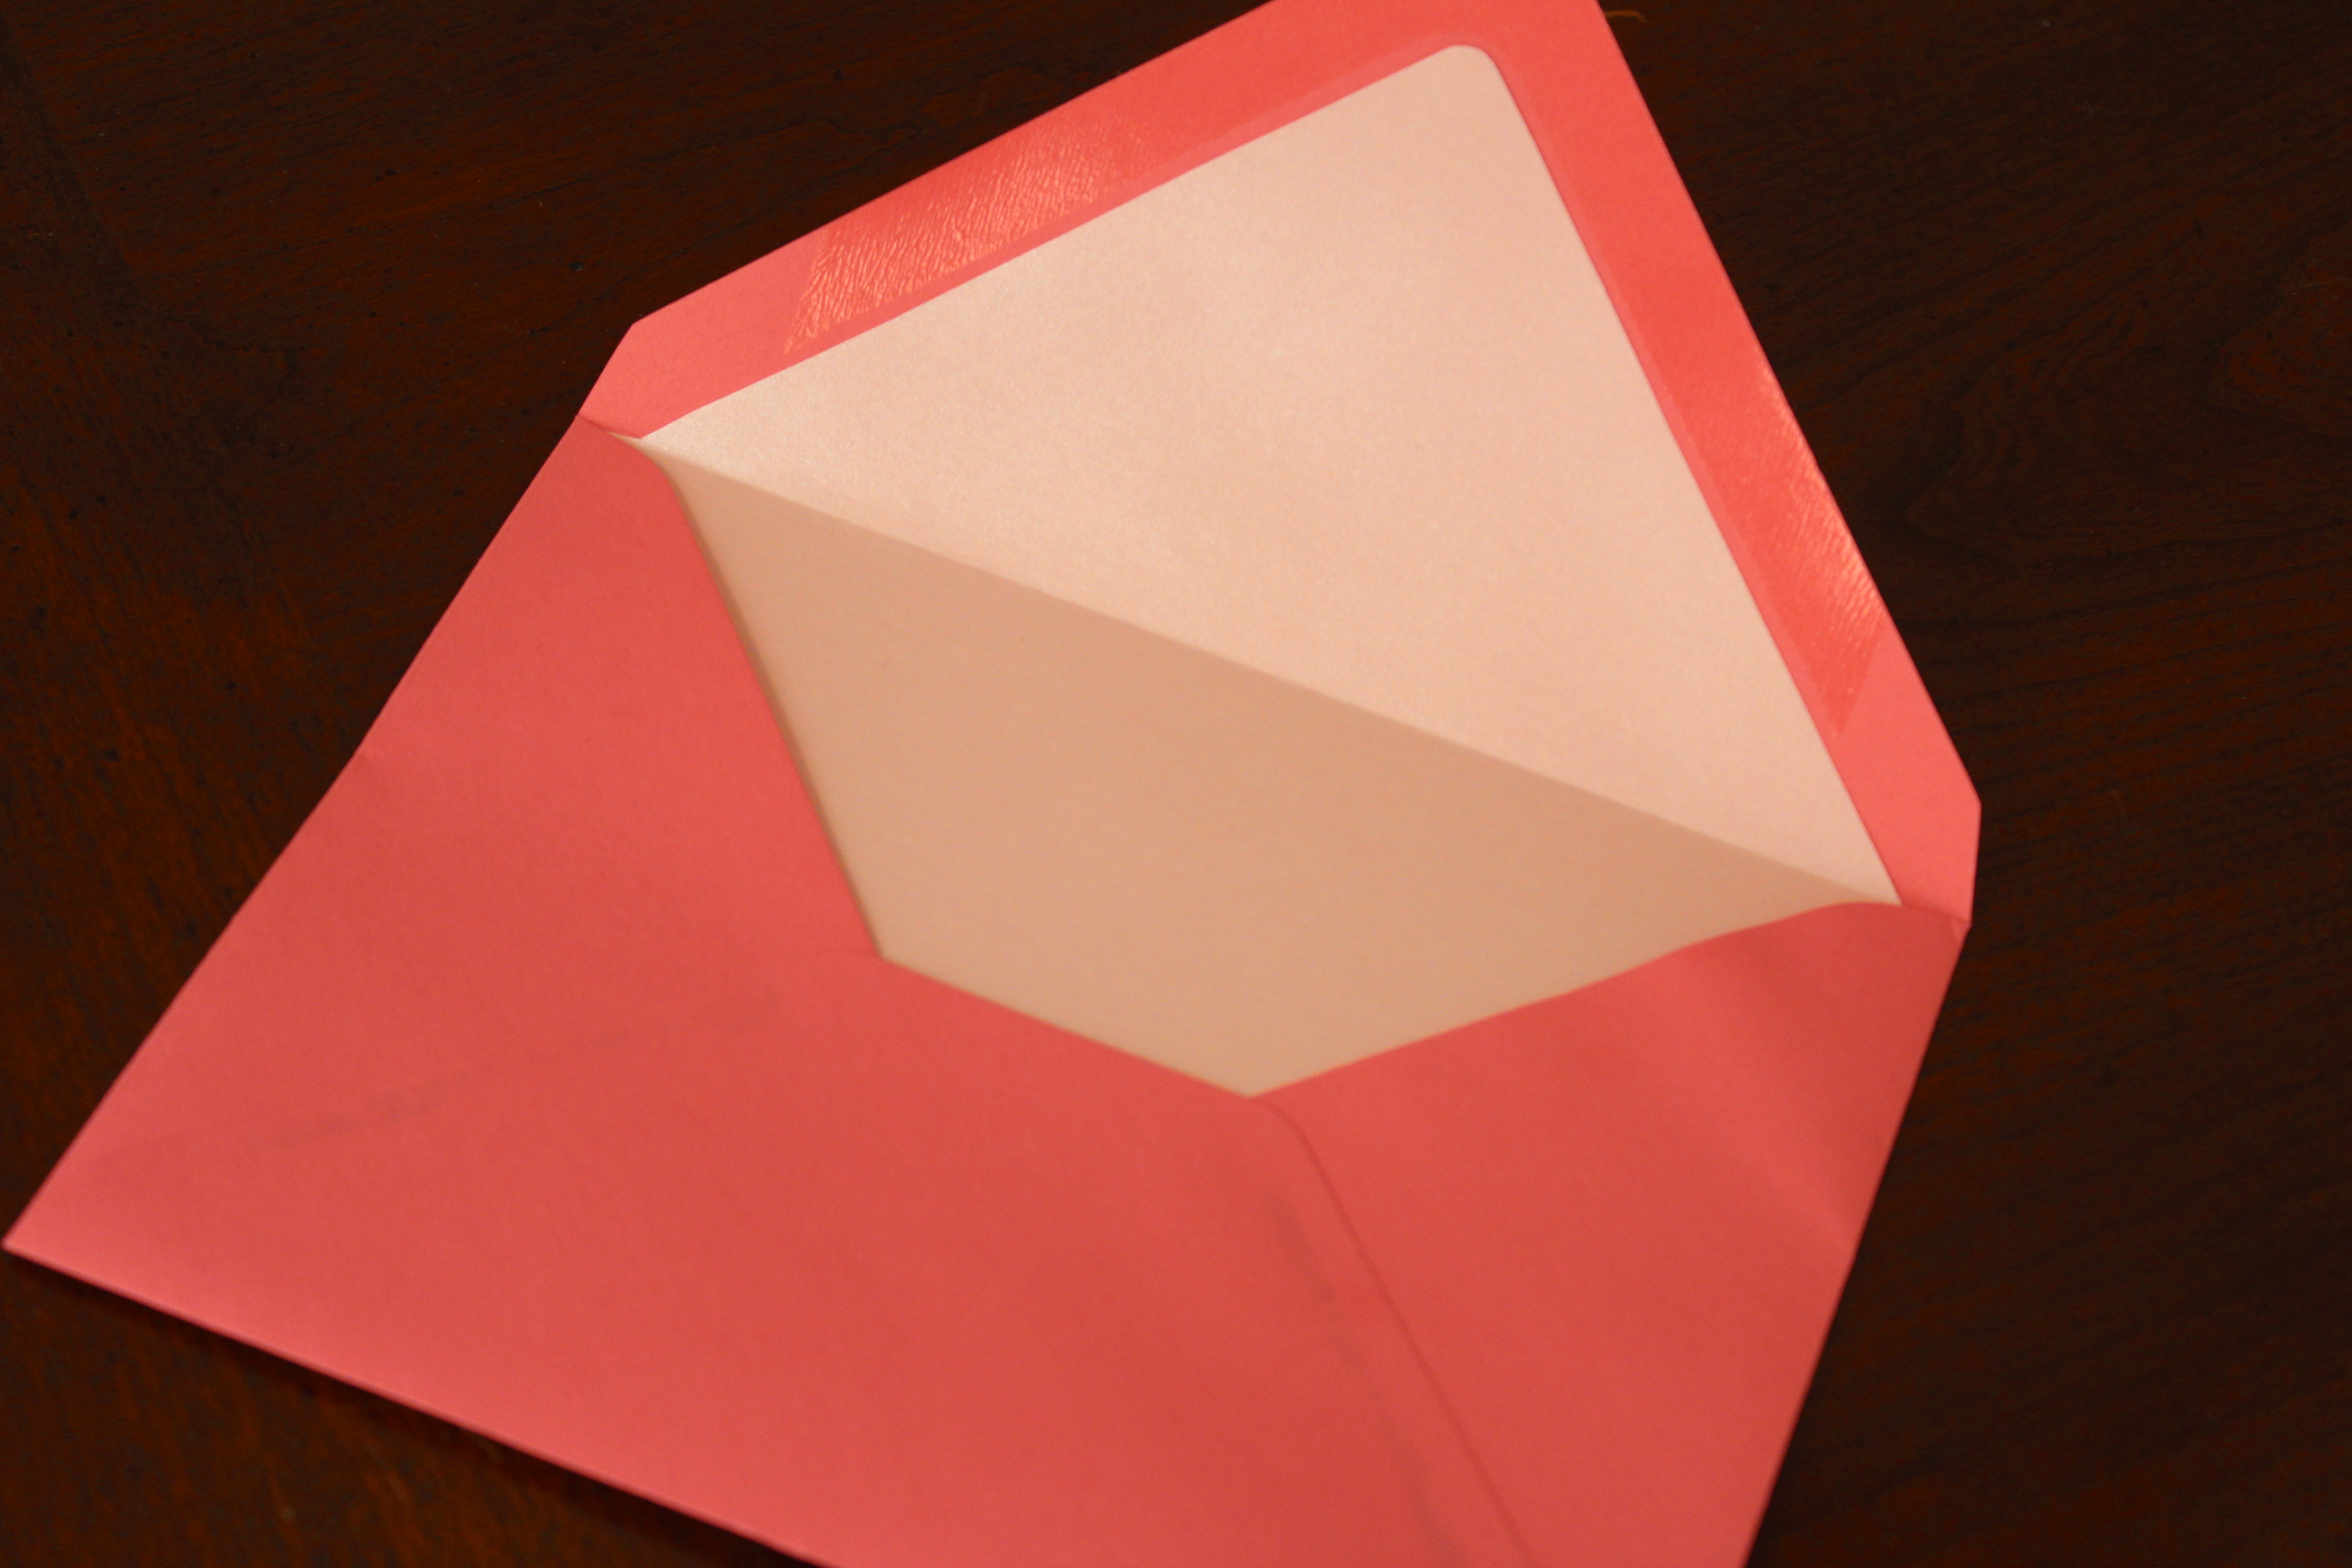
And that’s it! Your envelope is now lined.
Here are some other liners I’ve made, to inspire your creativity.
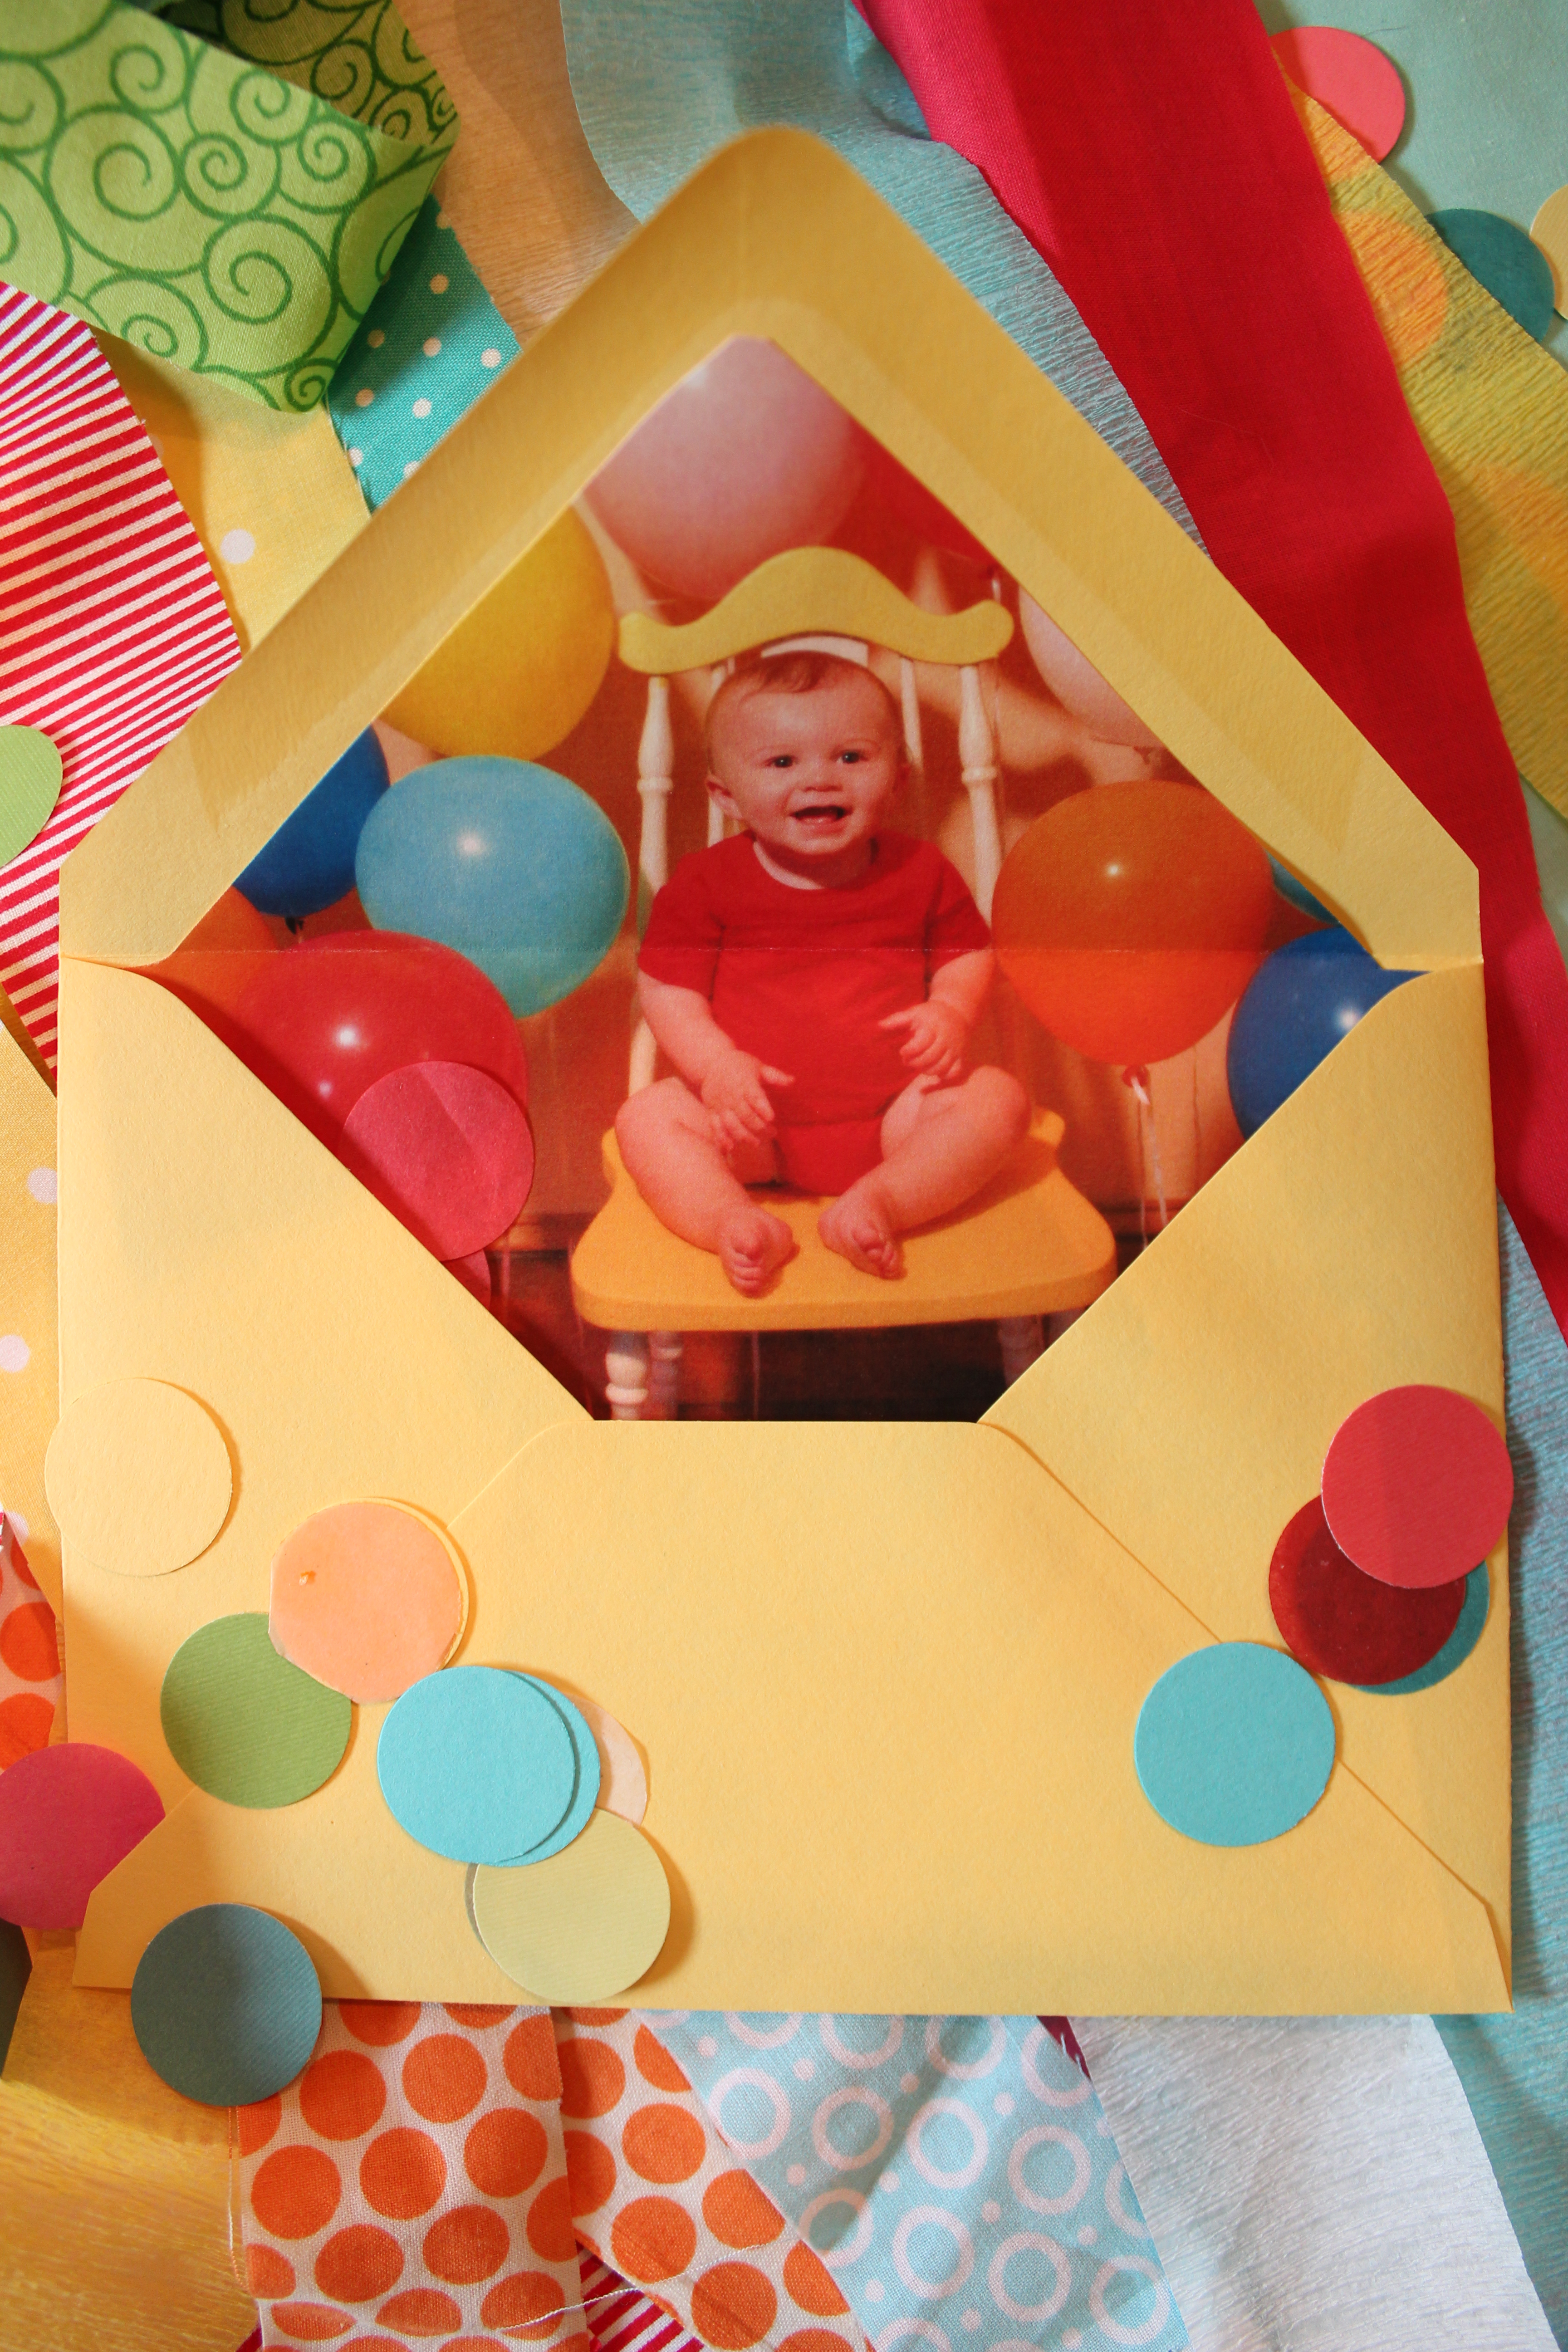
For Owen’s first birthday invitation envelope liners, I used color copies of a photo I took of him surrounded by balloons.
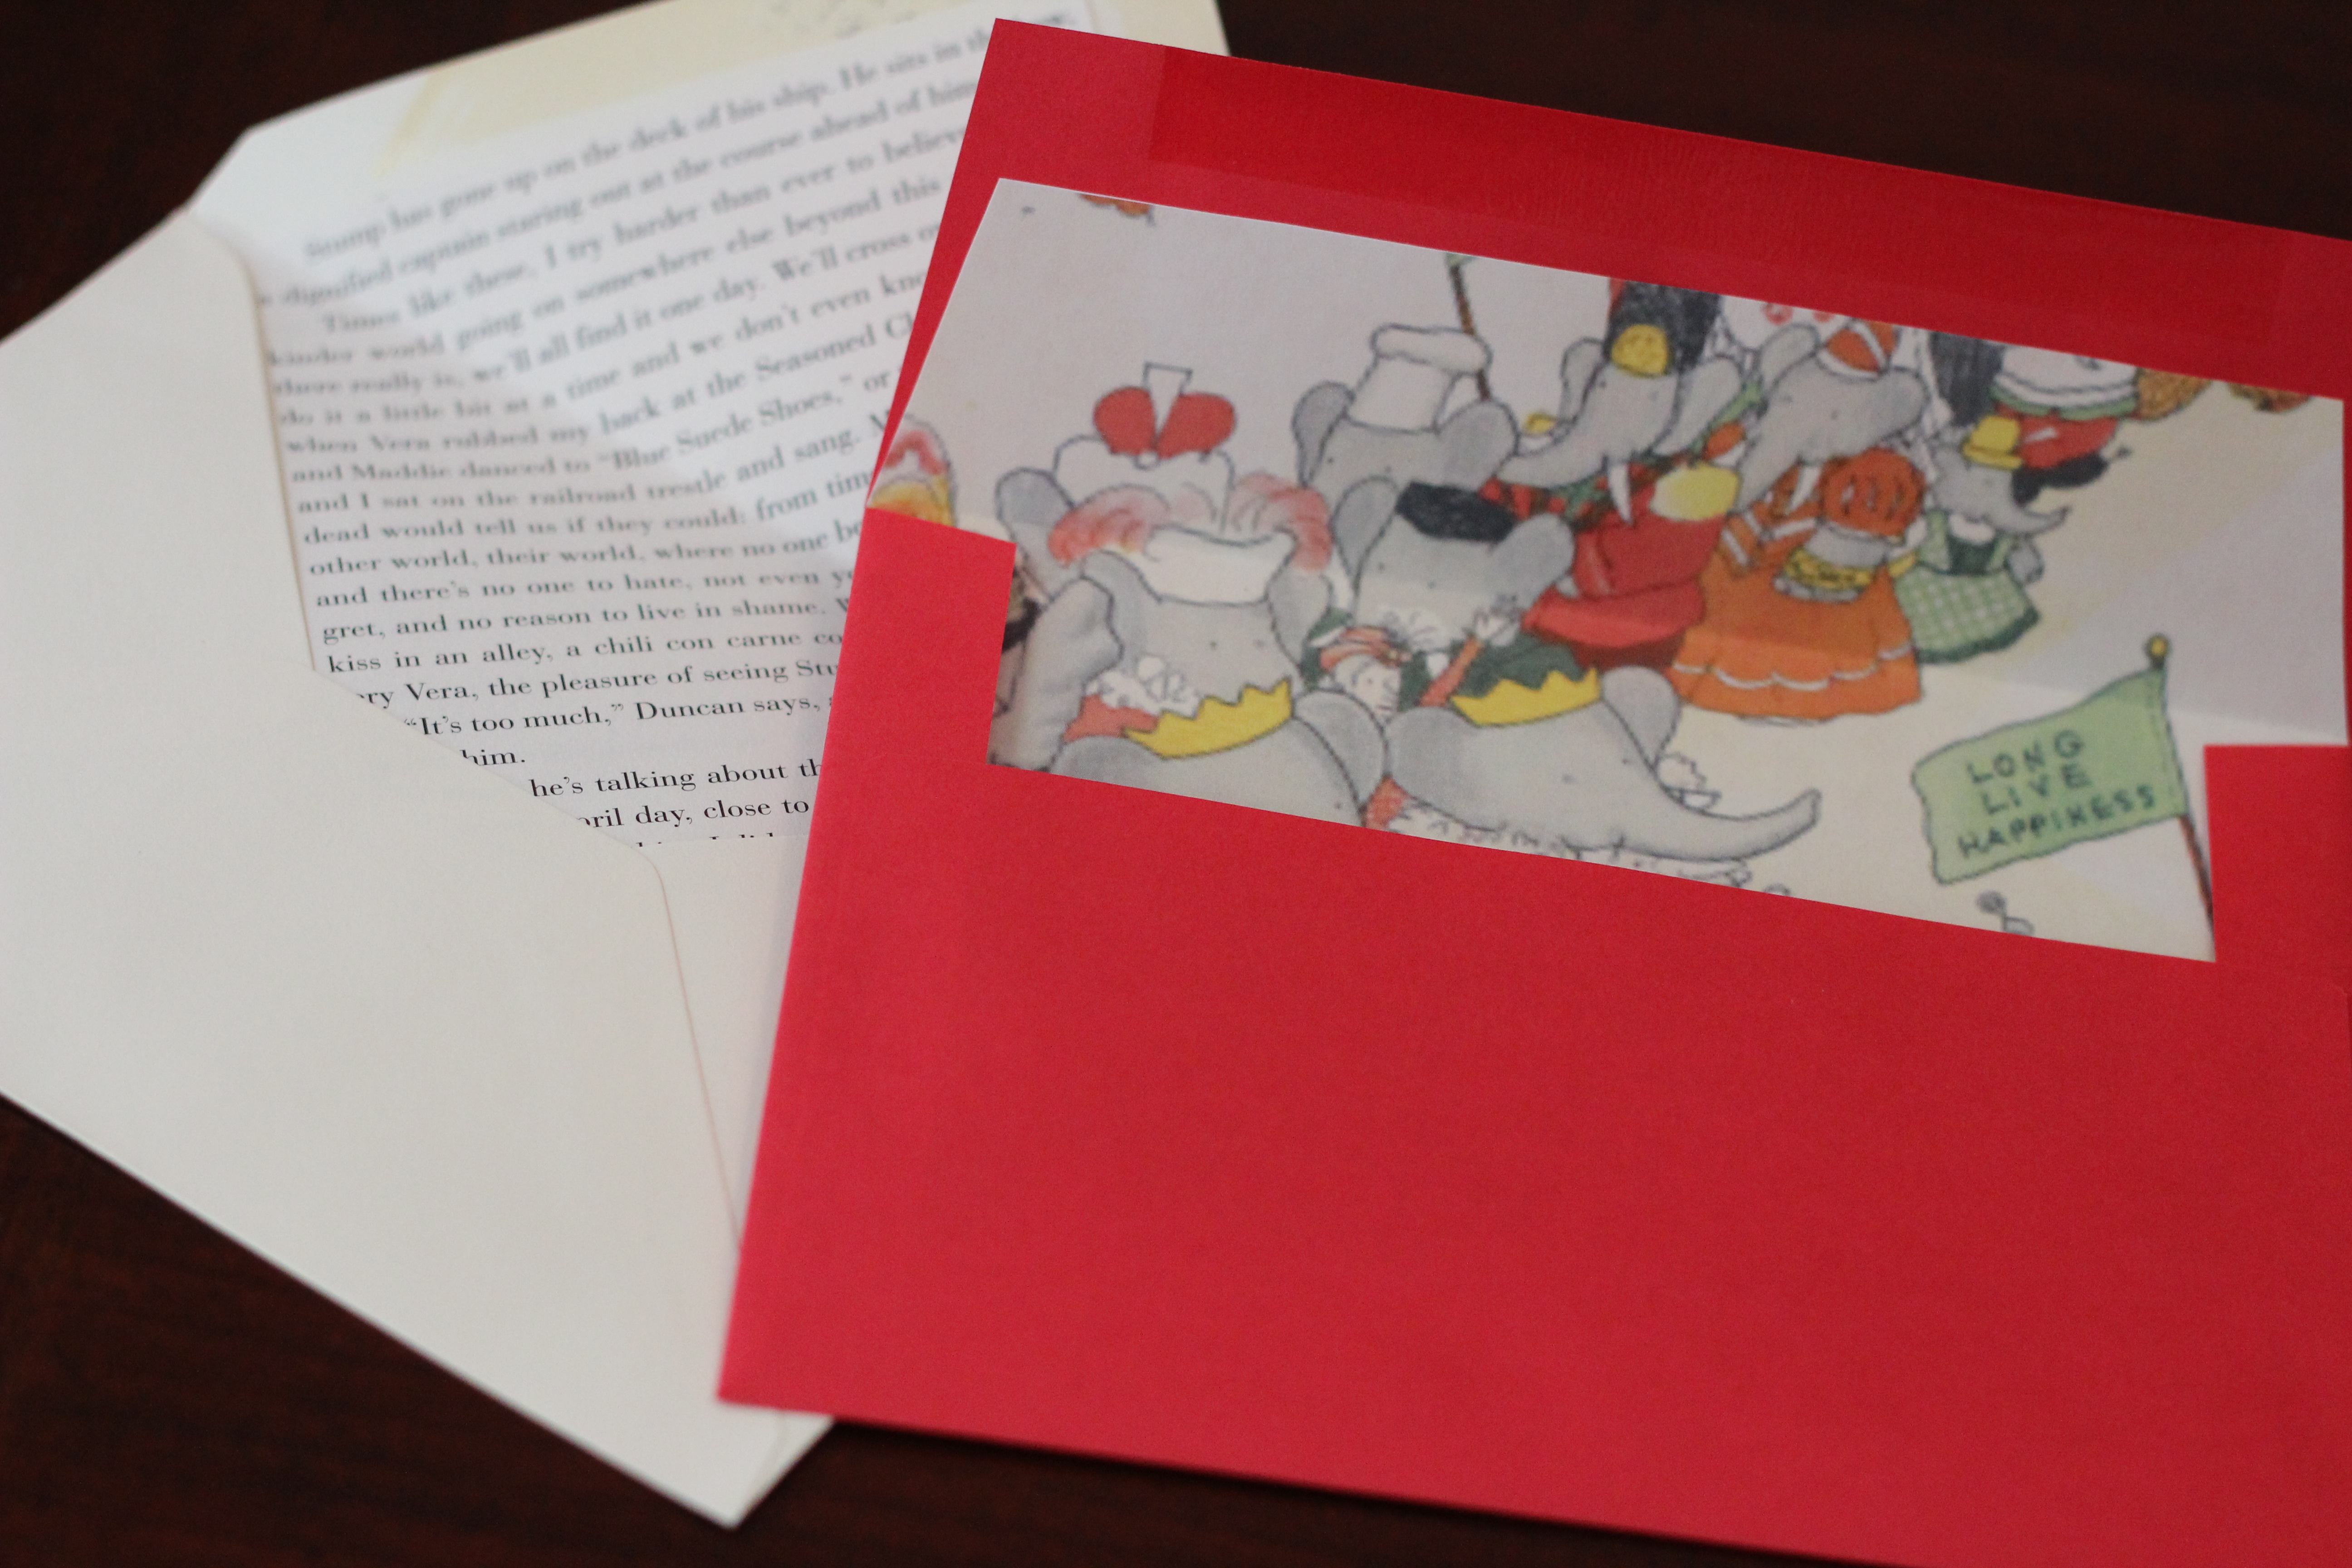
Liners are a great way to show off a party’s theme in an invitation. For my sister’s library-themed bridal shower, I used pages from books. I’ve also used color copies of illustrations from children’s books. Looks cute, right?
Happy DIY’ing!

You are so creative!!