Happy Friday!
Recently, I tackled another craft project for Baby Kopp’s room (Richard’s snarky reaction: “What else are you making NOW?”). I can’t help it…I keep finding cute ideas for nurseries that I can’t resist. Hopefully, Its room doesn’t end up looking too busy and overstuffed.
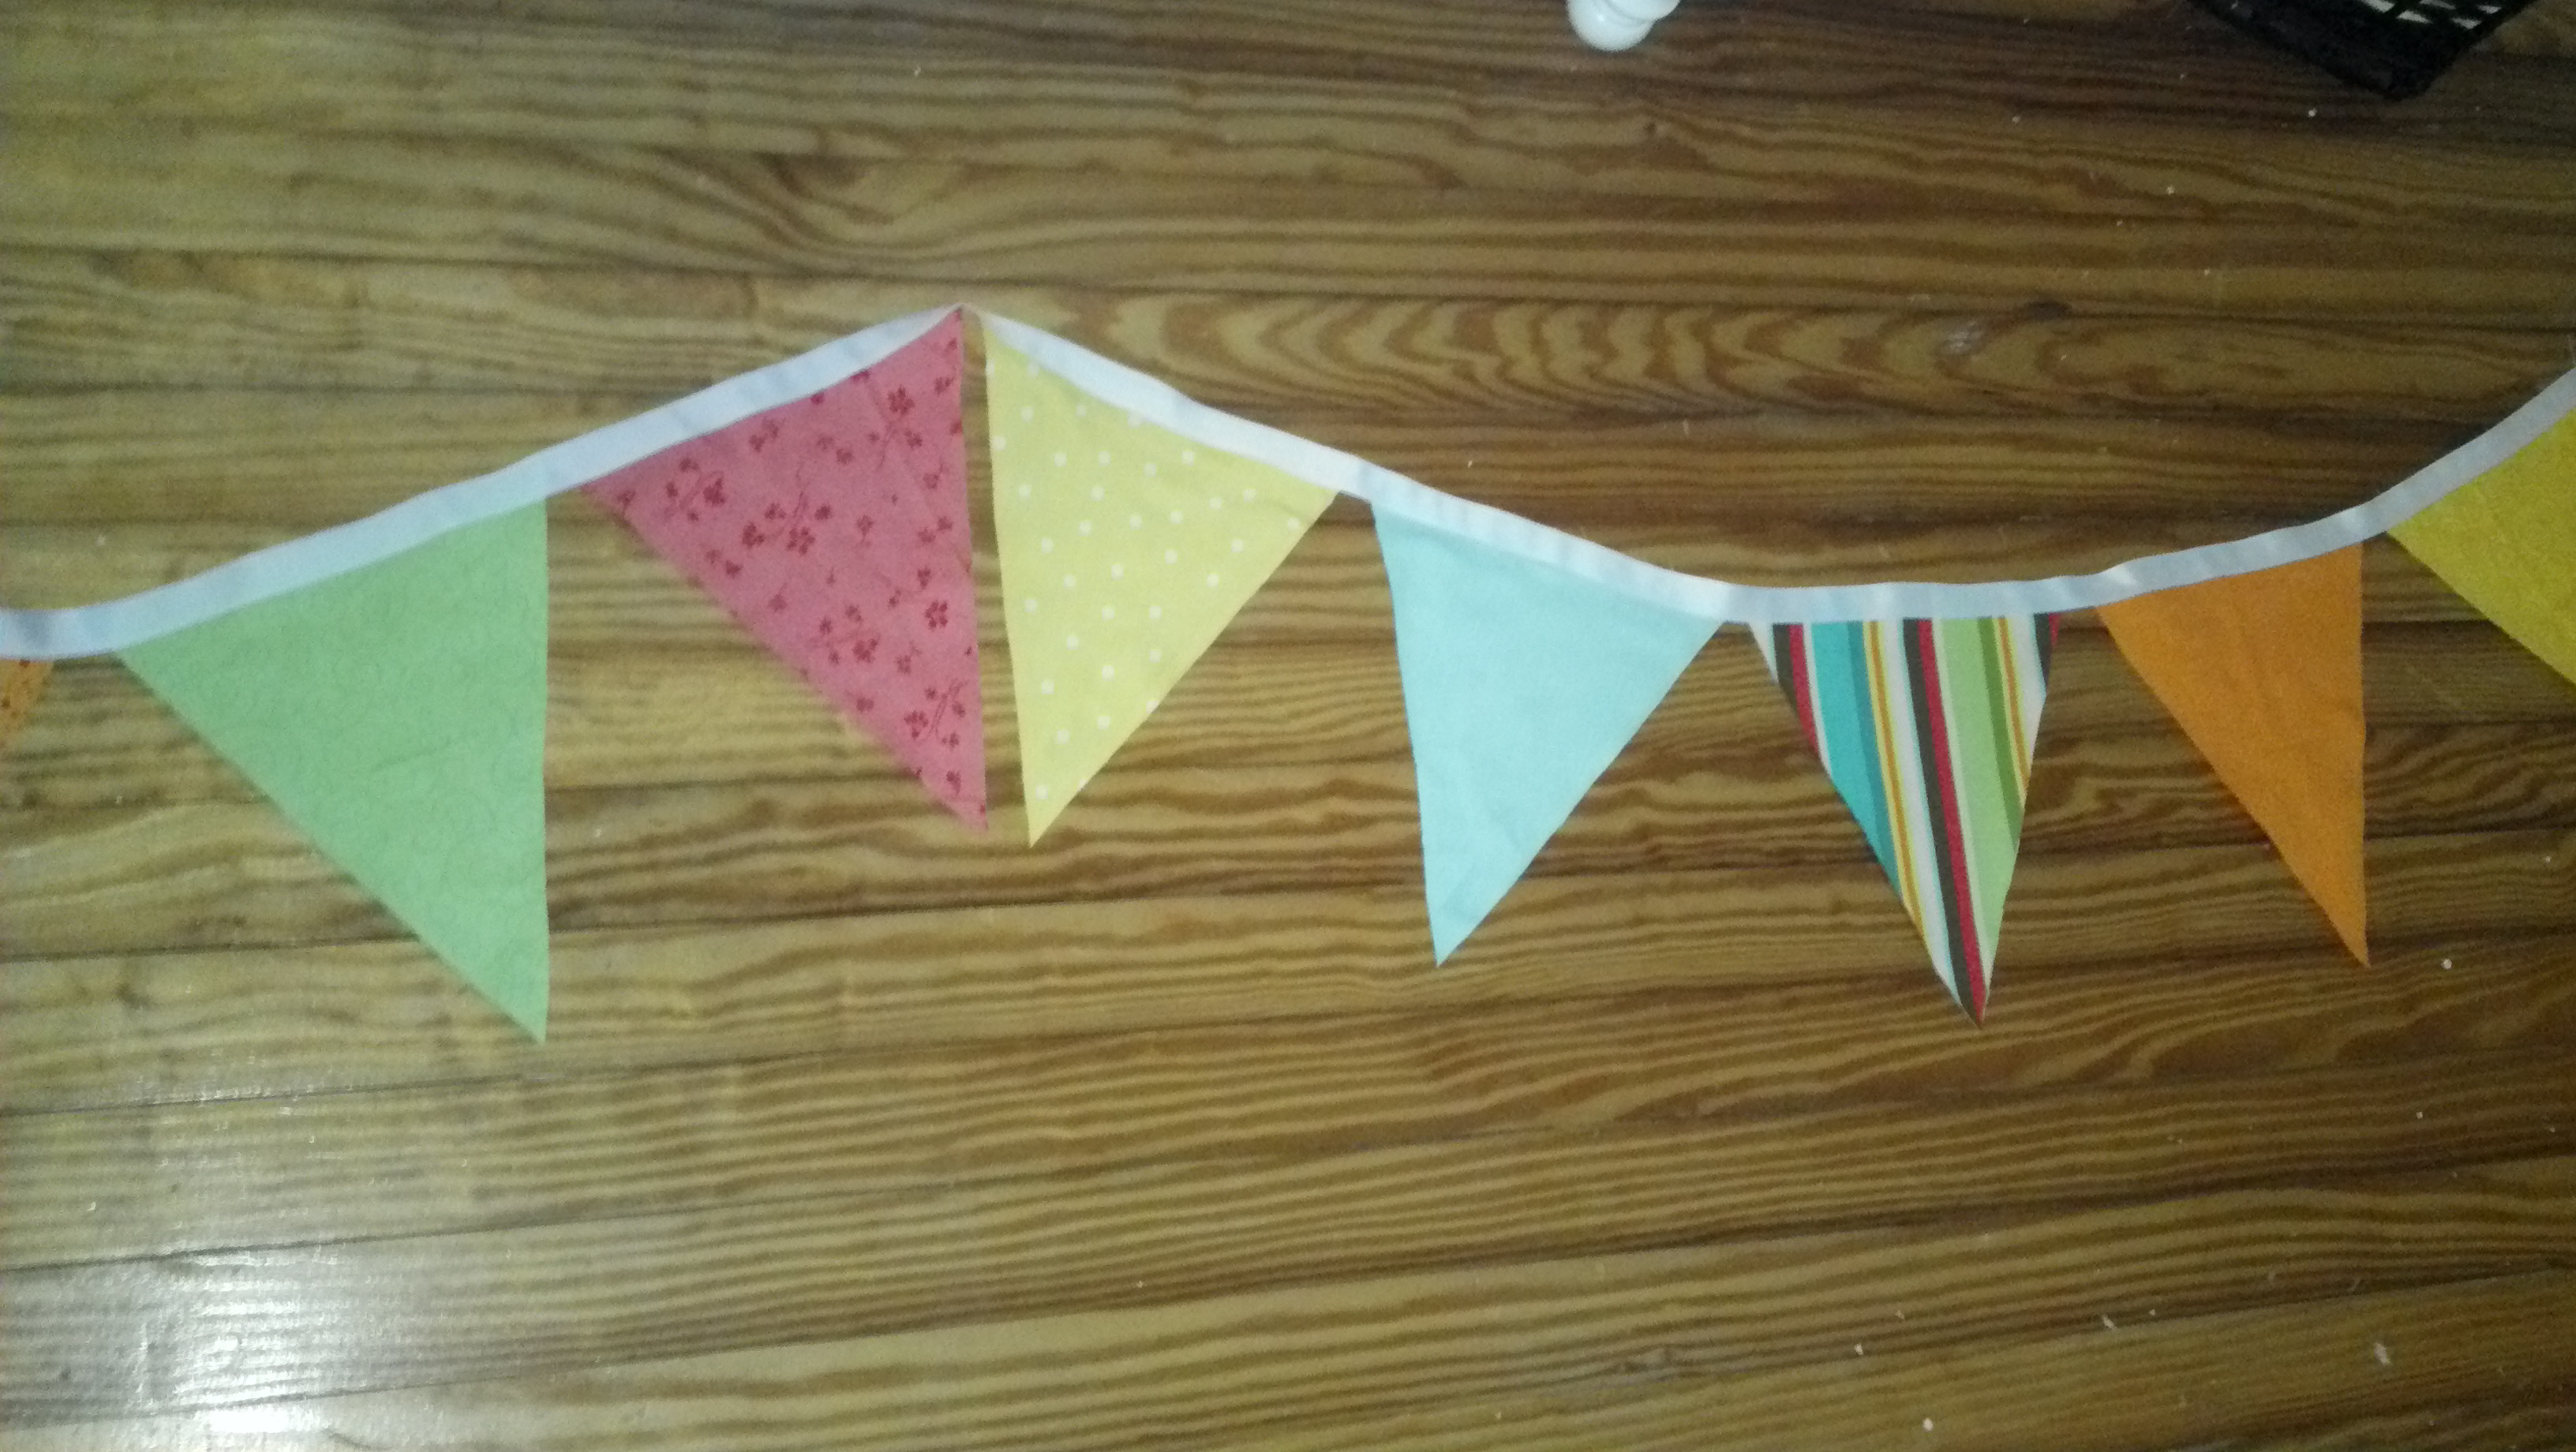
Anyway, I decided to make bunting garland to hang in the nursery since it’s super trendy right now and all the cool nurseries have it (Richard’s skeptical reaction: “Isn’t that stuff for circuses?”). Despite Richard’s opinion of bunting, I think it came out looking pretty darn cute.
Since I don’t have a sewing machine, I put together most of the fabric pieces using iron-on fabric tape. I did make the effort to hand-sew the whole garland together at the end, because it just looked better and more handmade. Here’s how I did it.
What you’ll need:
Sharp scissors
White thread
Needle
Grosgrain ribbon (5/8” or 7/8” wide)
Iron-on adhesive tape for fabric (3/8” or 5/8” wide)
Fabric, in various colors and patterns
Iron or hair straightener
Cardboard and pencil
Before you even buy your supplies, figure out how long your bunting needs to be and how large you want the flags to be. To determine the length of your bunting, you’ll want to measure where you want to hang it and then add an extra 1 or 2 feet to that number (this gives your bunting some extra length to hang). From there, you need to do some math to figure out how many flags will fit the length of the bunting. I made my bunting 10 feet long with 15 flags that measured 7”x8” with about 1 inch of space between each.
Enough with the math – let’s make this thing!
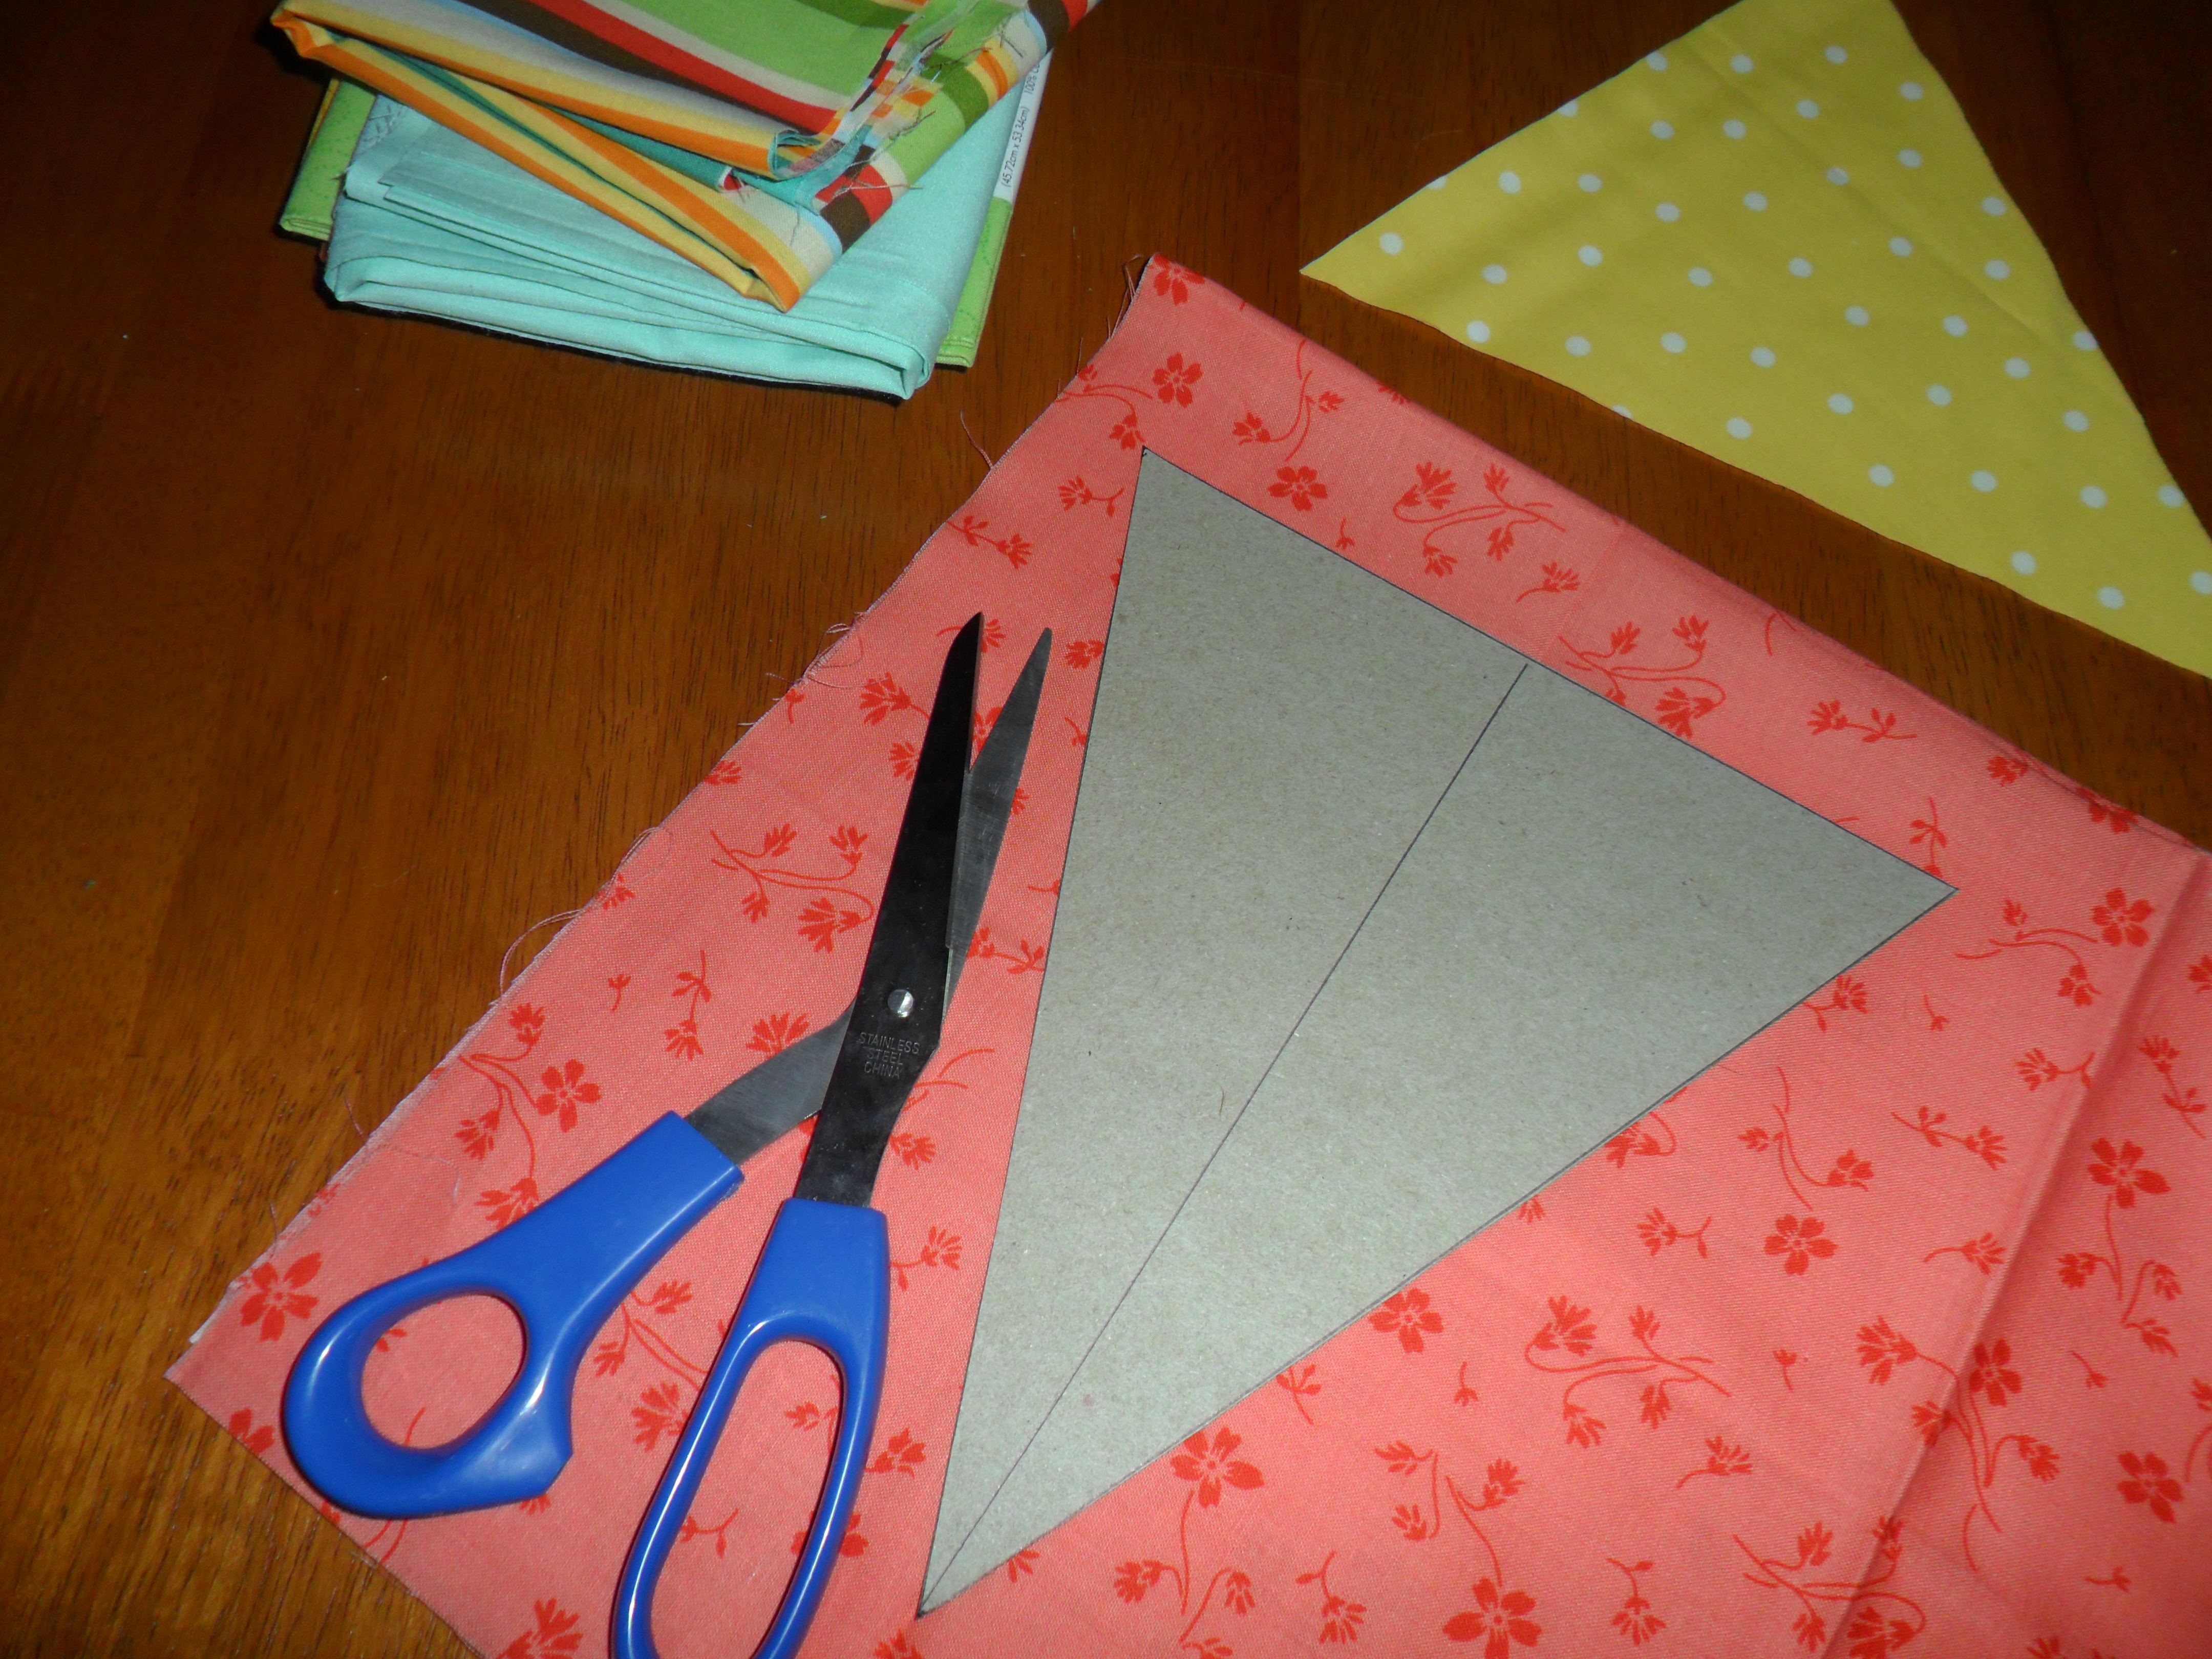
Begin by making a pattern for your bunting flags with cardboard and a pencil. I chose to make my bunting with triangle flags, but rectangles and half-circles are also popular. As I mentioned, my flag pattern was 8” long and 7” wide.
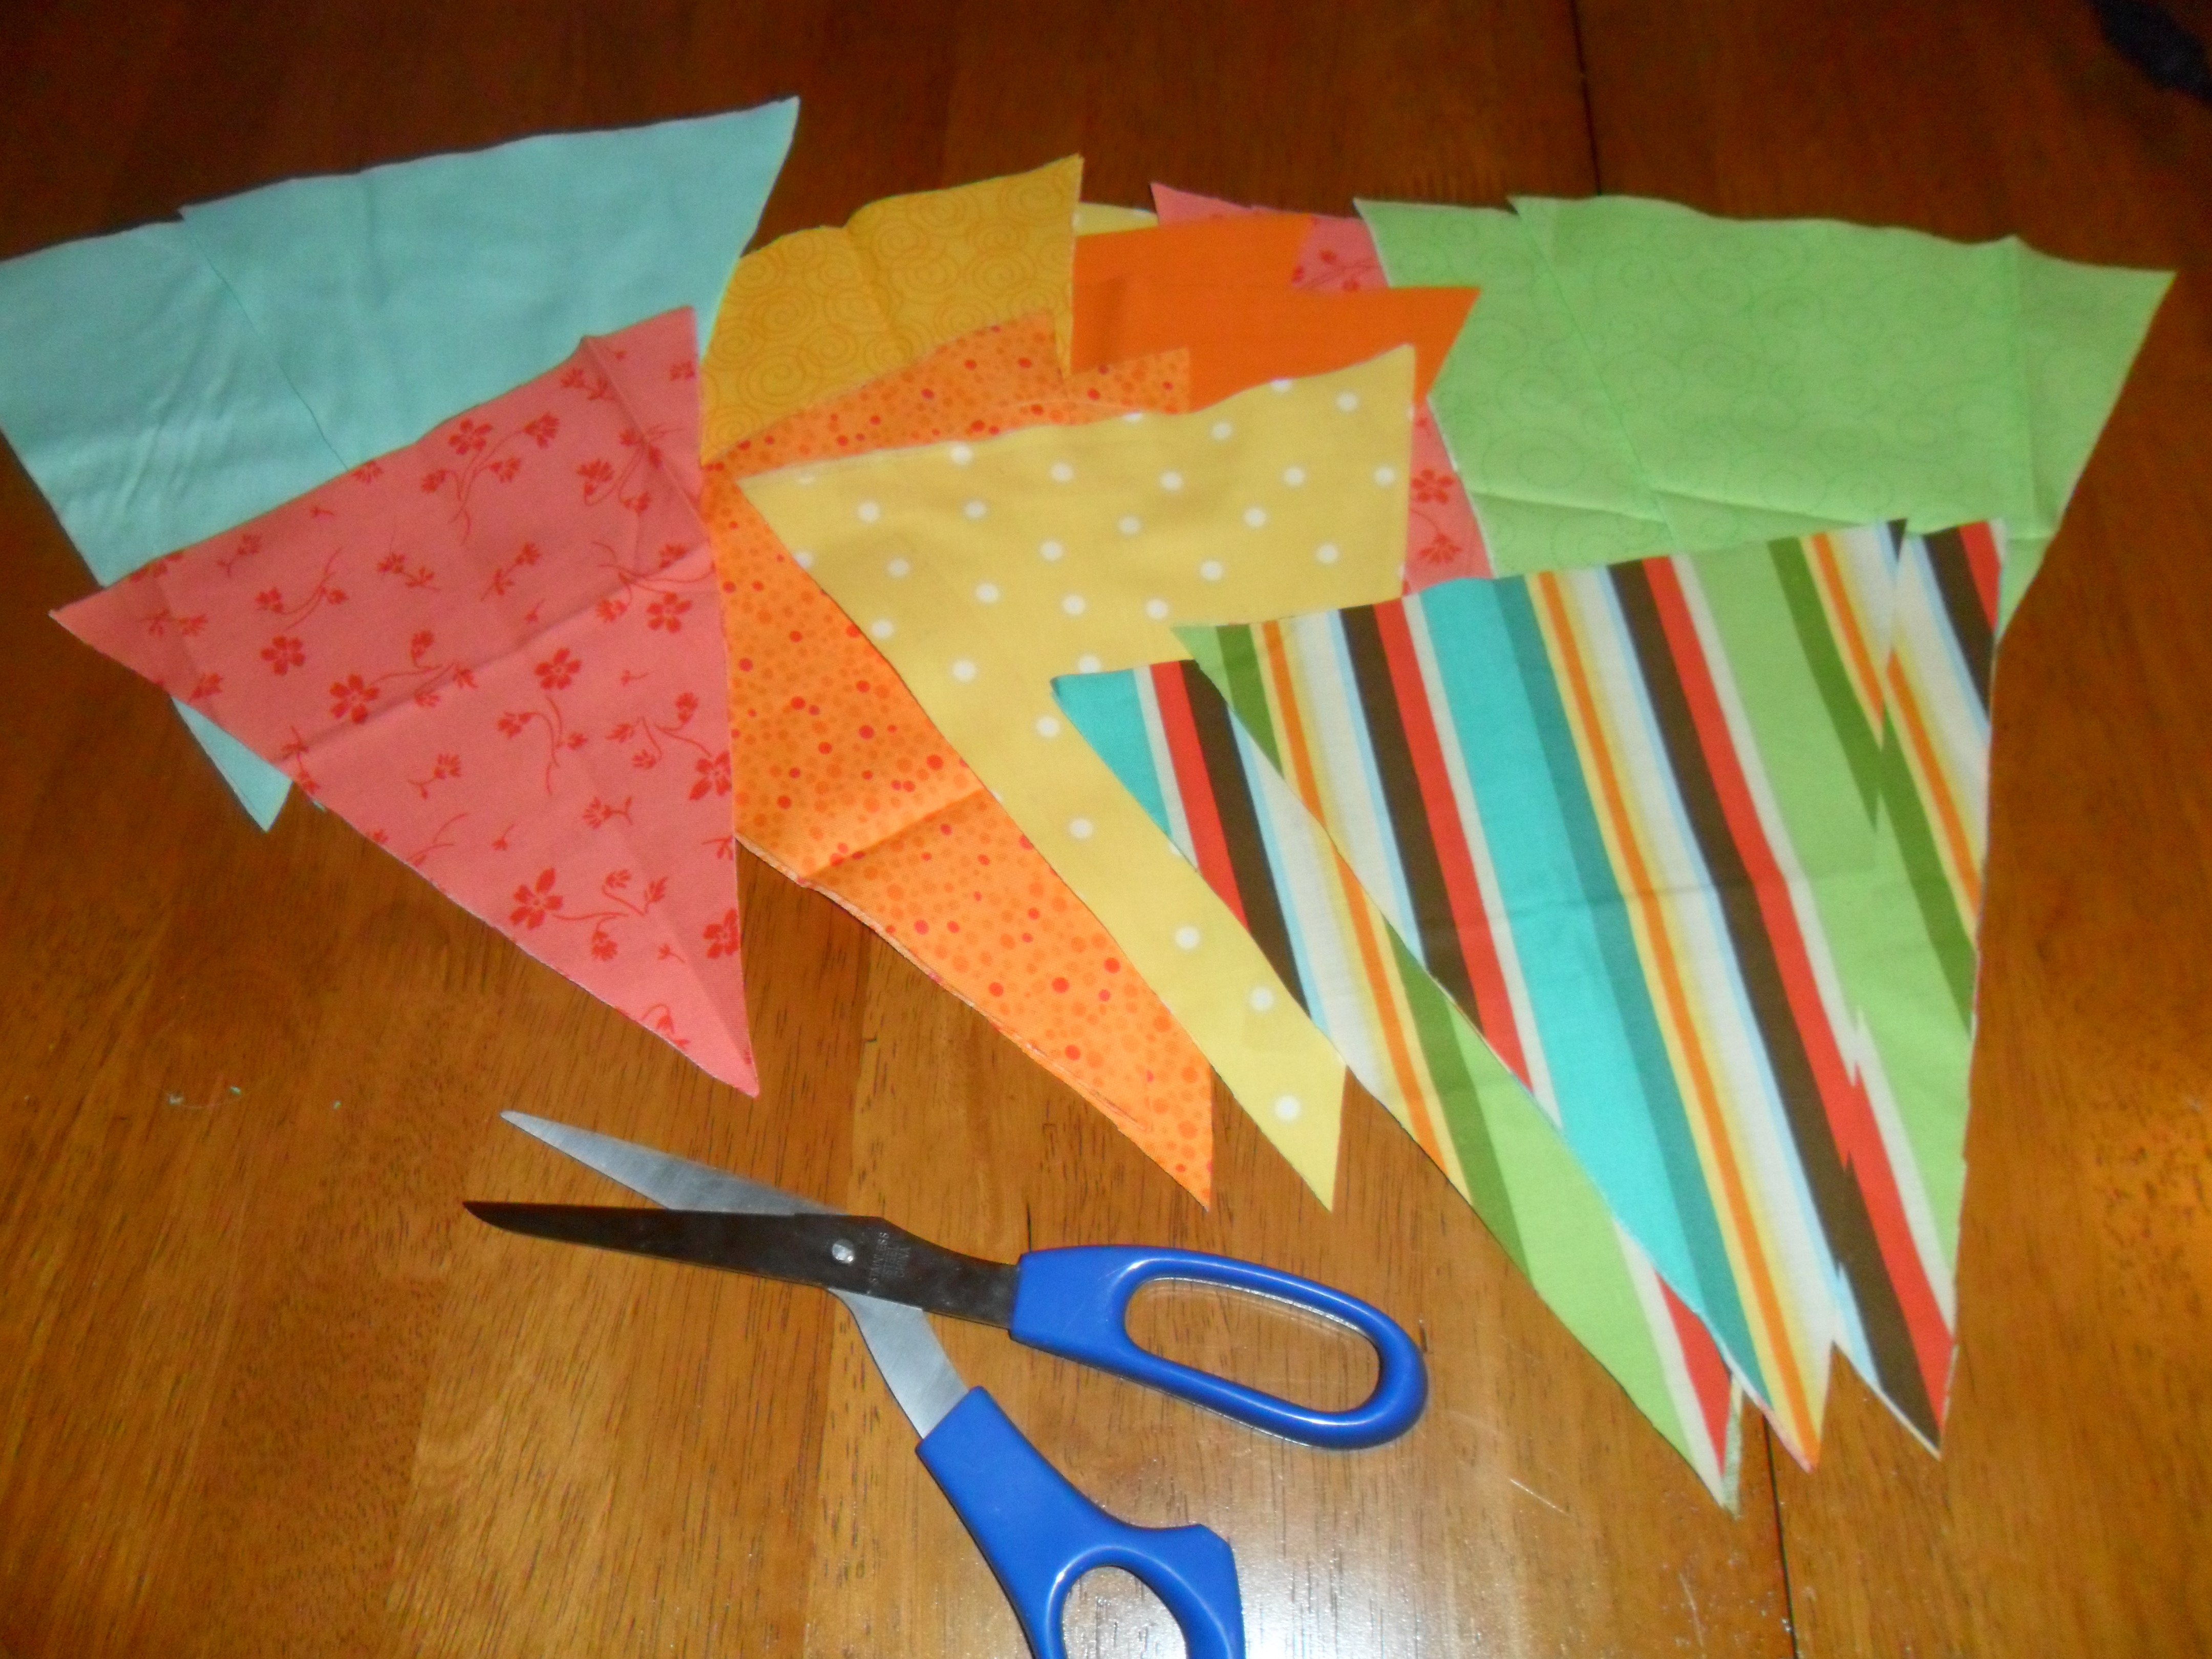
After you’ve made your pattern, use it to trace the flag shape on your fabric. Remember to trace on the back side of the fabric, so that you don’t have to worry about your pencil markings showing in the finished product. Trace and cut out all of your flags. You’ll need to cut out double your total number of flags, so that you have a pair for each flag – a piece for the front and the back. For example, I made 15 flags so I needed to cut out 30 triangle flags.
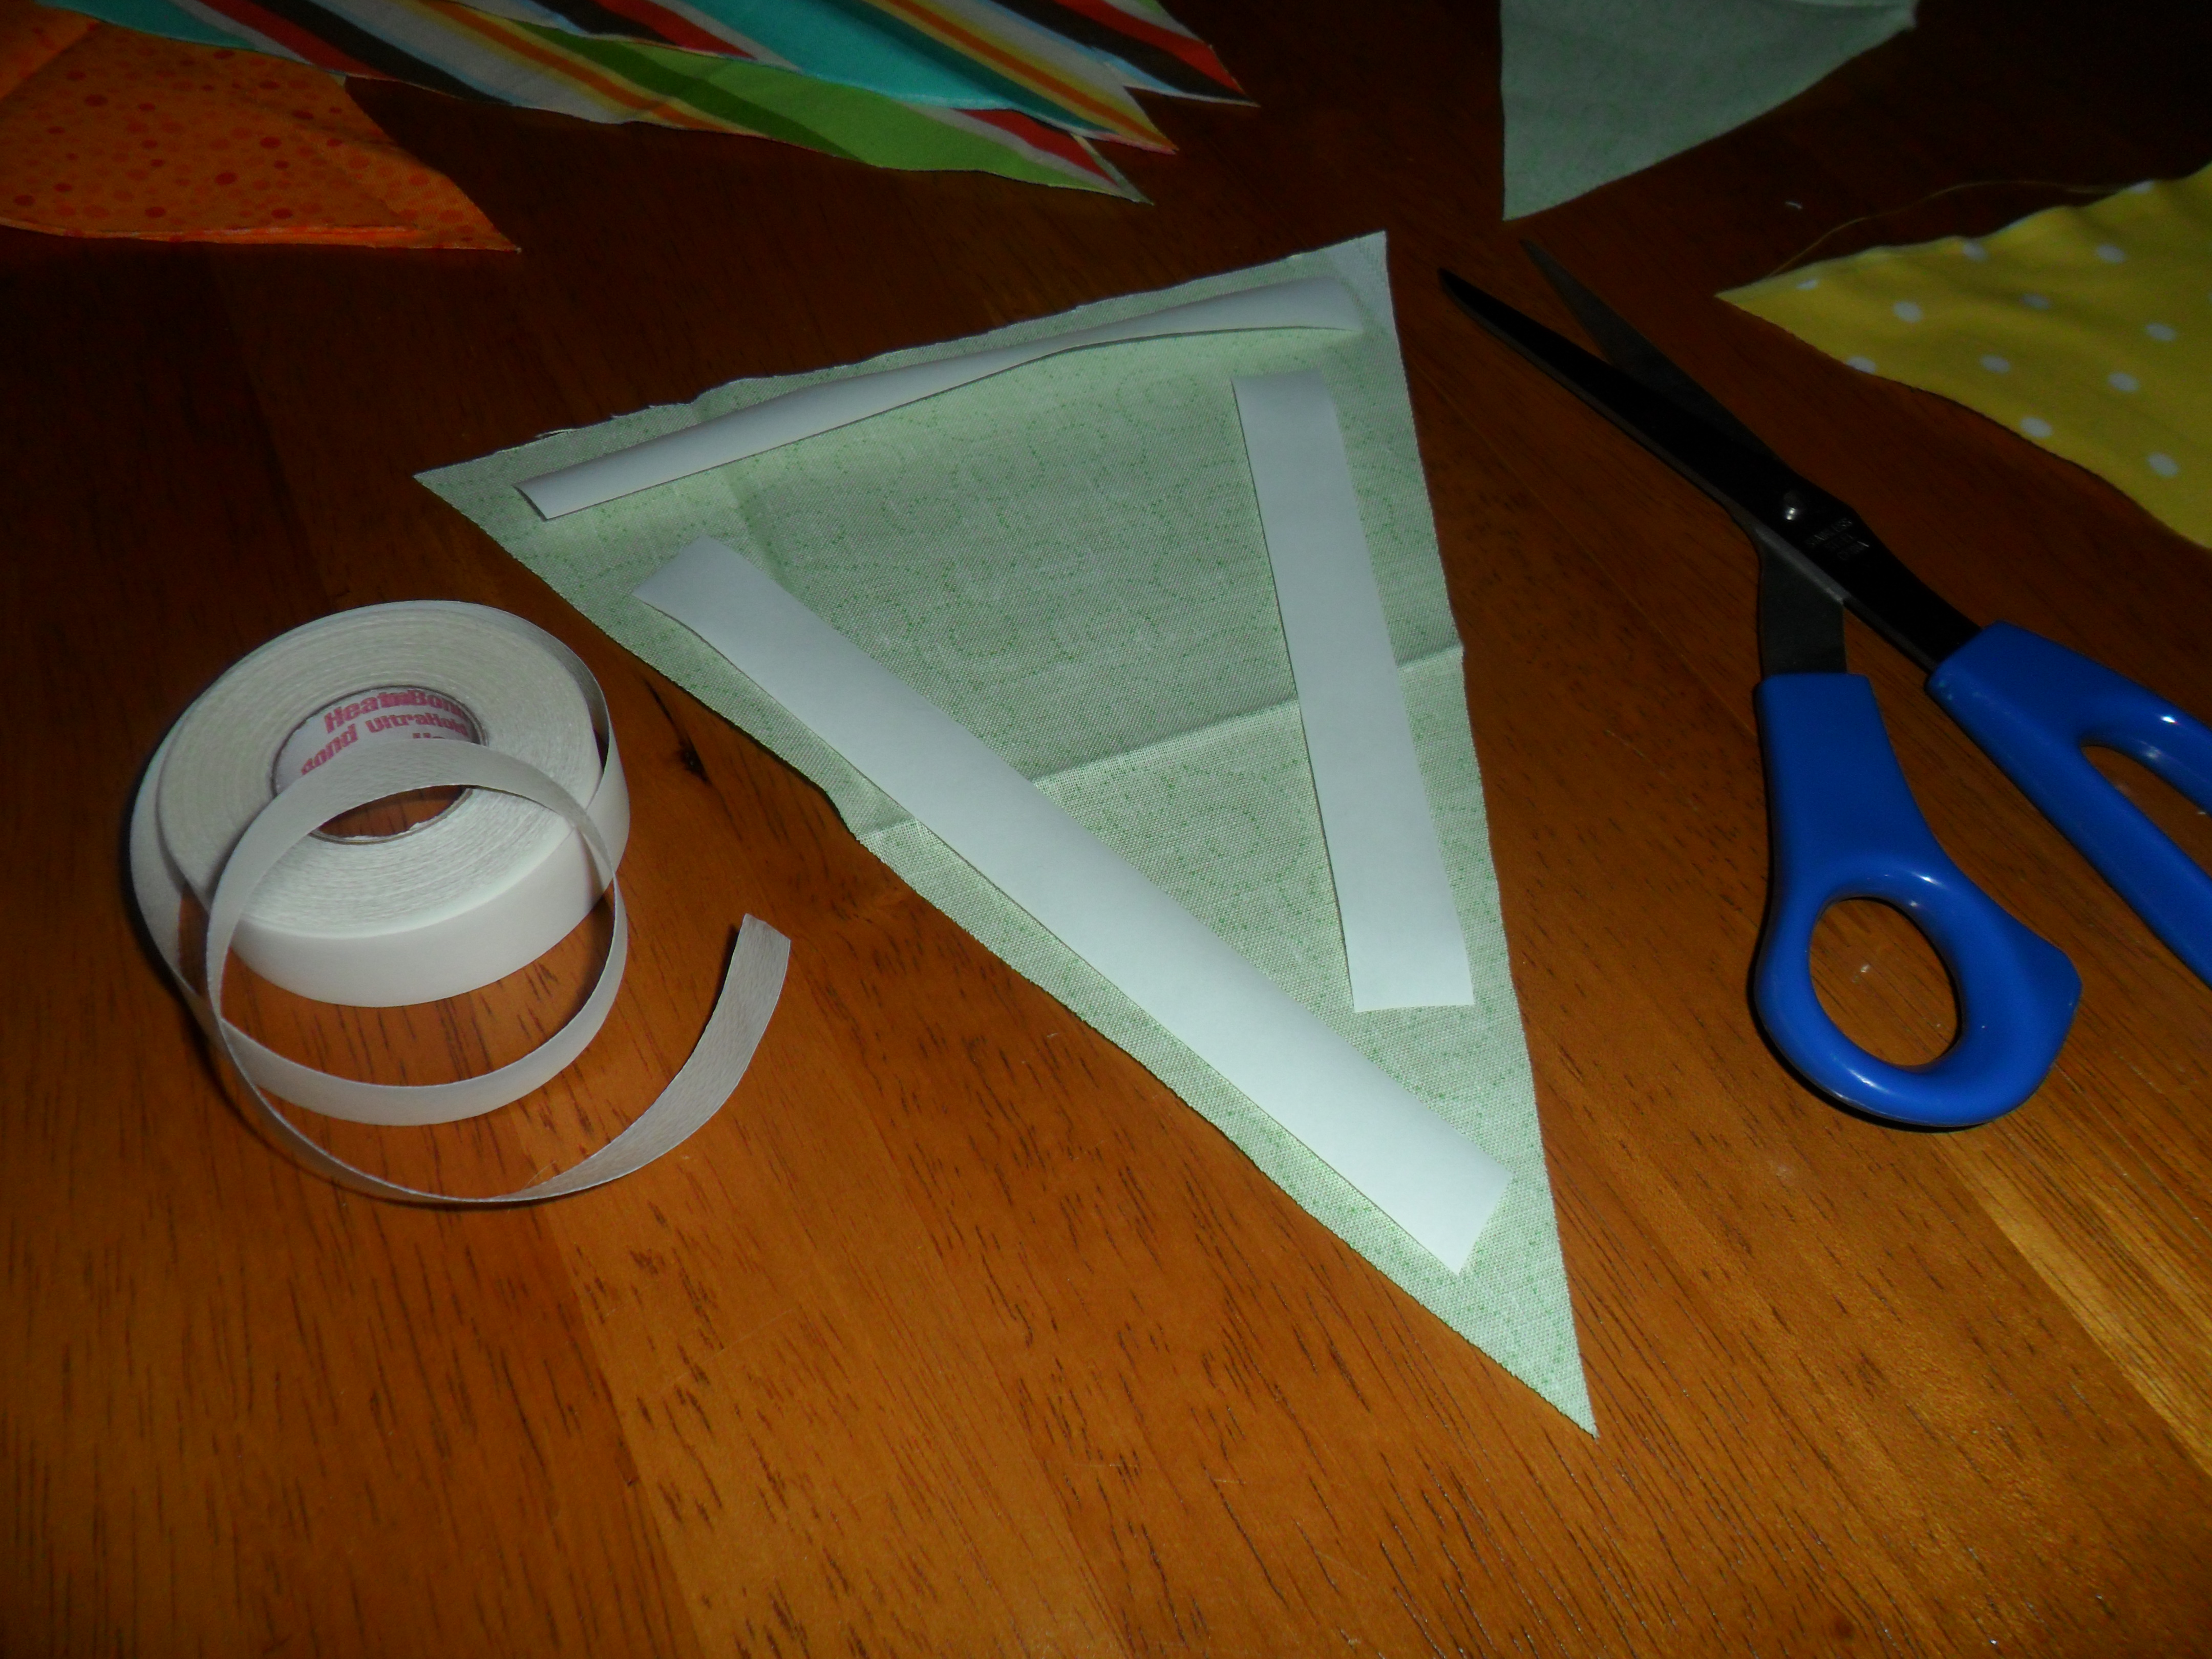
If you have a sewing machine, you can simply just sew two matching flag triangles together. In lieu of a sewing machine, I used iron-on fabric tape to put the back and front pieces of my flags together. And since I hate ironing with a passion, I used my hair straightener to “iron” them together (it actually works really well!). Different fabric tapes work differently, so follow the directions on your fabric tape’s package. The only problem I had with my fabric tape was Walter’s fur, which kept sticking to it.
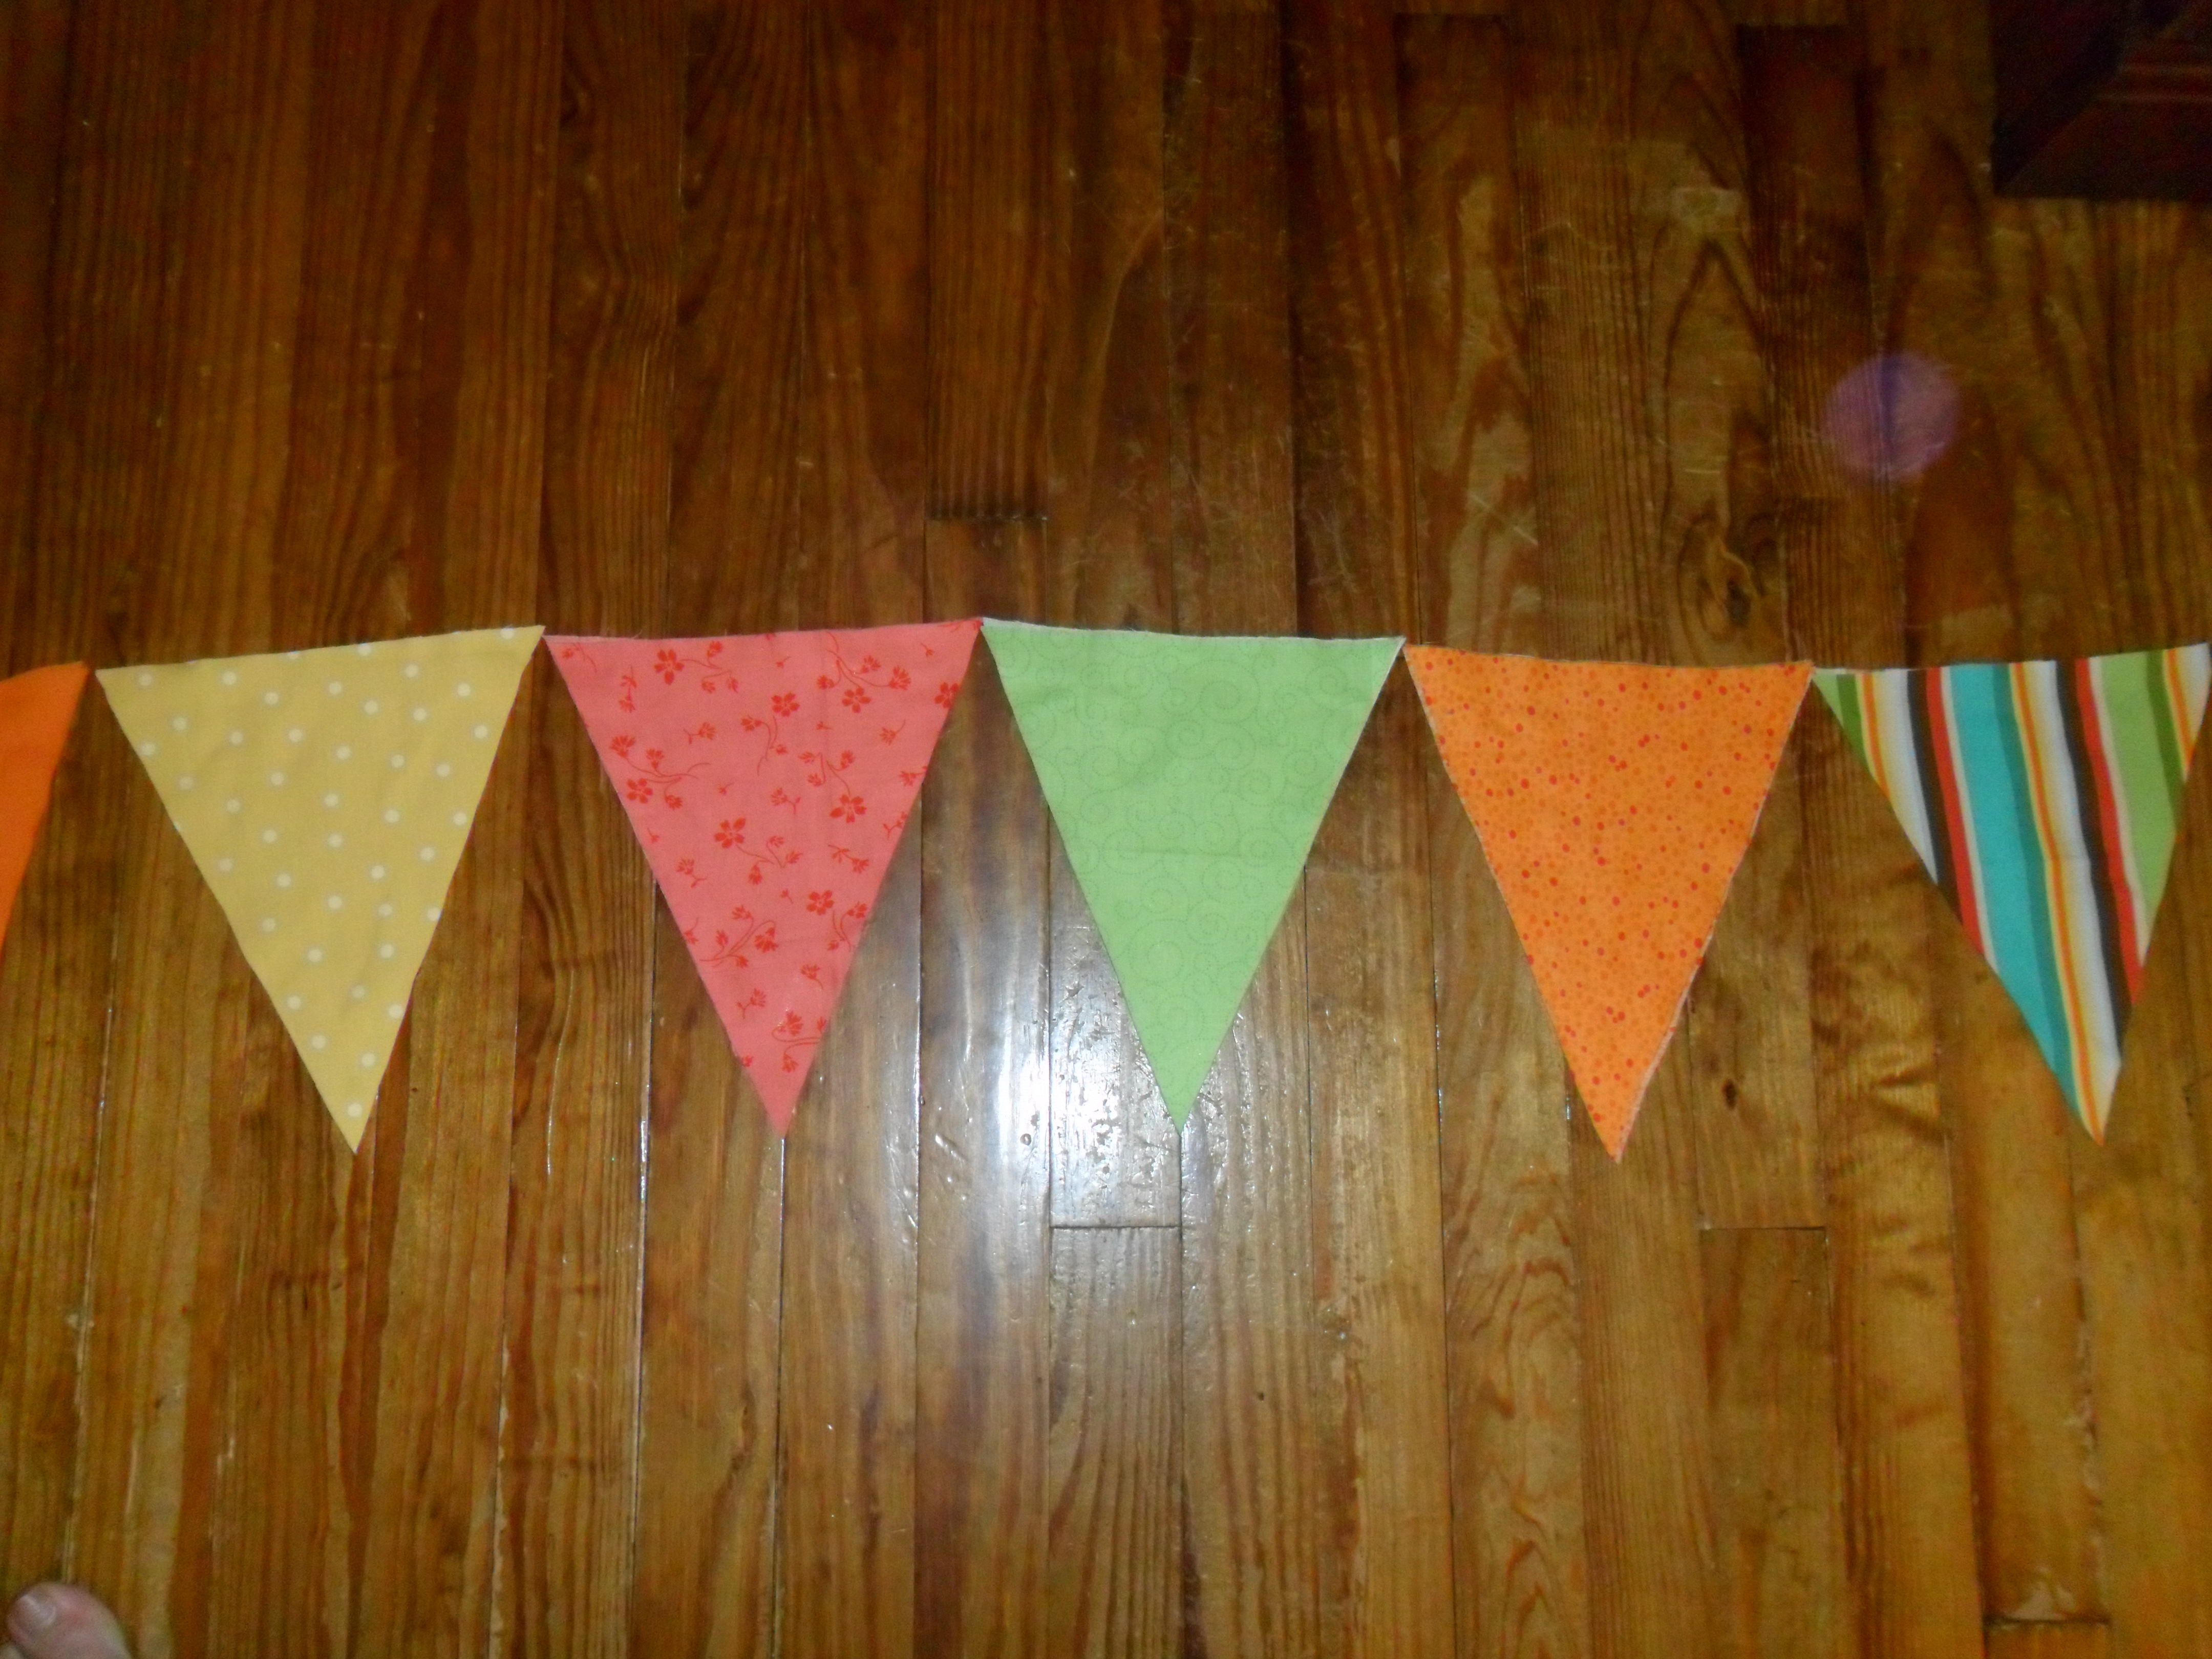
After “ironing” together all the bunting flags, you should line them up and figure out the order you want them to be in. If you’re using multiple colors, you’ll want to make sure that two like colors aren’t next to each other.
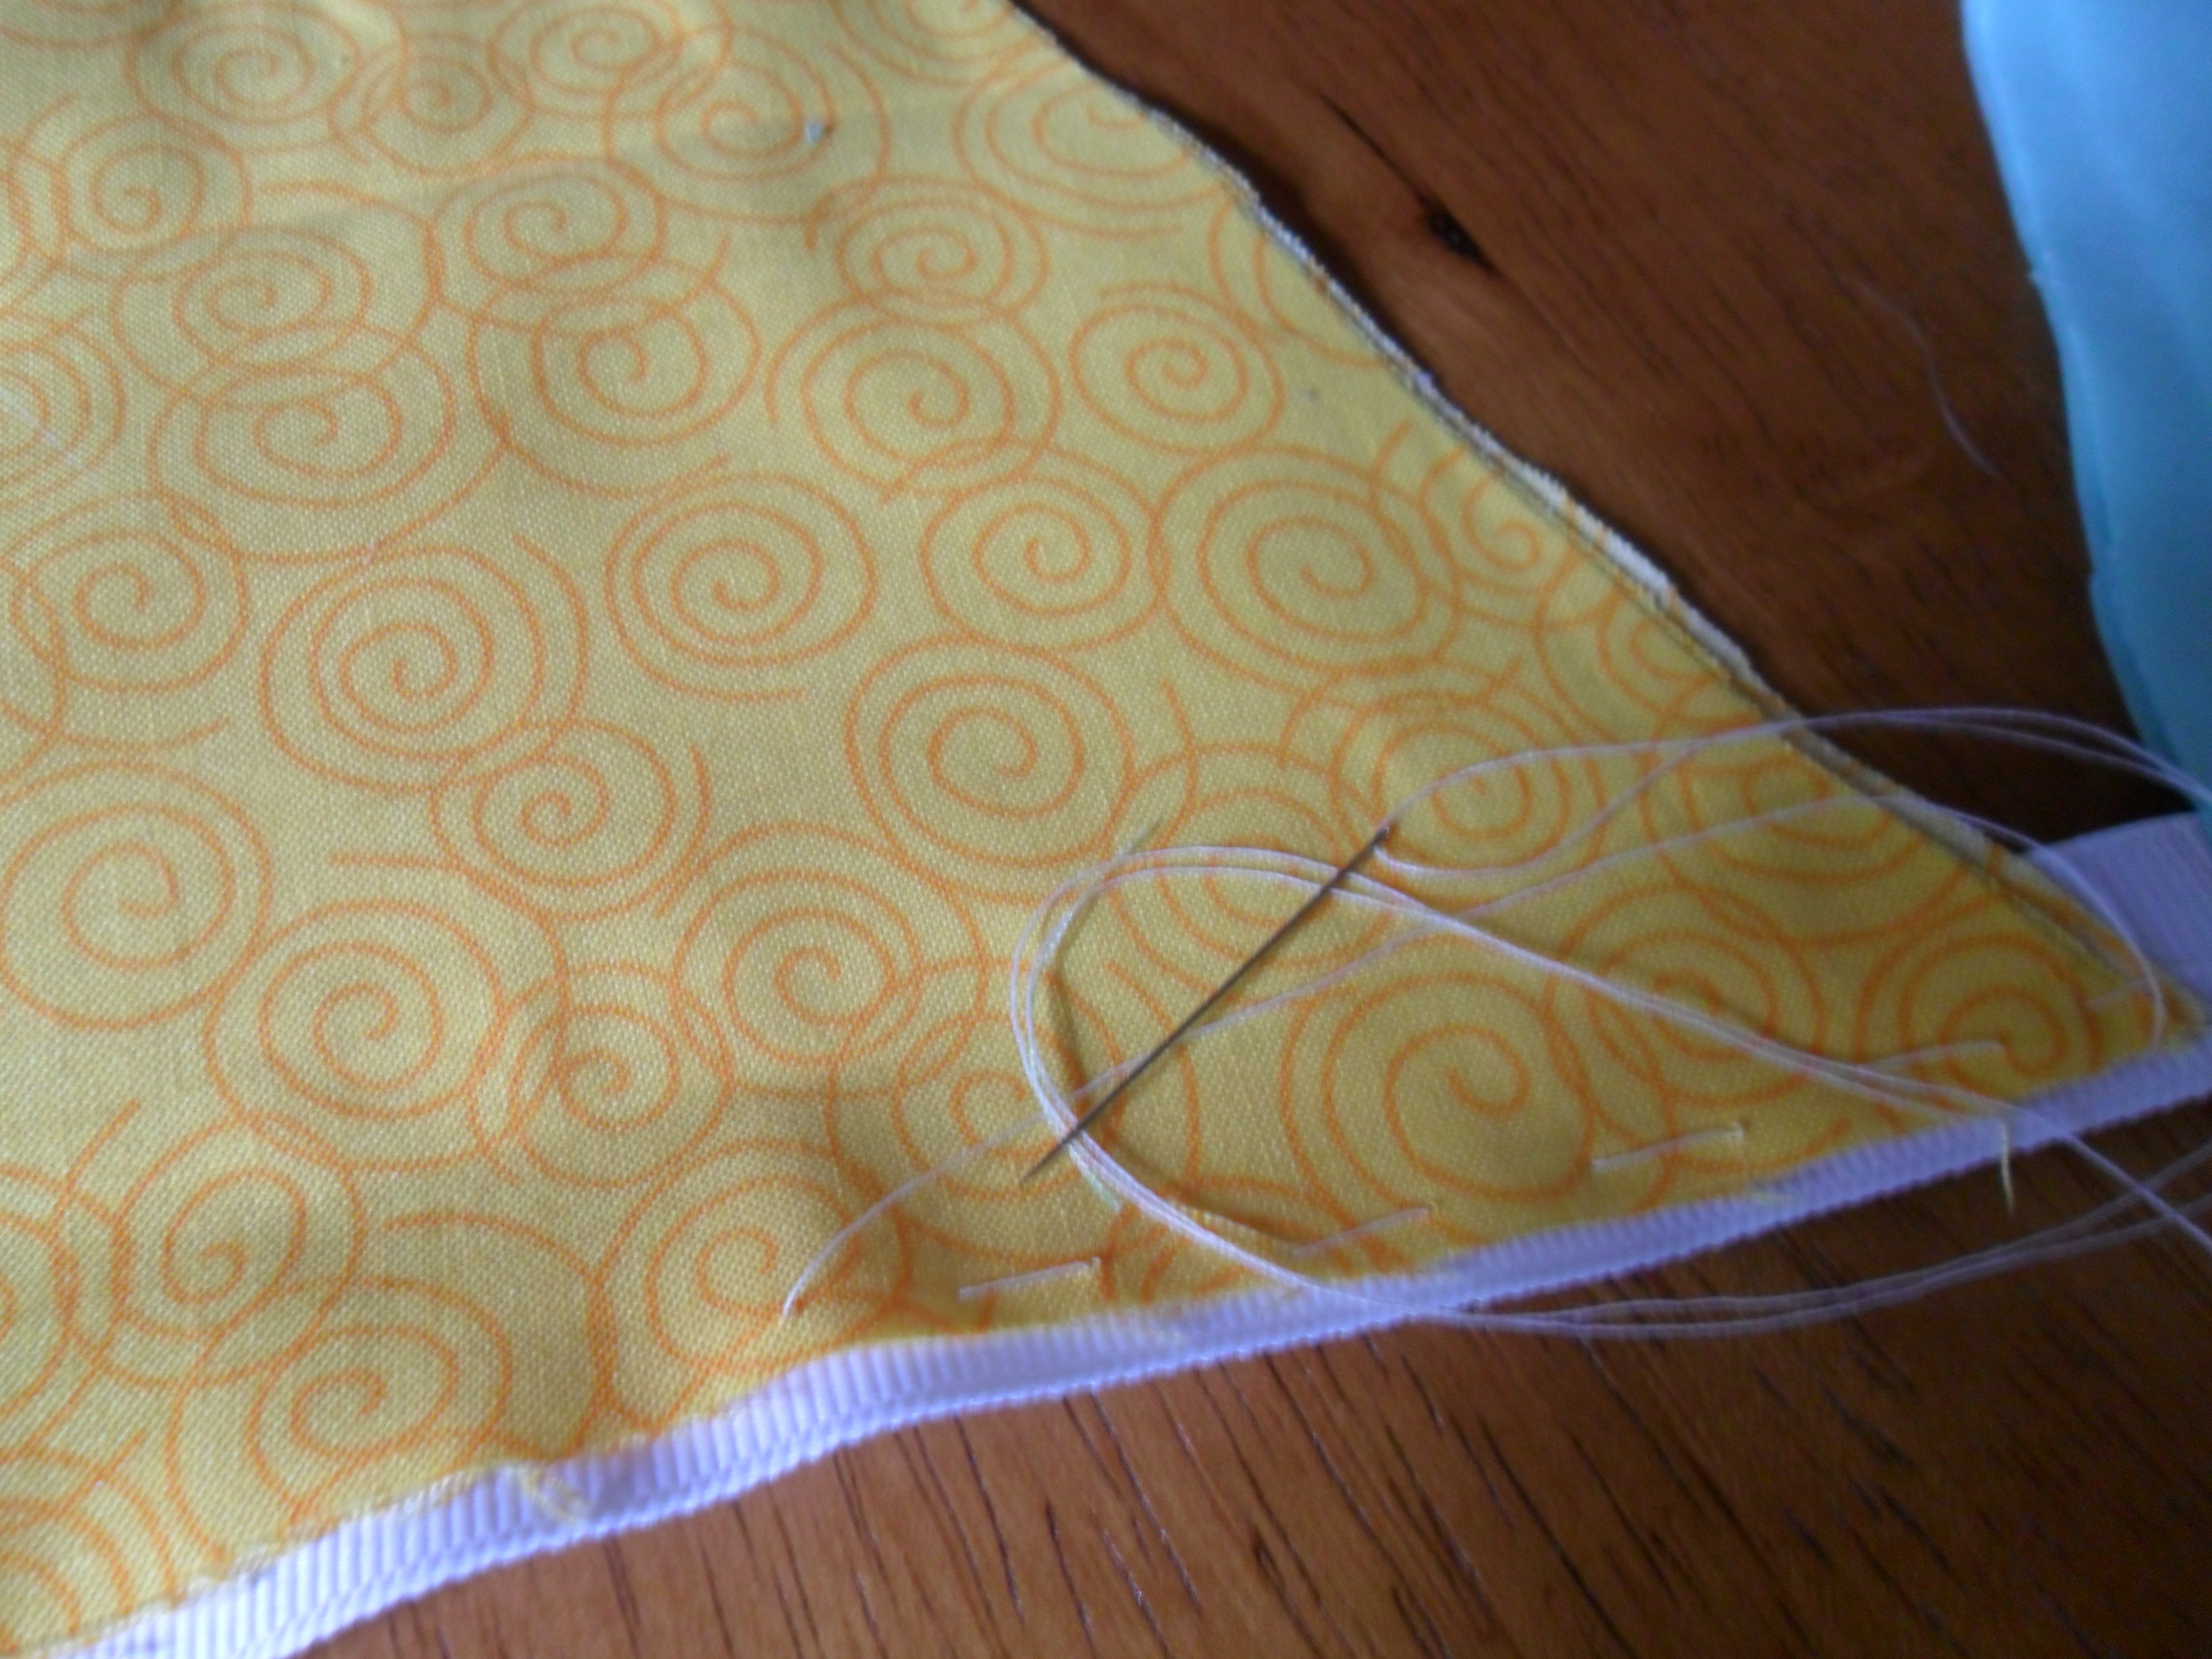
Once you’ve determined the order of your flags, you can sew them together with ribbon. Leave at least a little room between each flag as you sew them to the ribbon (I left about an inch). Once again, since I don’t have a sewing machine, I sewed my flags to the ribbon with a rustic hand stitch.
And there you have it – fun and playful fabric bunting! Not only great for a child’s room décor, it’s also perfect for party and wedding decorations. I can’t wait to hang it in Baby Kopp’s nursery!

[…] think my DIY bunting is a nice decorative touch above the dresser, even though Richard still says it reminds him of the […]