A couple weeks ago we celebrated Carmendy turning two years old with a bright and cheerful smiley face birthday party. The celebration was filled with lots of yellow and pink and black and white polka dots. As usual, I took about a zillion photos and I’m sharing every detail with you.
Deciding on a theme for Carm’s second birthday was a challenge. She doesn’t really have a favorite toy or television character yet. So I picked a very simple idea — smiles! The thing I love most about Carmendy is her adorable and cheesy (and sometimes sneaky) grin. It felt right to make smiley faces her party theme.
After I finally picked a theme, the details fell easily into place. I wanted it to have a clean and modern look, yet I wanted to make sure the decorations were sweet and pretty. The end results were just what I envisioned.
Pulling off another party a couple of weeks following Owen’s birthday party is more than a little exhausting, especially when it’s continually 90 degrees outside and you’re in your third trimester of pregnancy. Thank goodness for Richard who will craft anything I ask him to (and who also has super human lungs that can blow up any and all balloons). 
Okay, since I have a TON of photos to show you, let’s get to it. —>
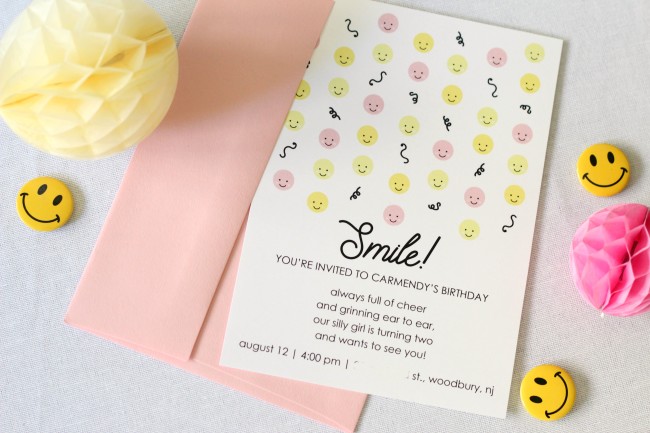
I’ll start with the invitation, which was basically the design for the entire party. Of course, I came up with some corny text because I can’t resist a catchy rhyme.
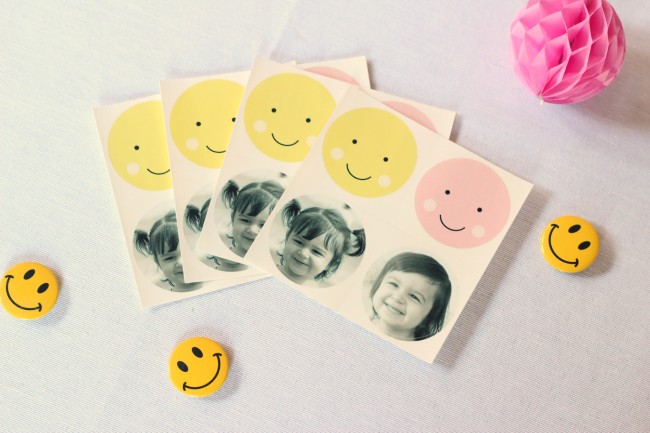
I gave it an extra fun twist by including a sheet of custom smiley face stickers and stickers of Carmendy’s cute face. I ordered the stickers from Moo.com, my first experience using their online service. The site was super easy to use; I definitely recommend them! I love how the stickers turned out.
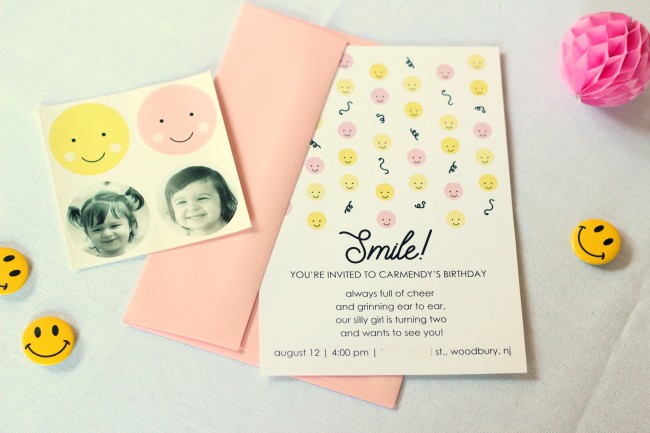
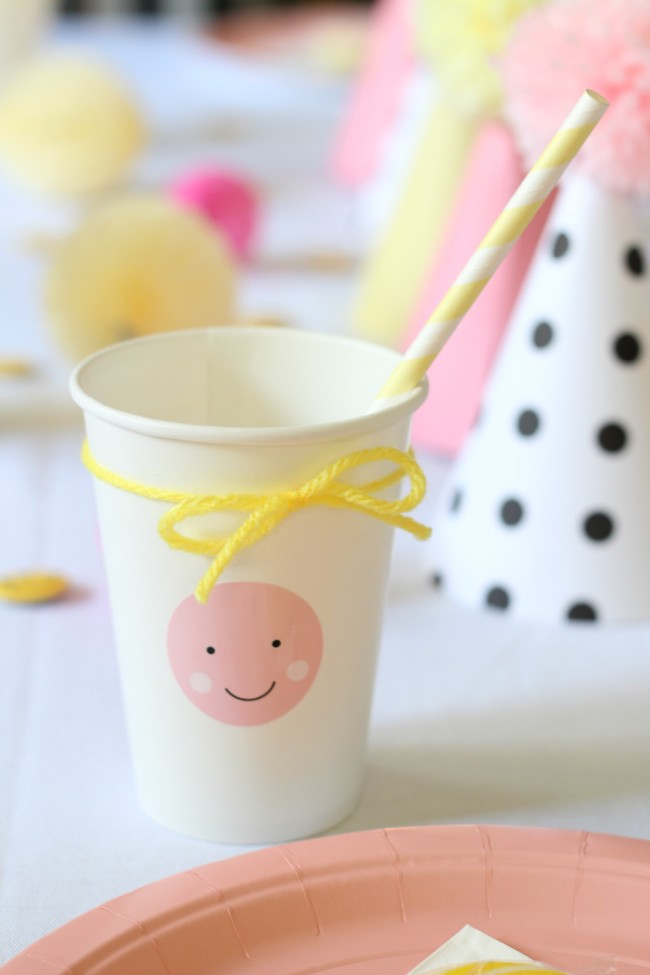
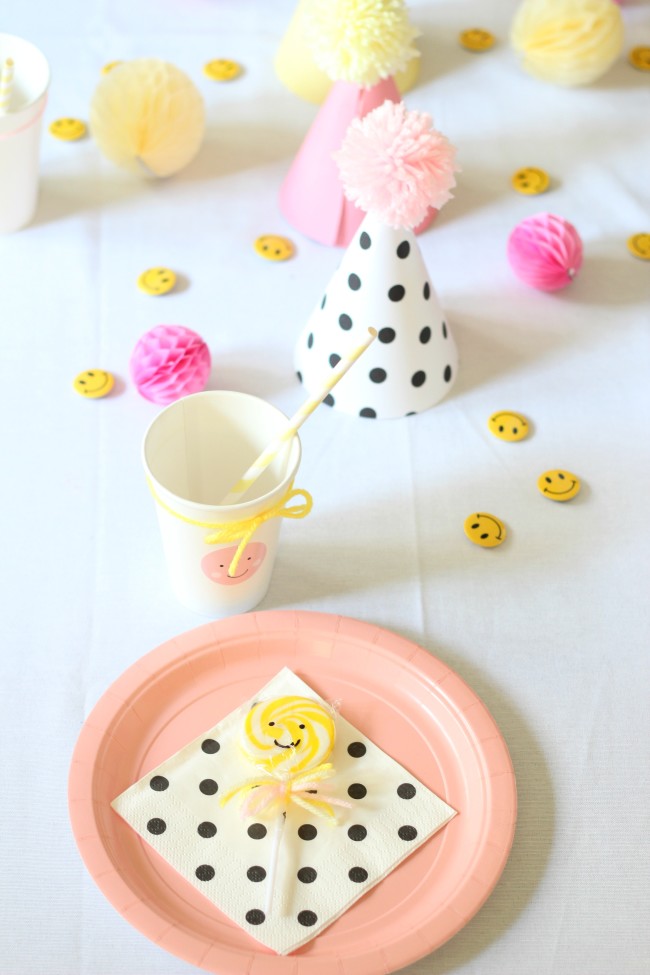
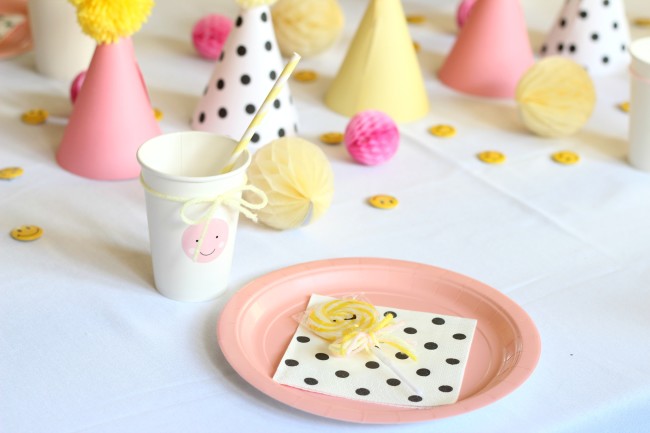
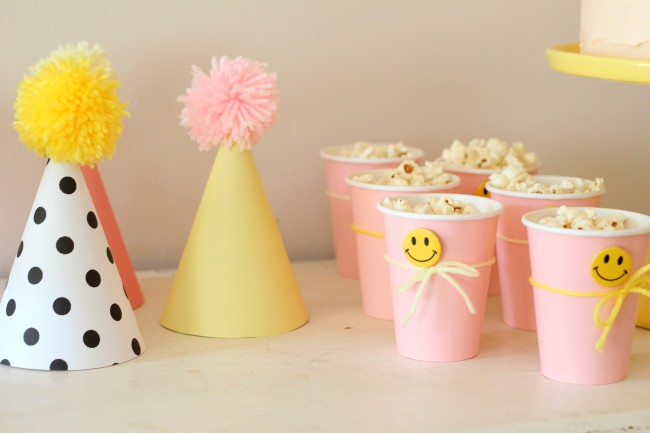
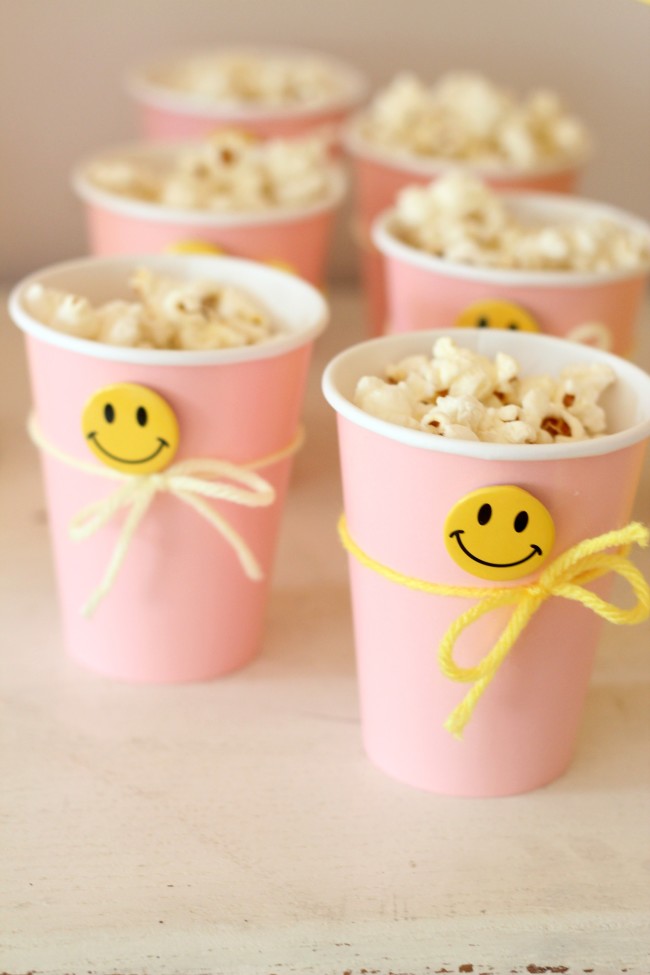
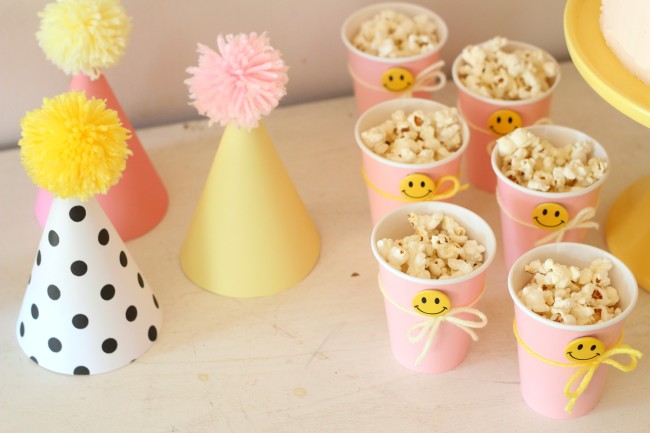
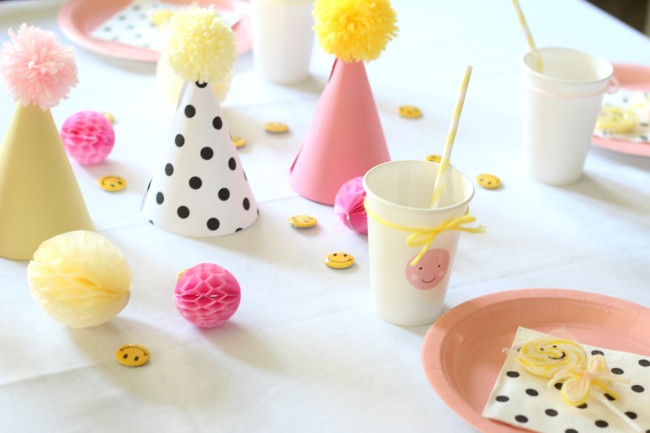
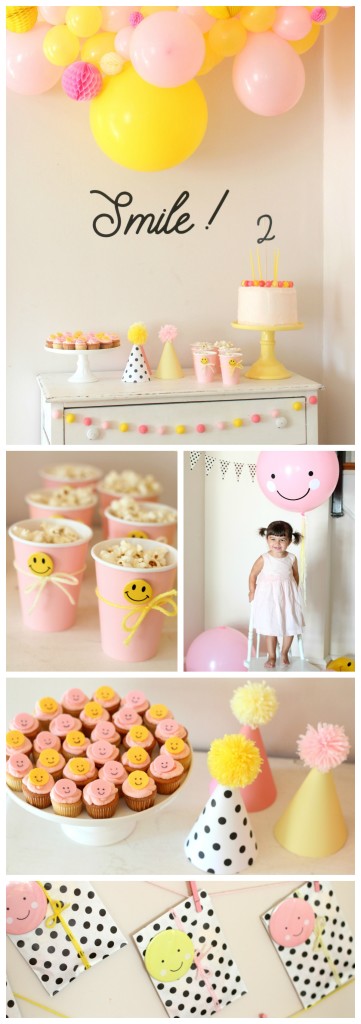
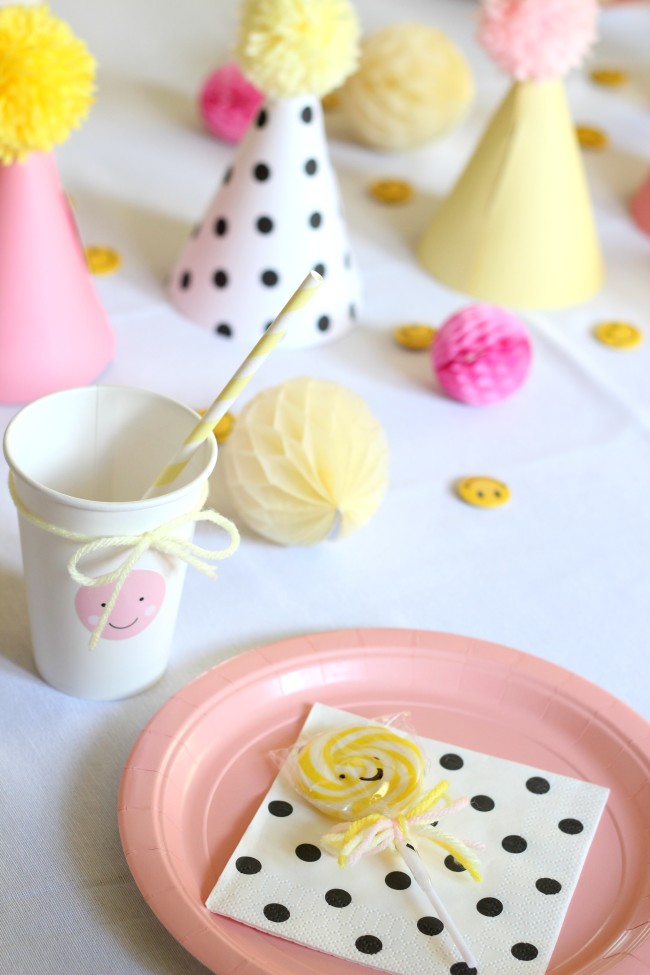
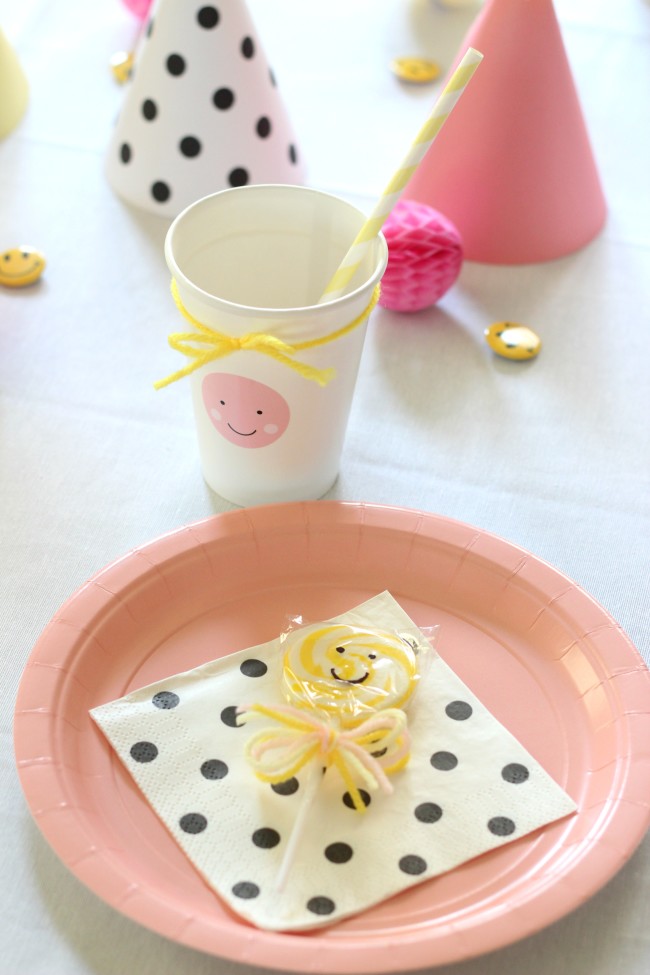
The smiley face that I designed for the invitation and the stickers became the center of the rest of the decorations for the smiley face birthday party. I used the same stickers on the cups for the tabletop decorations, tying a piece of yarn around them as well to give them an extra bit of cuteness.
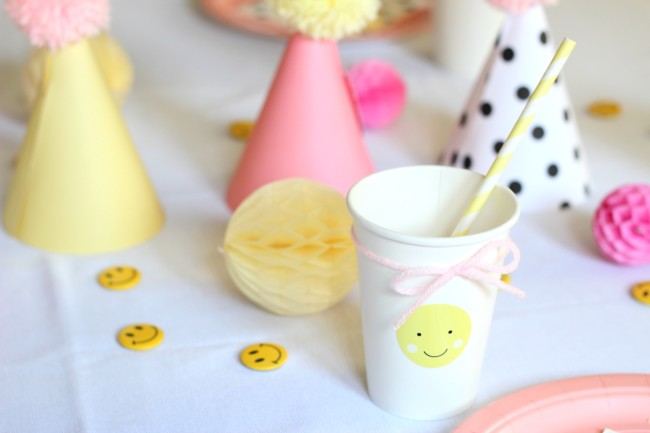
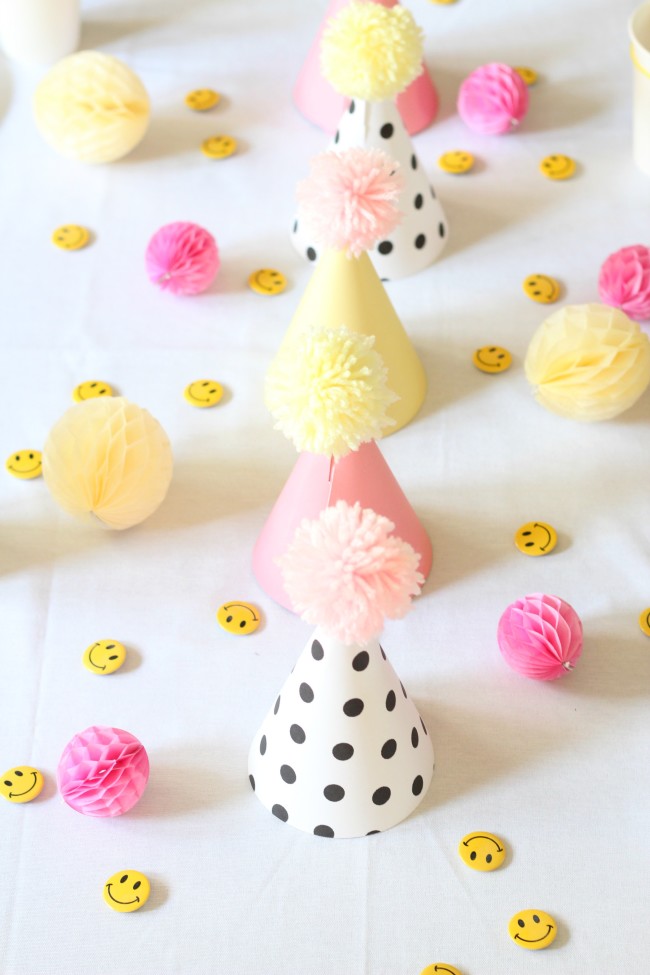
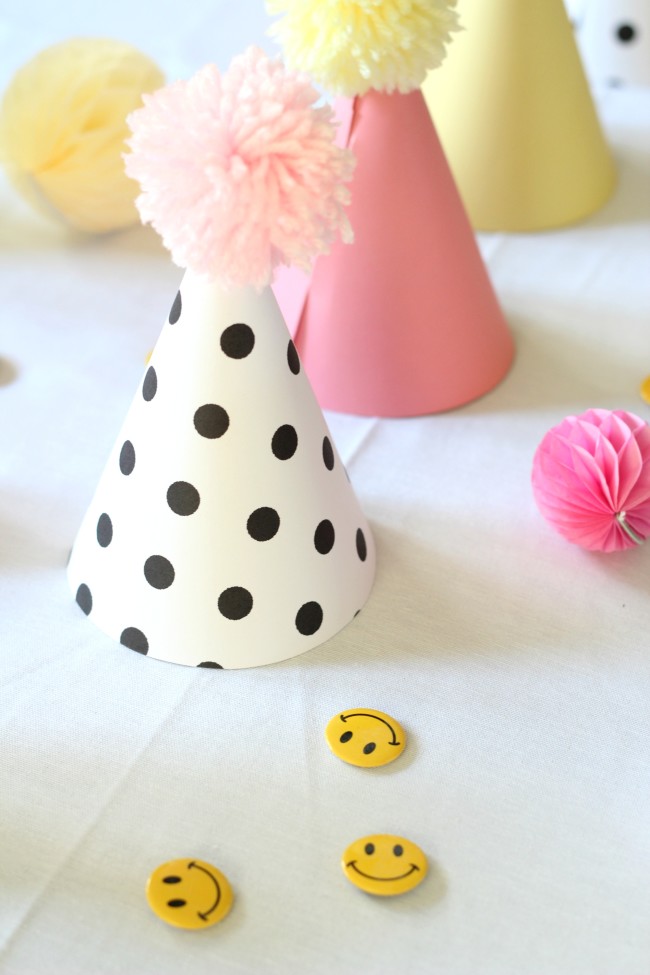
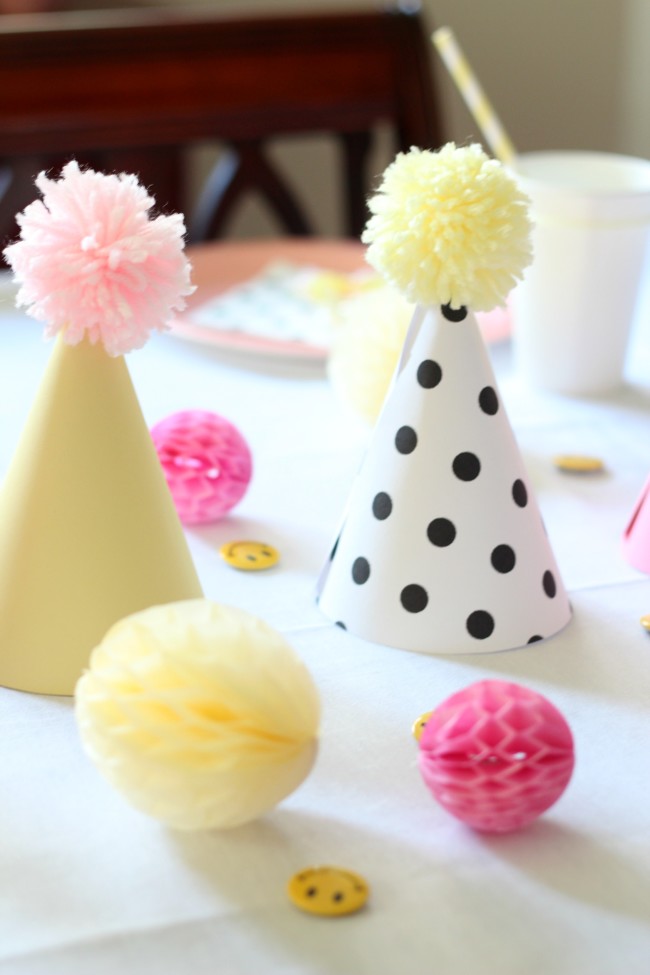
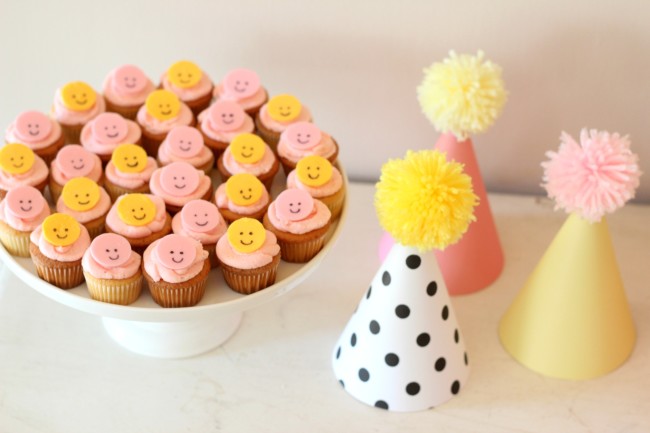
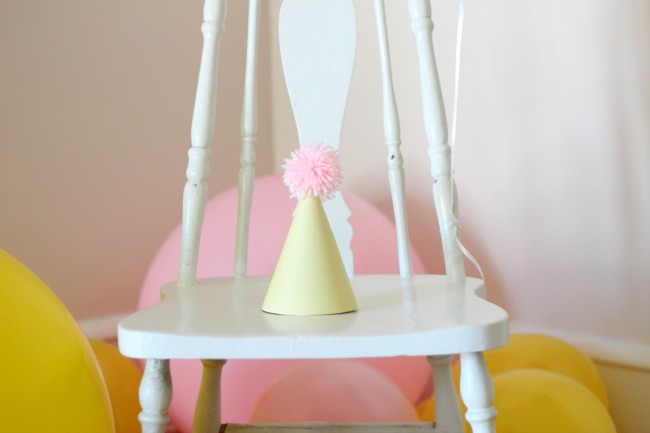
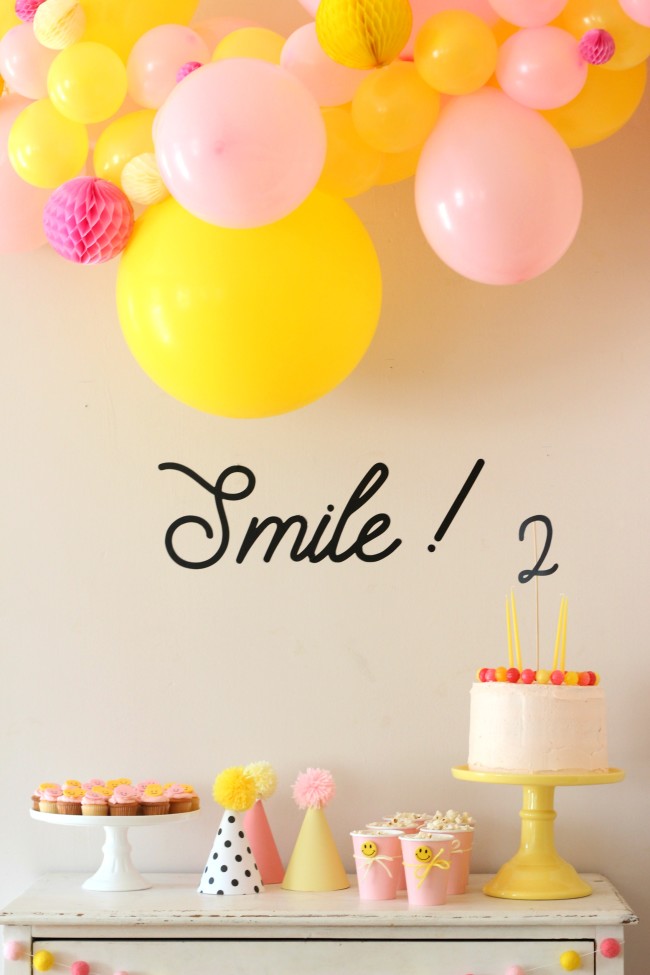
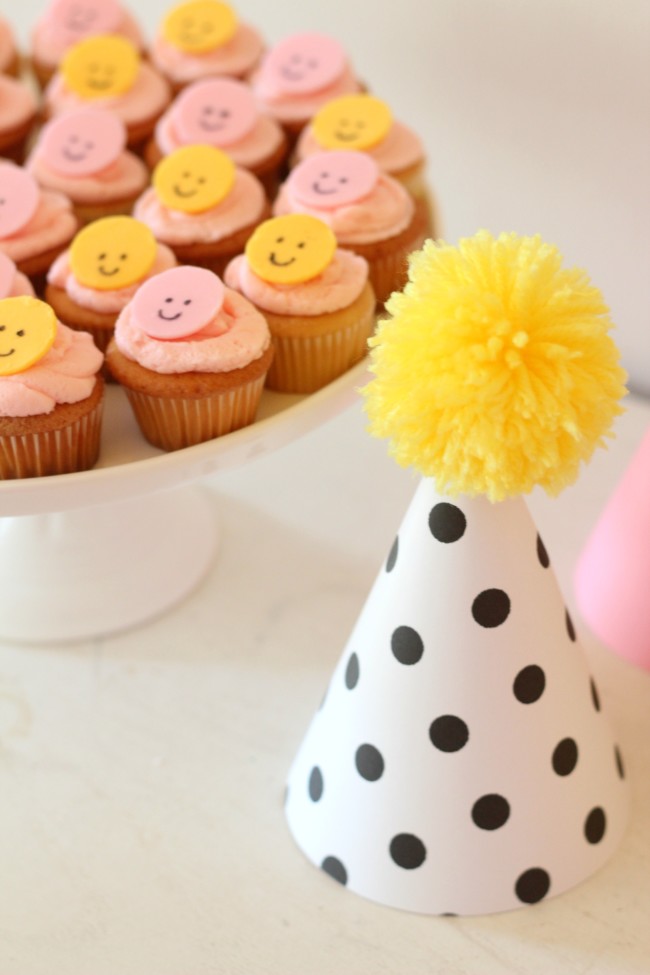
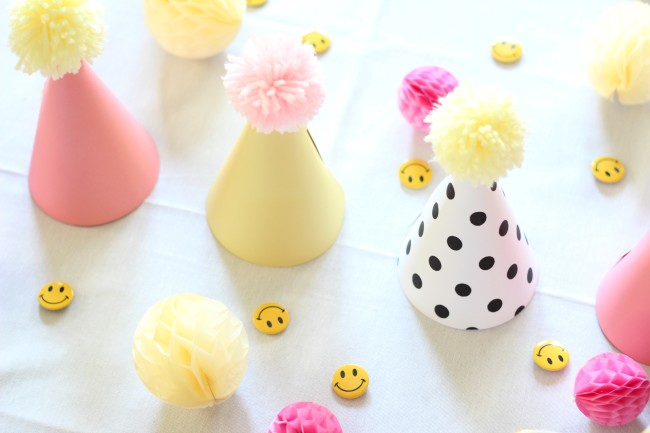
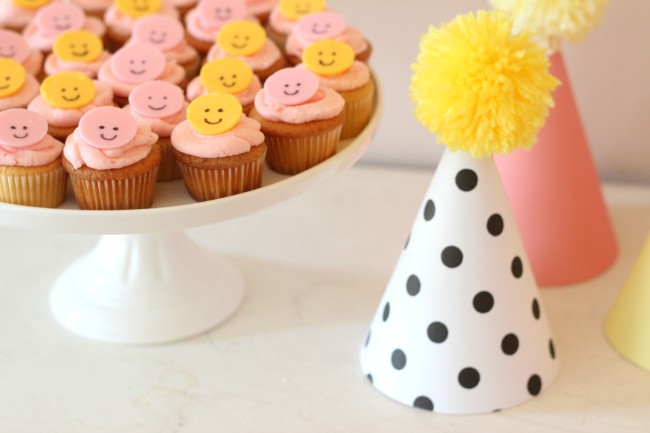
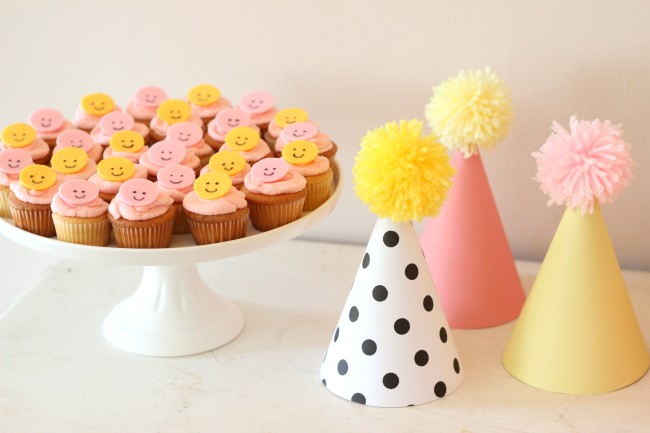
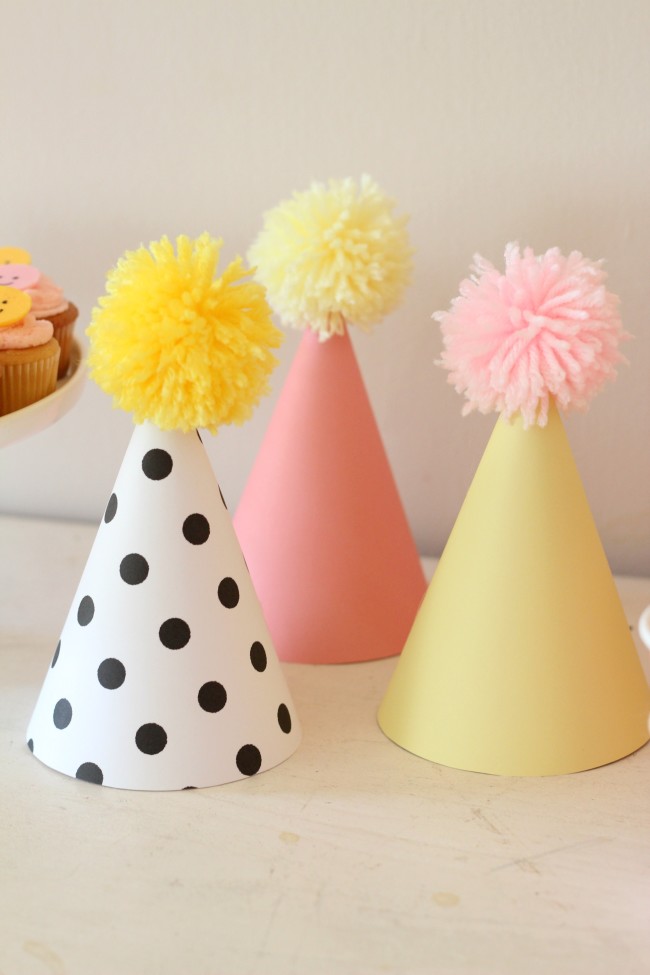
The party table was easy to decorate! I made party hats from yellow, pink, and black and white polka dot paper topped with pom-poms that I crafted from yarn. I lined them up in the center of the table and then scattered honeycomb tissue balls (I ordered discounted mini ones from Sweet Lulu’s) and tiny smiley face buttons around them.
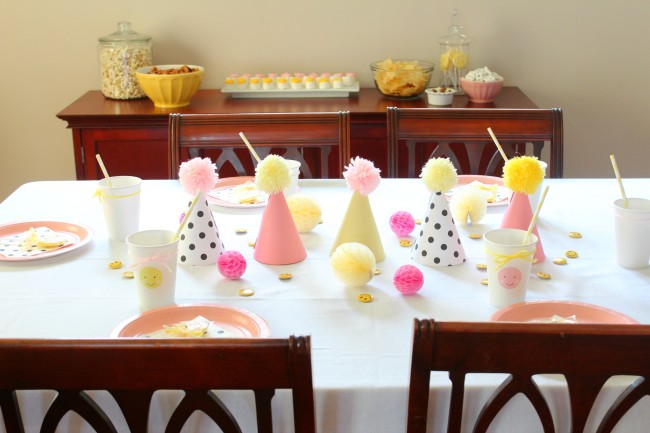
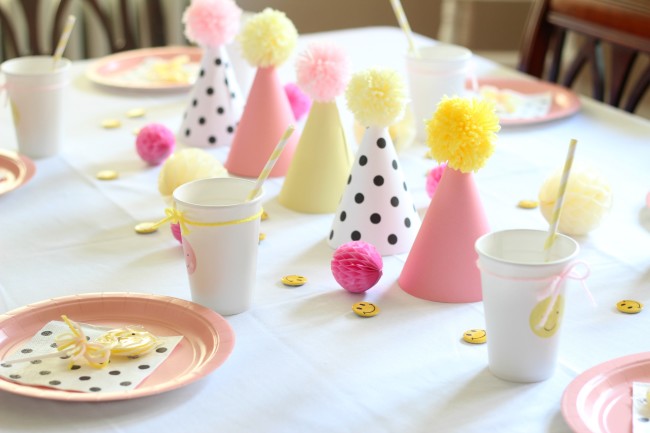
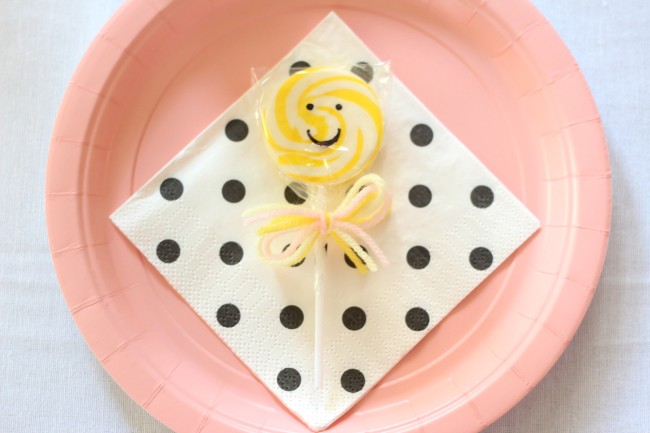
I found the perfect shade of pink plates from Party City (plus they were only 99 cents!) for the place settings, and polka dot napkins from Oriental Trading. On each plate, I put a yellow swirl lollipop that I drew a smiley face on and tied yarn around.
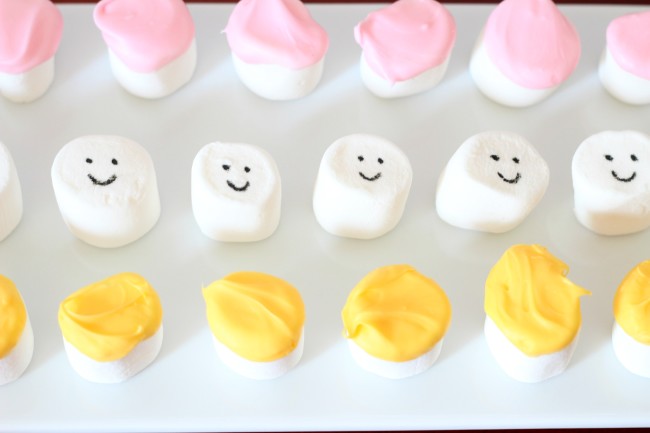
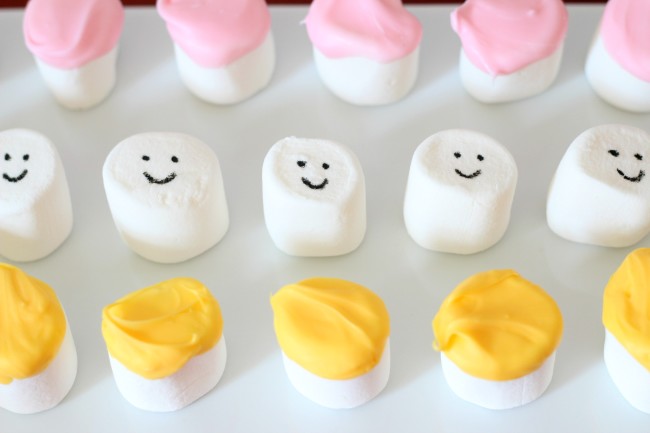
I discovered the brilliance of the edible marker while planning Carmendy’s smiley face birthday party. I’ve never used one before, but I sure am glad I finally did! Using a fine-tip edible marker, I drew smiley faces on marshmallows dipped in pink and yellow candy chocolate. These marshmallows were by far Carmendy’s favorite part of her celebration. She ate way more than she should have but, hey, she was the birthday girl.
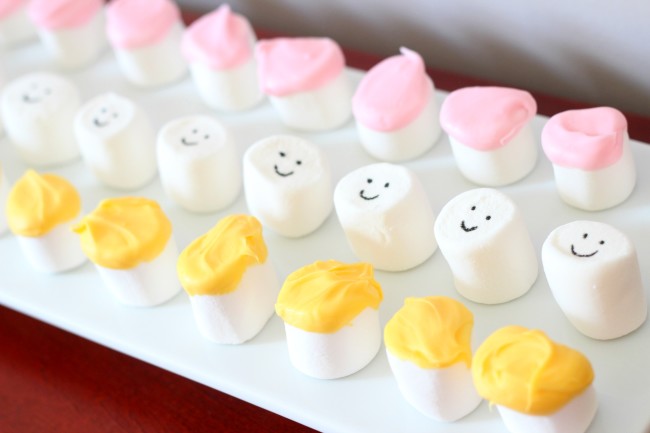
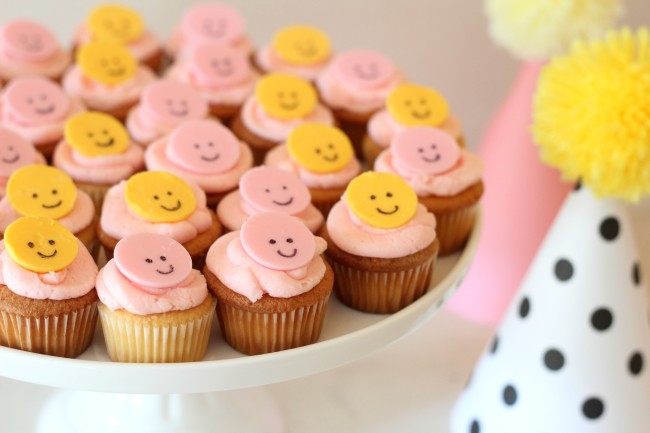
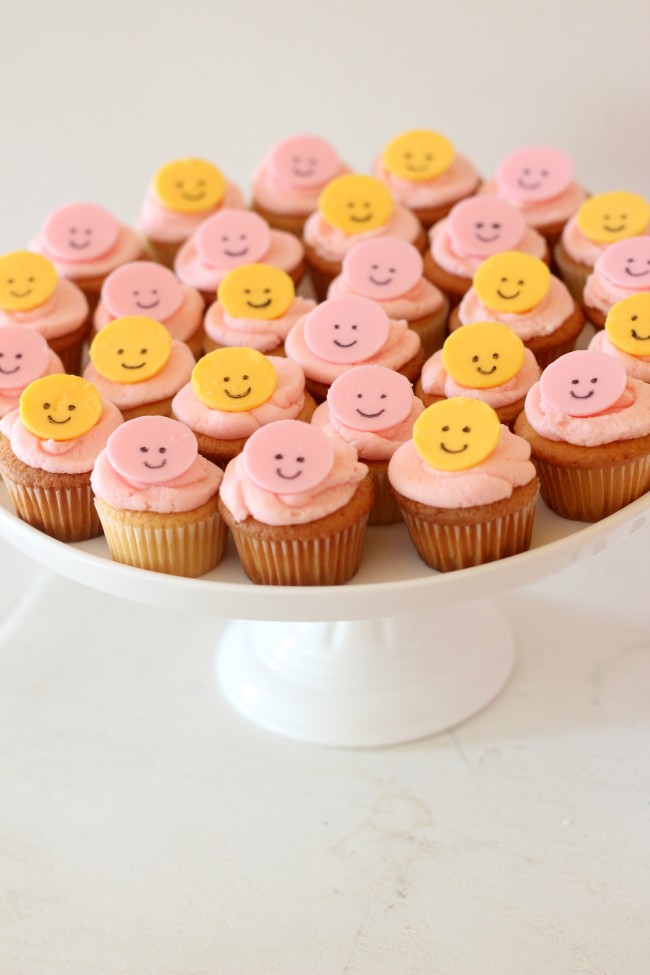
I also used the edible markers to make smiley faces for mini cupcake decorations. This idea was beyond easy (pure genius on my part). I took round pink and yellow candy melts and drew a little smiley face on each one. Then I just plopped a smiley face candy melt on each tiny cupcake. How cute, right?!
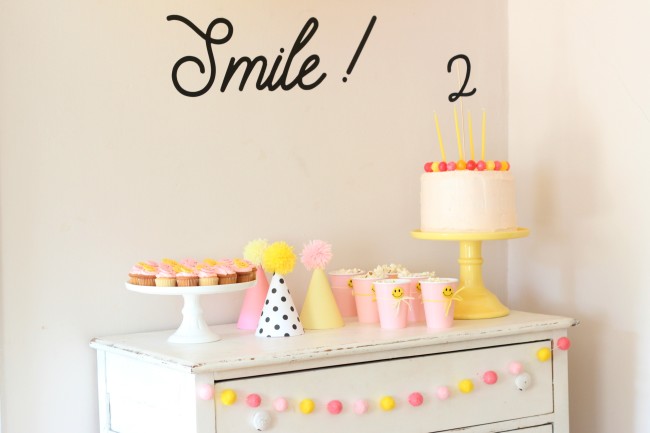
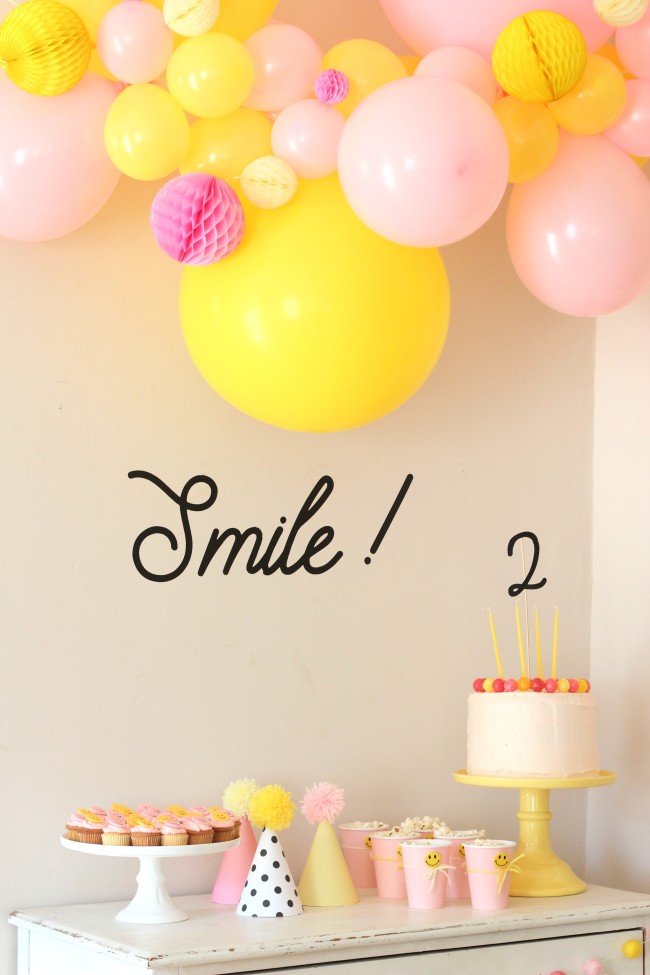
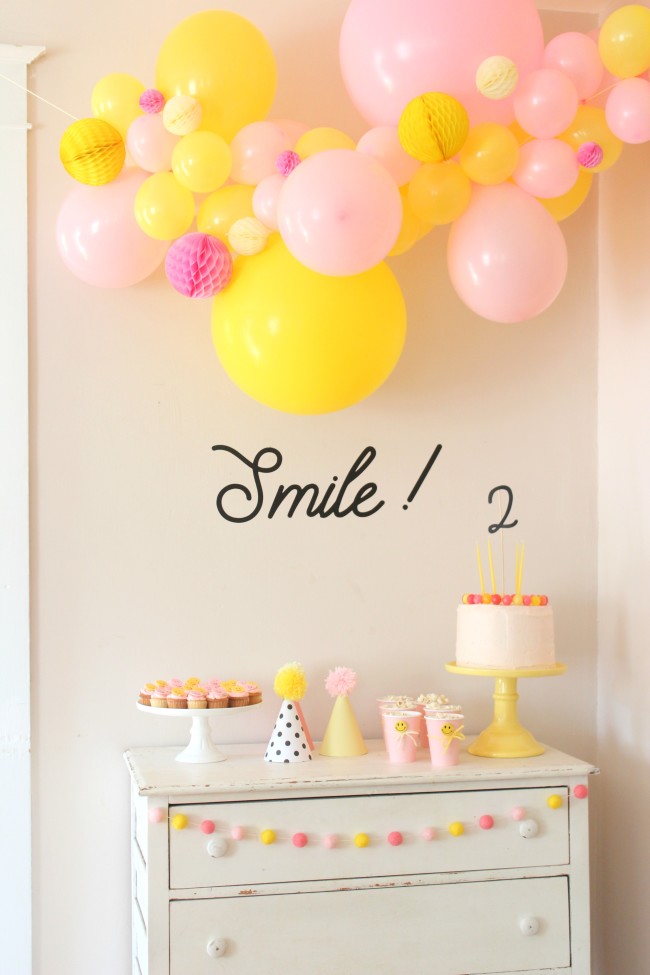
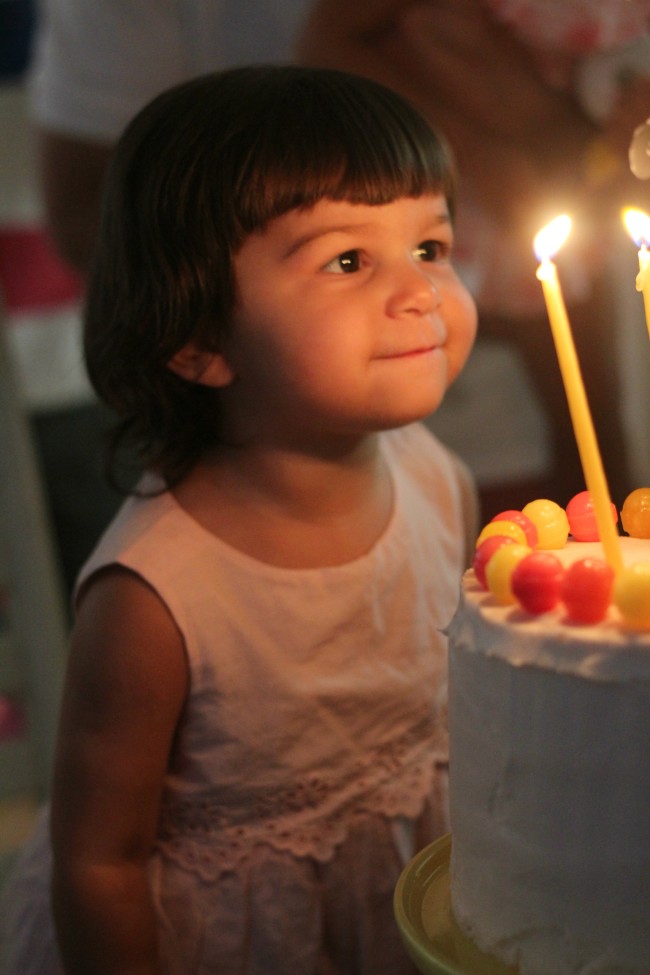
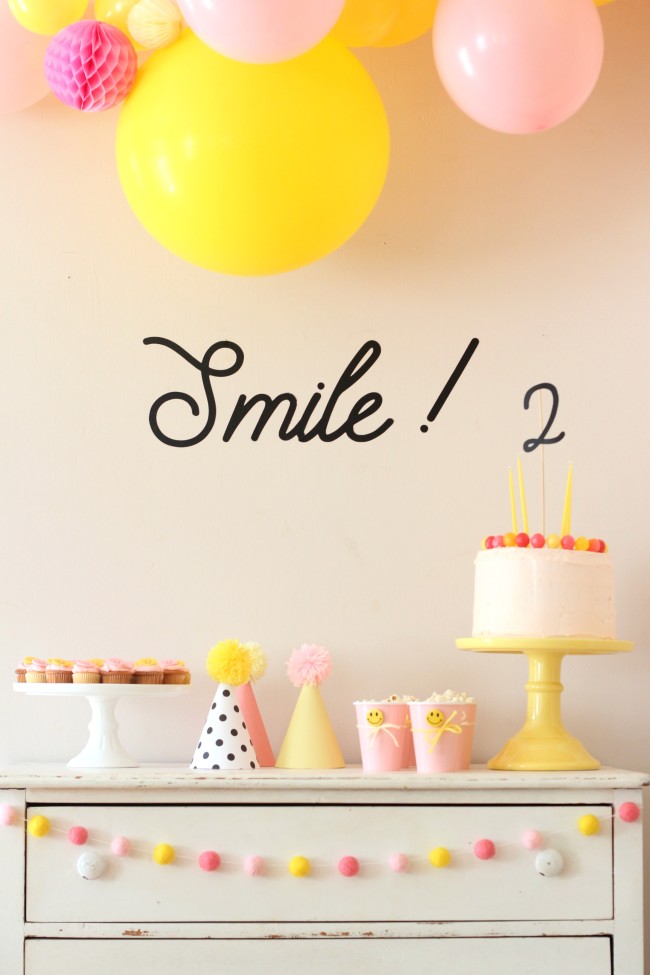
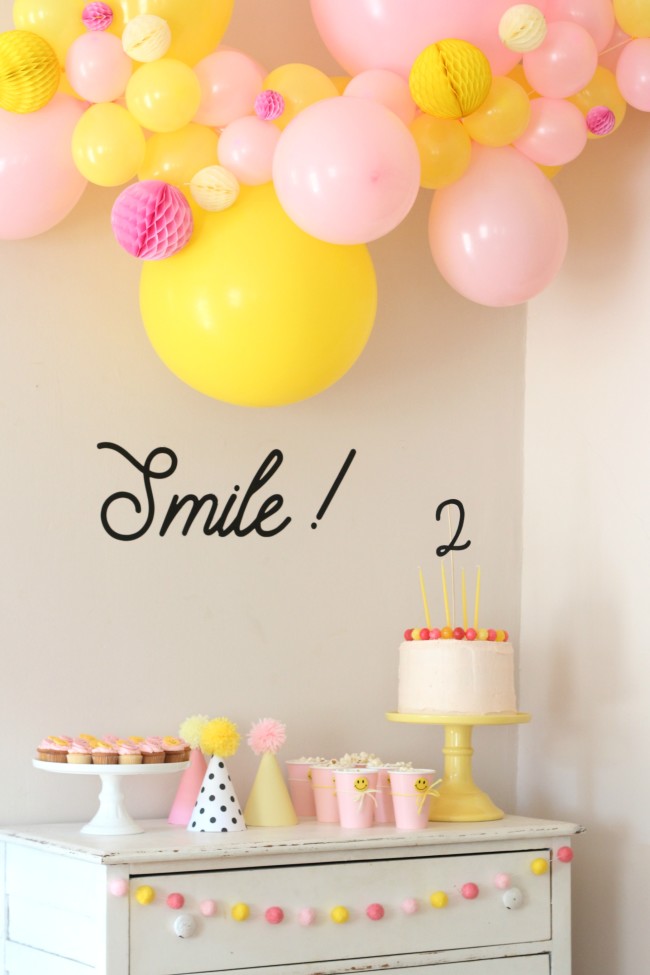
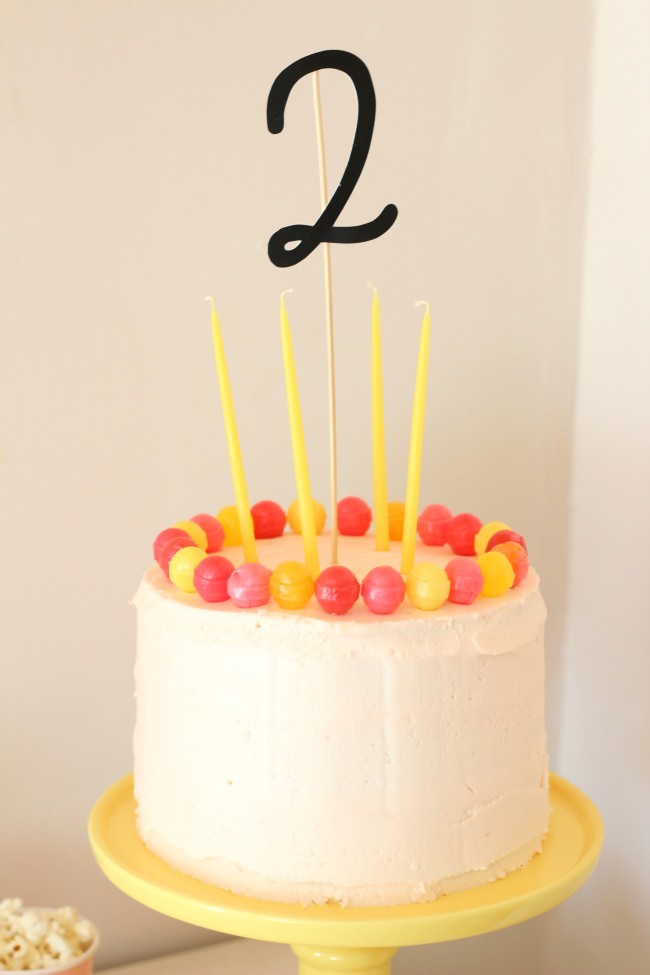
The birthday cake was also easy to decorate. I stuck yellow and pink dum-dum lollipops around the edge of the cake, which I frosted in a pale pink shade. I topped the cake with a paper number 2 on a stick and long yellow candles.
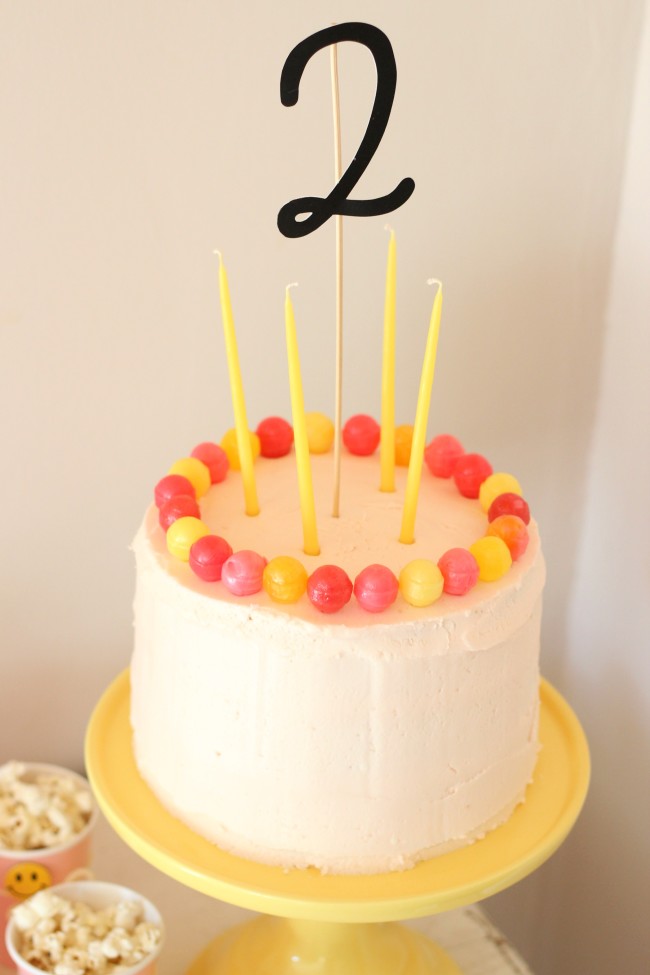
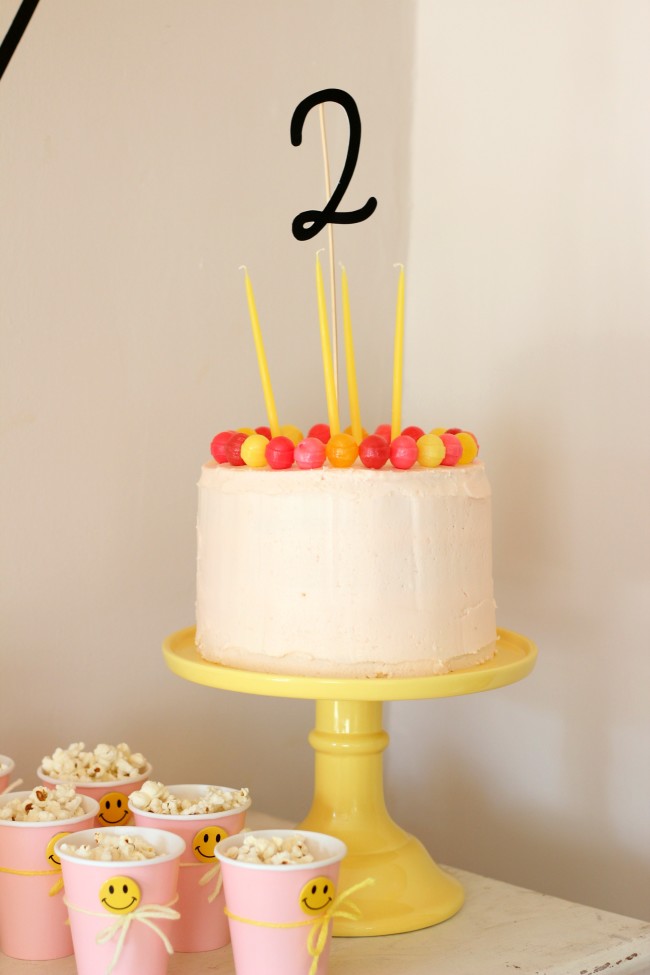
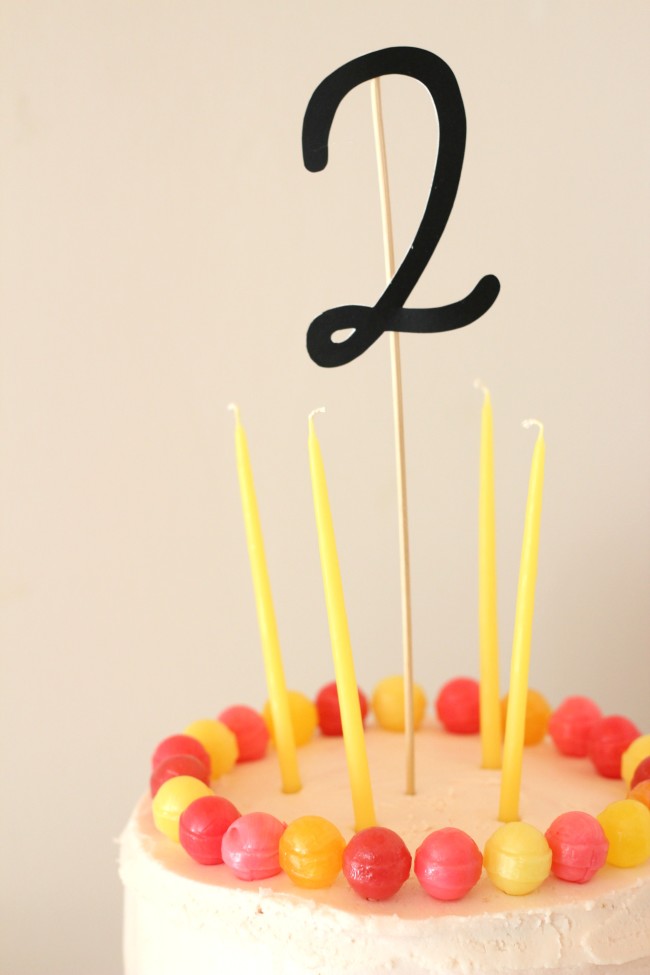
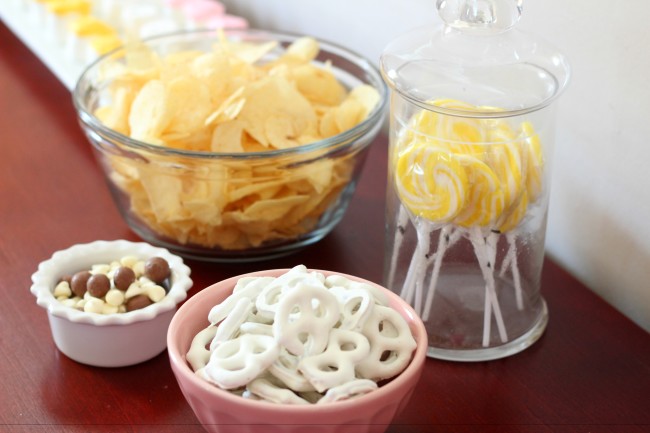
I found the yellow cake plate on clearance at HomeGoods, which I was overly excited about. On the treat table next to the cake, I arranged cups of popcorn snacks. The pink cups were decorated with tied yarn and one of the mini smiley face buttons.
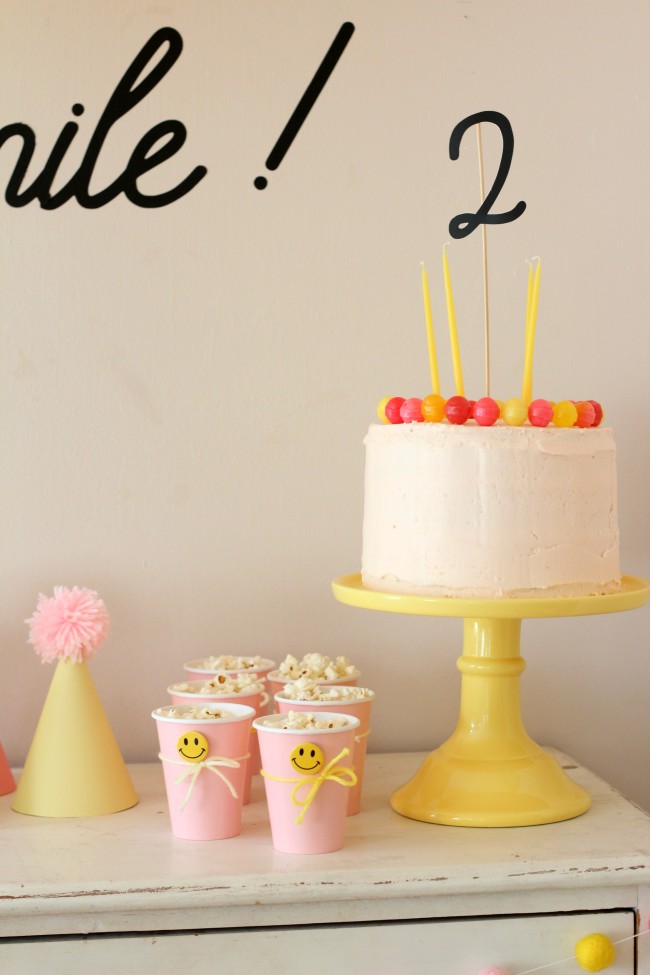
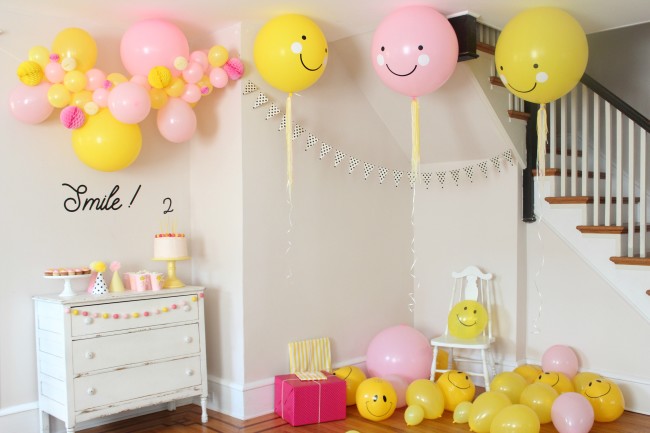
Above the treat table, I hung a “Smile!” decal that I made with adhesive vinyl. (You might recognize this same “Smile!” from the invitation.)
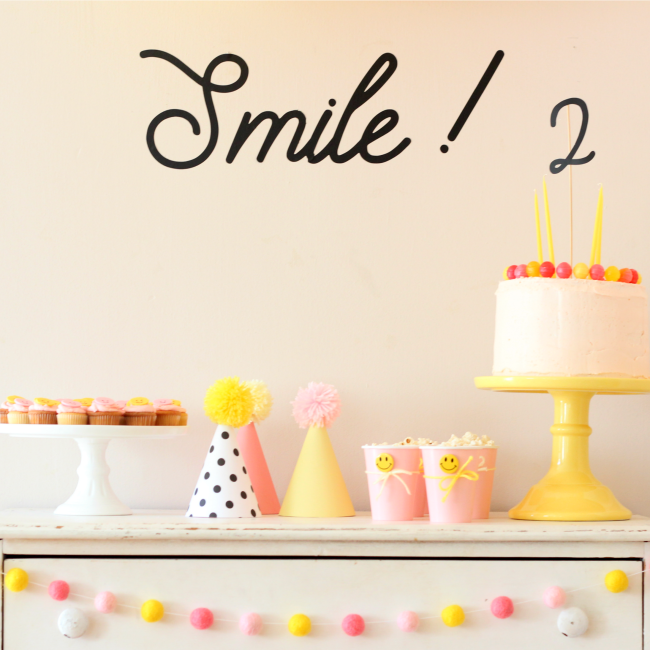
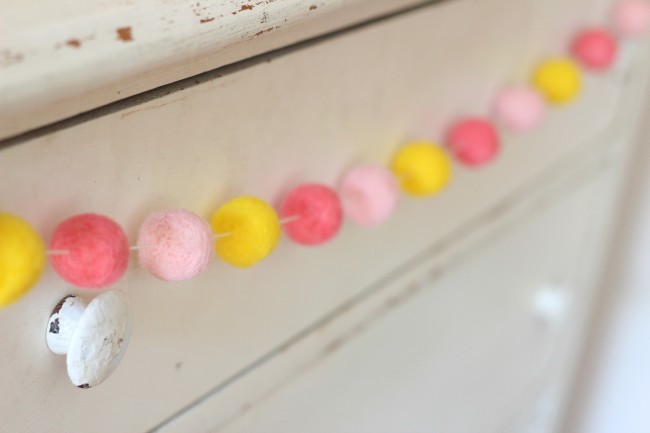
I decorated the treat table with yellow and pink felt ball garland, another party decoration trend I’m obsessed with right now.
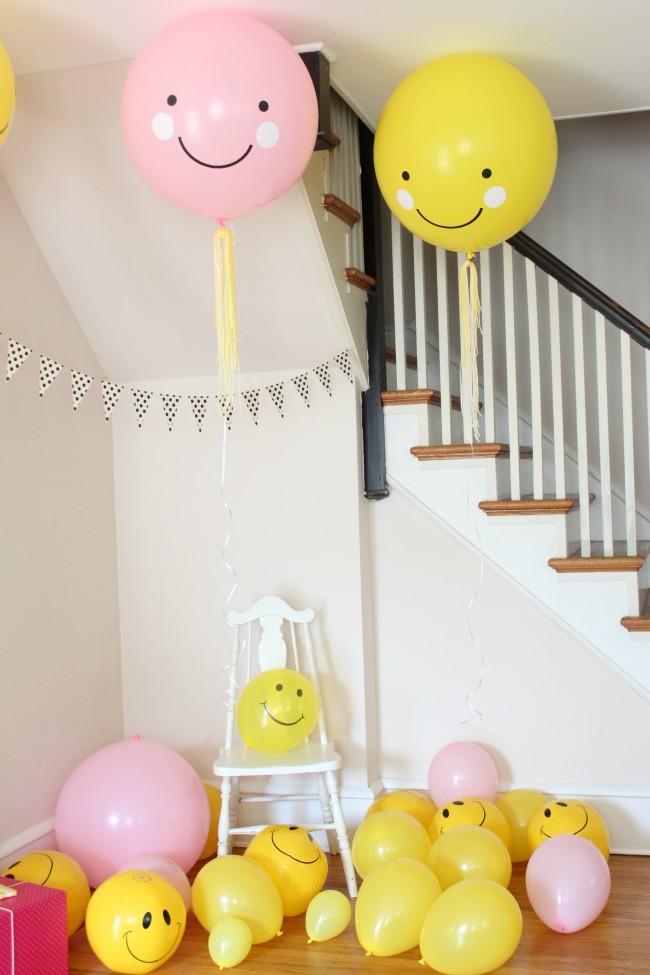
Above the treats, we hung a balloon garland made with various sized balloons and honeycomb tissue balls. I LOVE balloons. I can’t plan a birthday party without them and Carmendy’s party had LOTS.
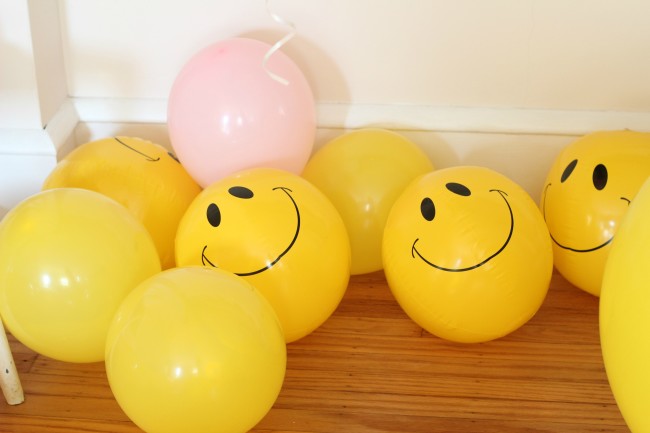
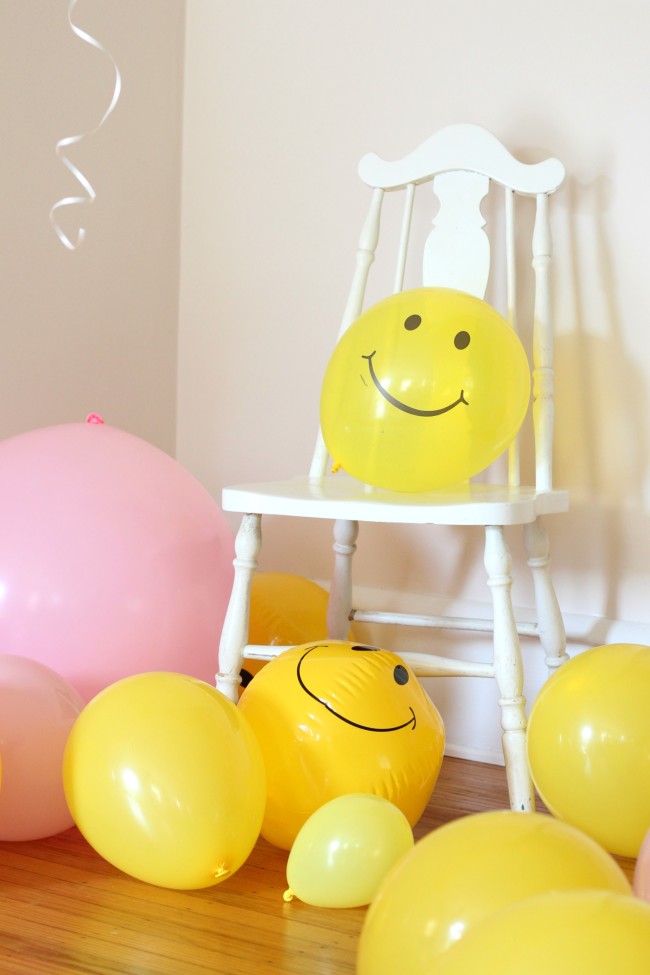
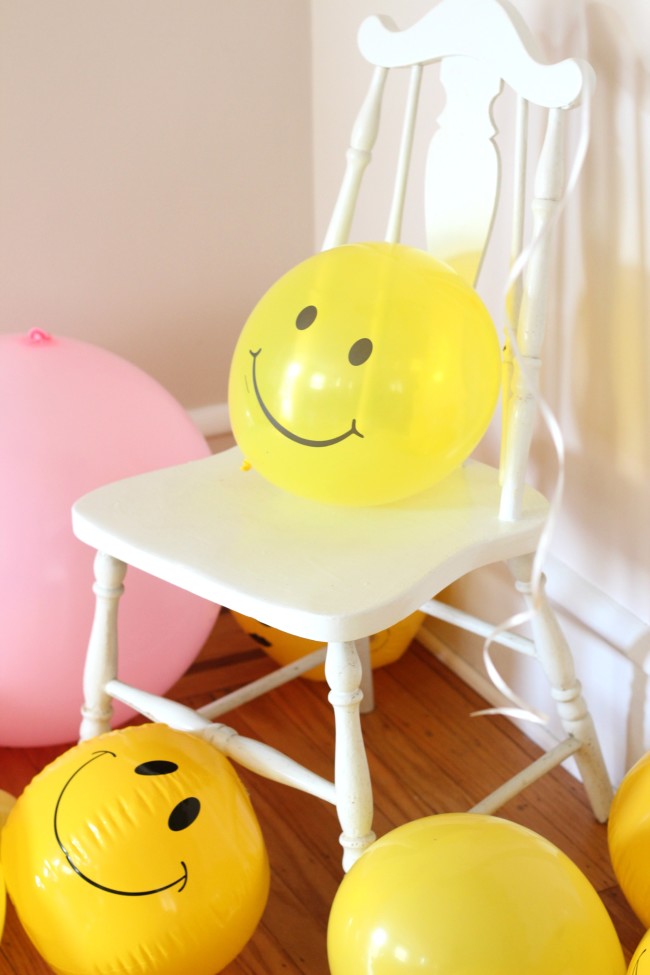
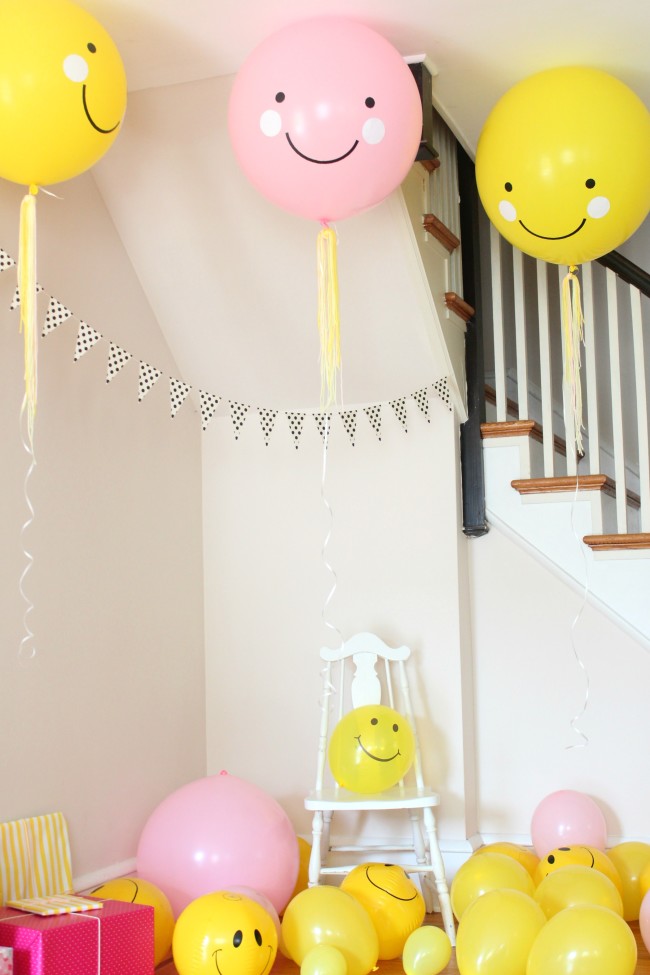
Along with the balloons, we also decorated the floor with smiley face inflatable balls. The balls also served as a favor, since Carmendy’s cousins each took one home with them.
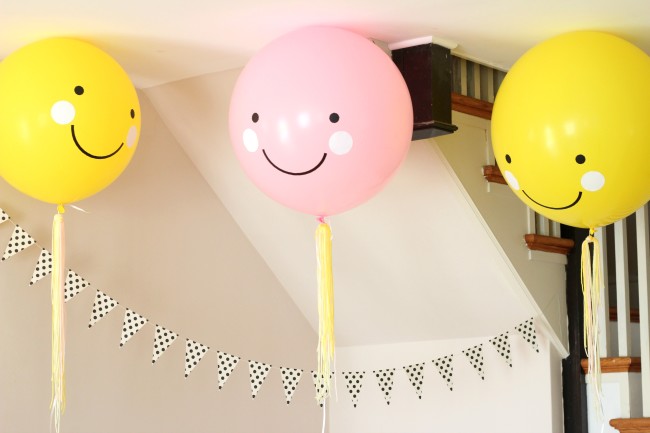
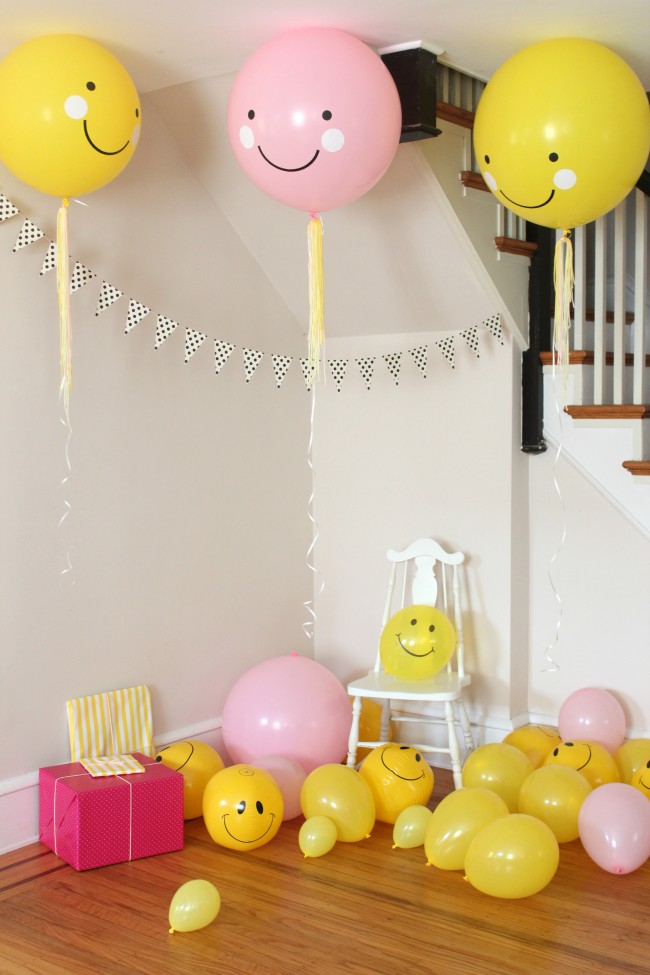
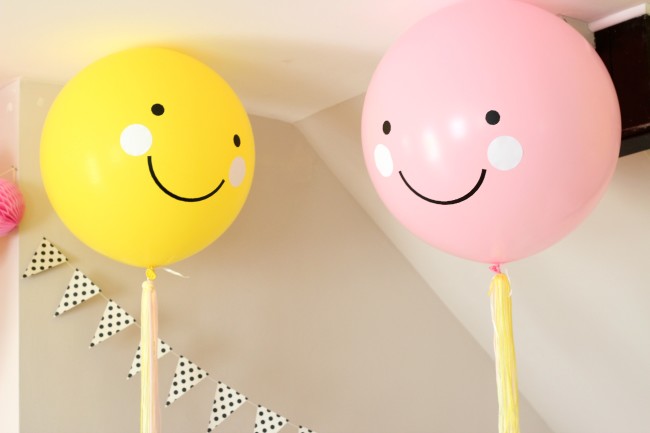
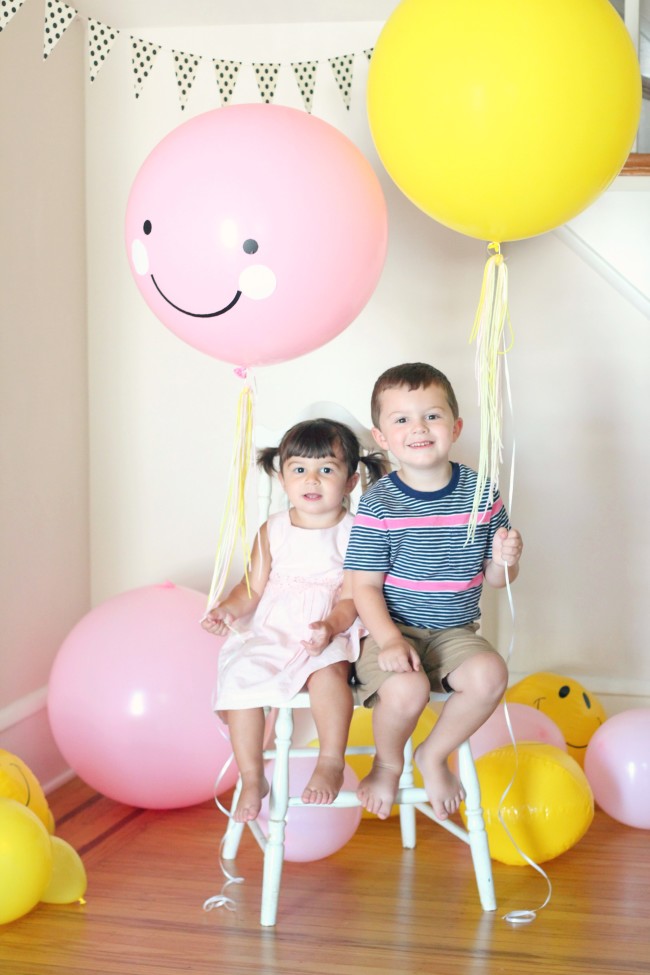
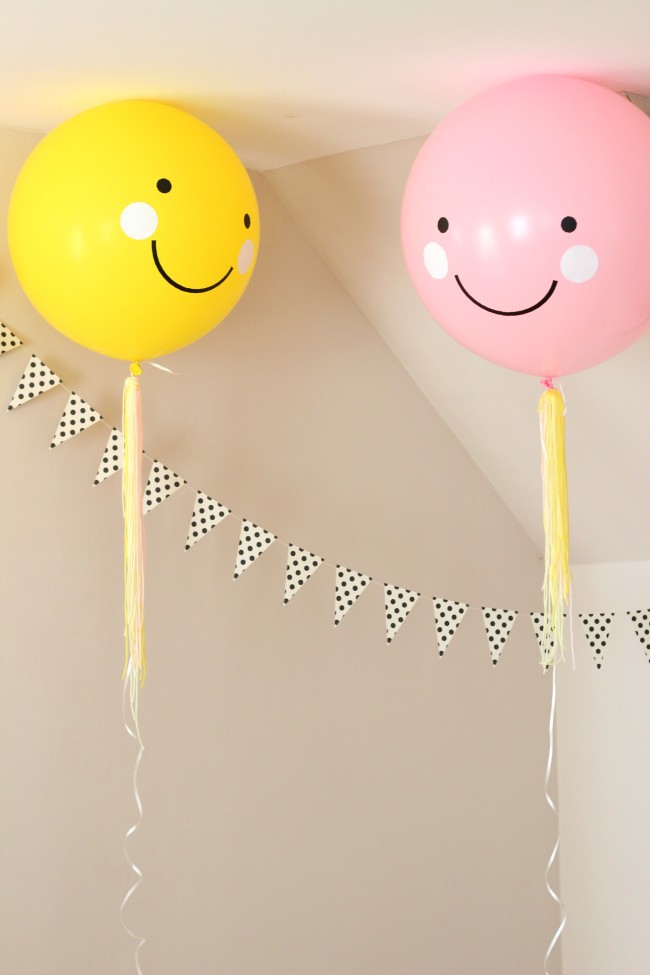
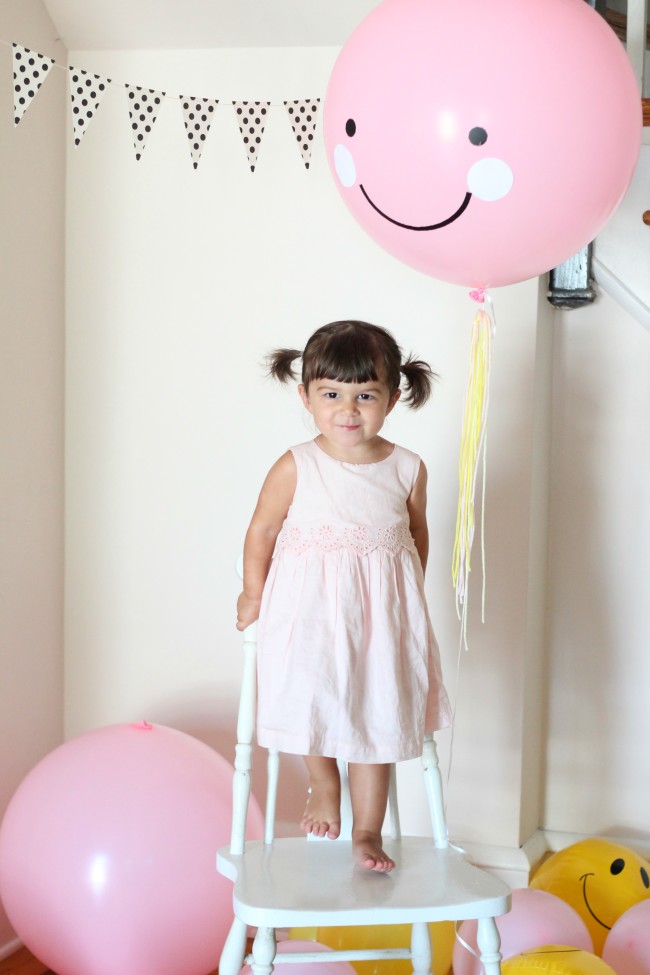
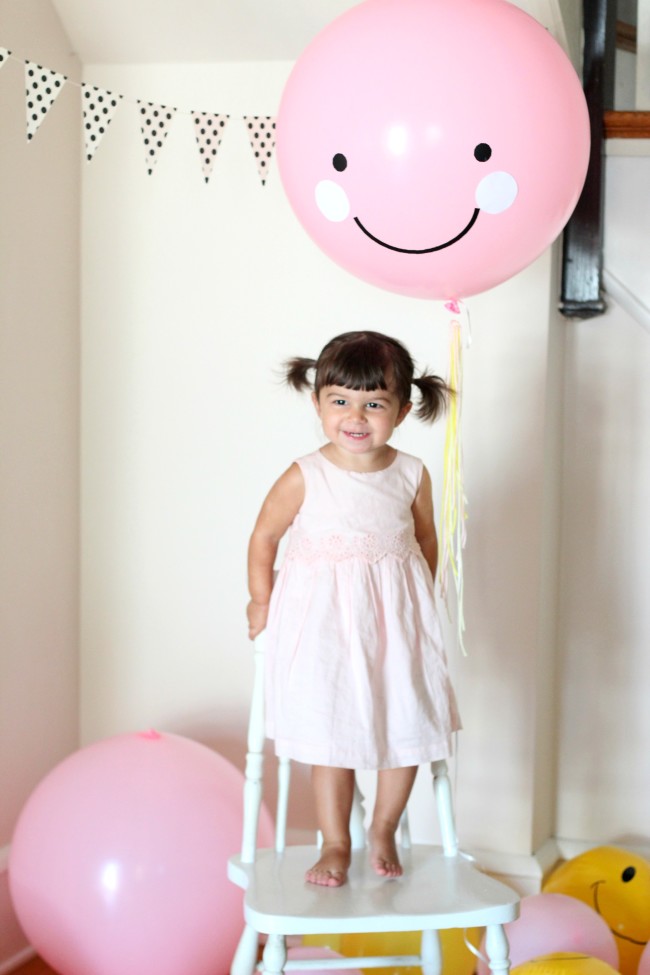
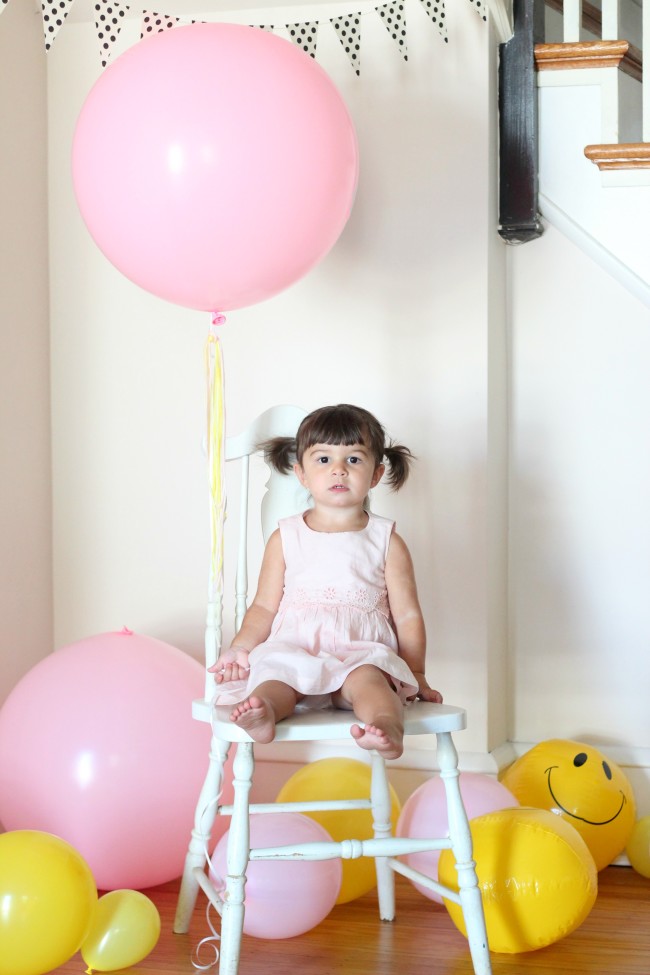
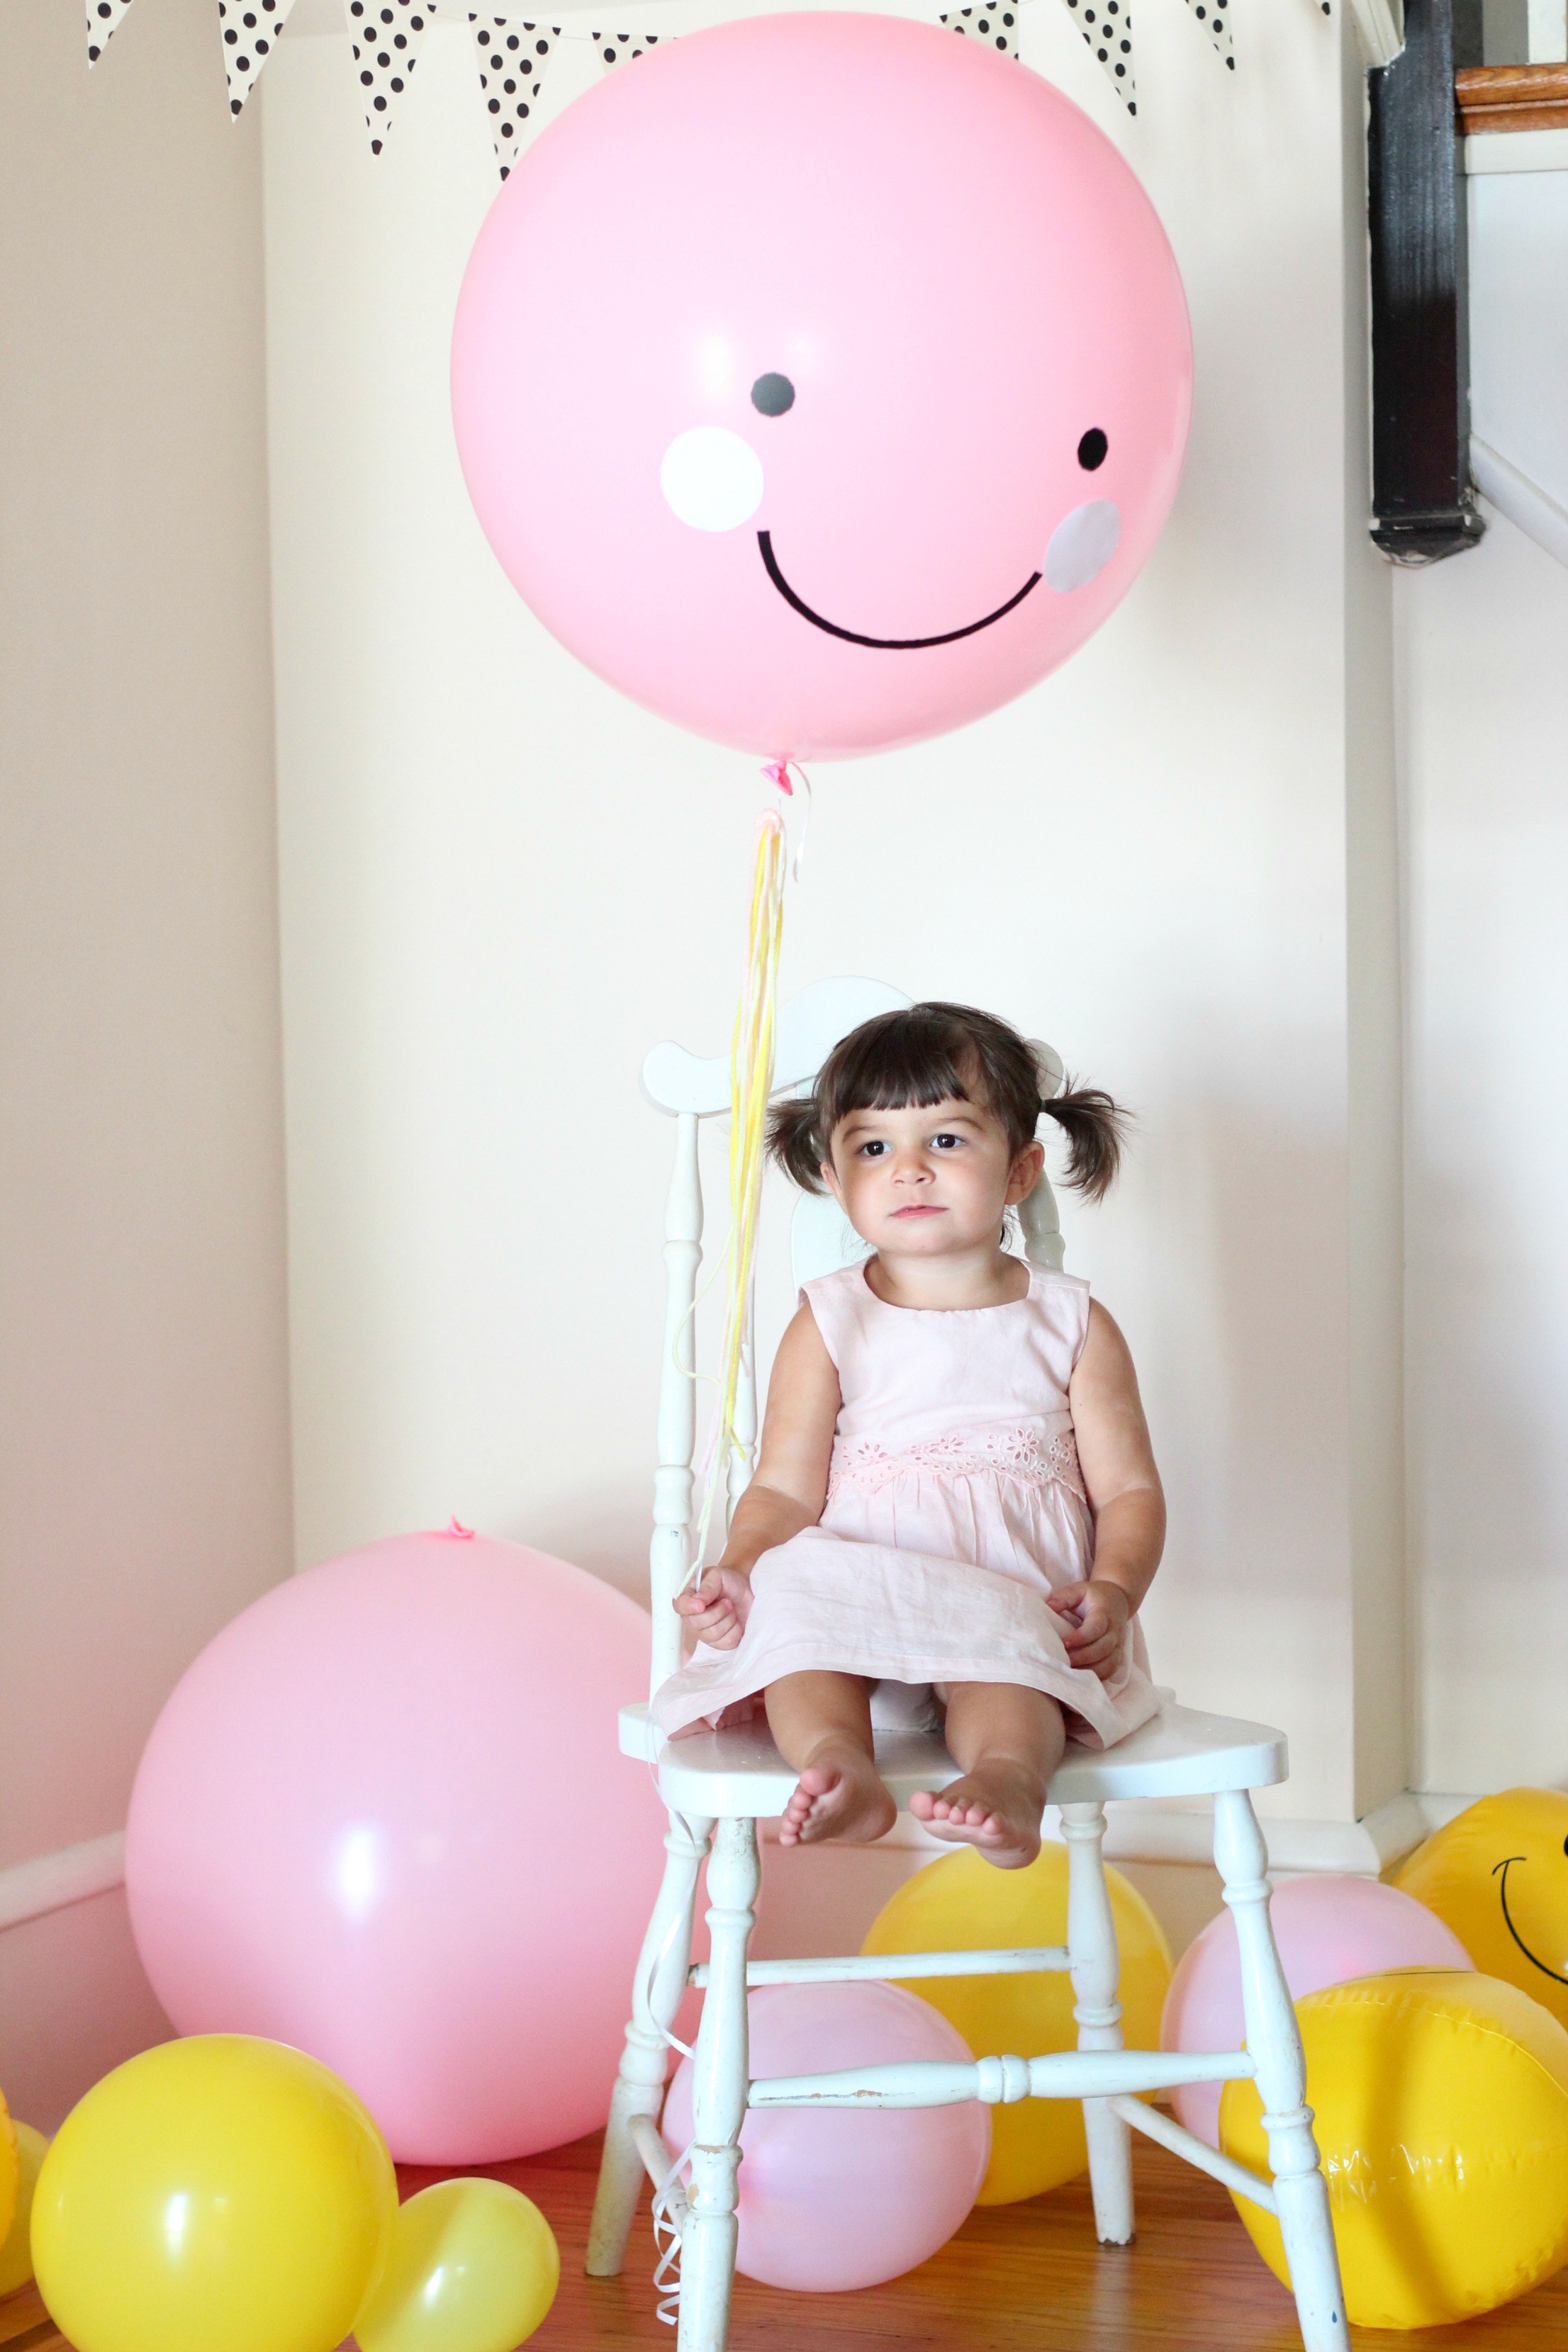
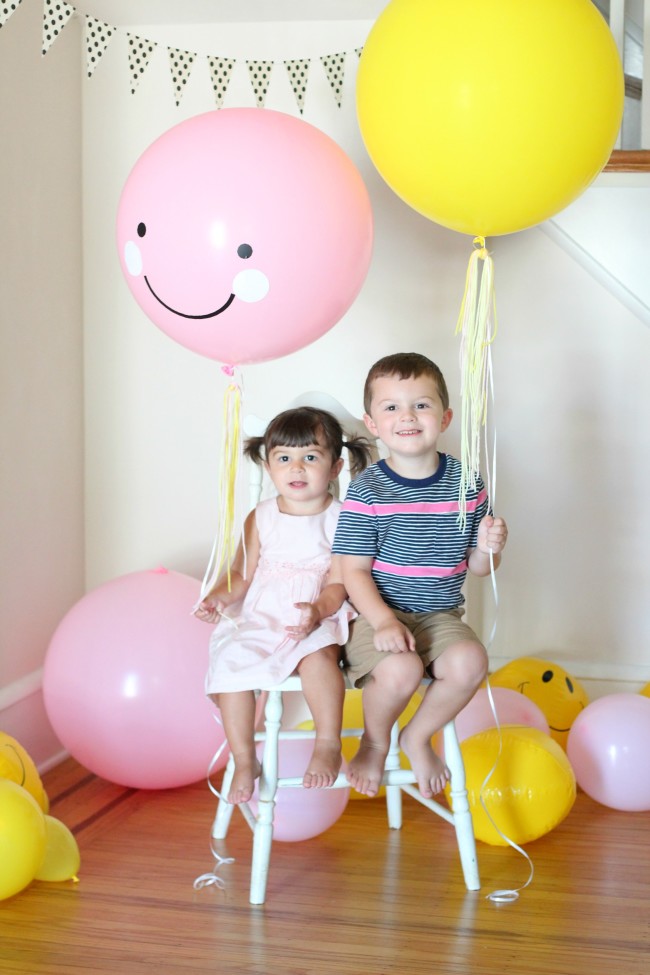
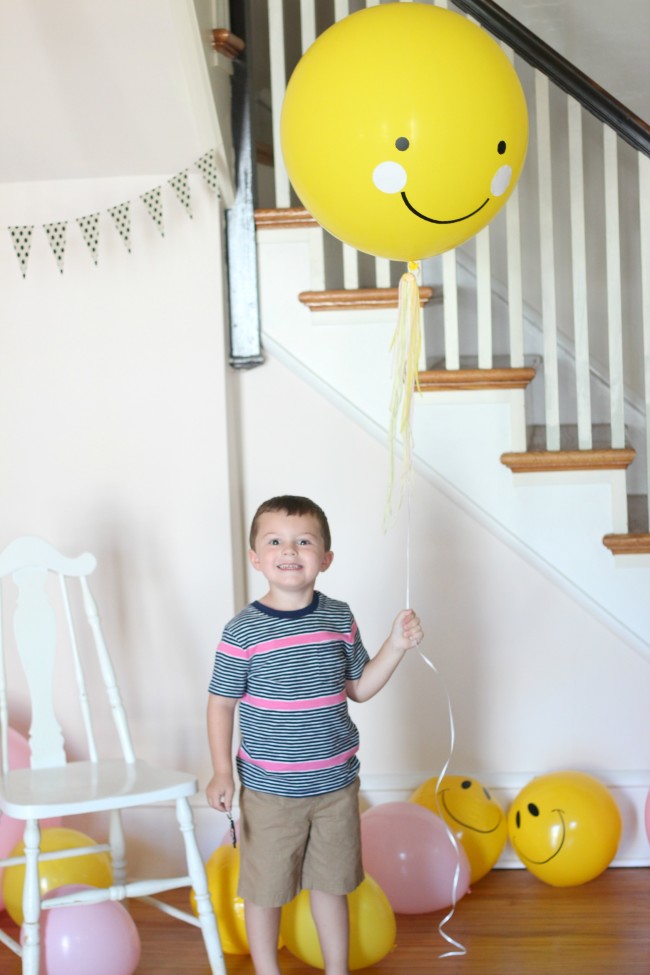
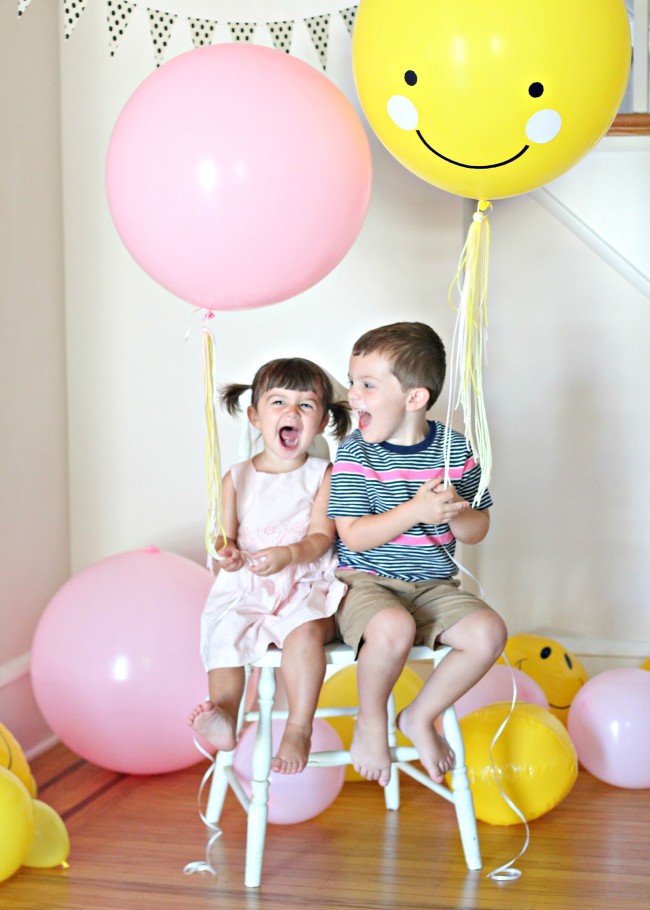
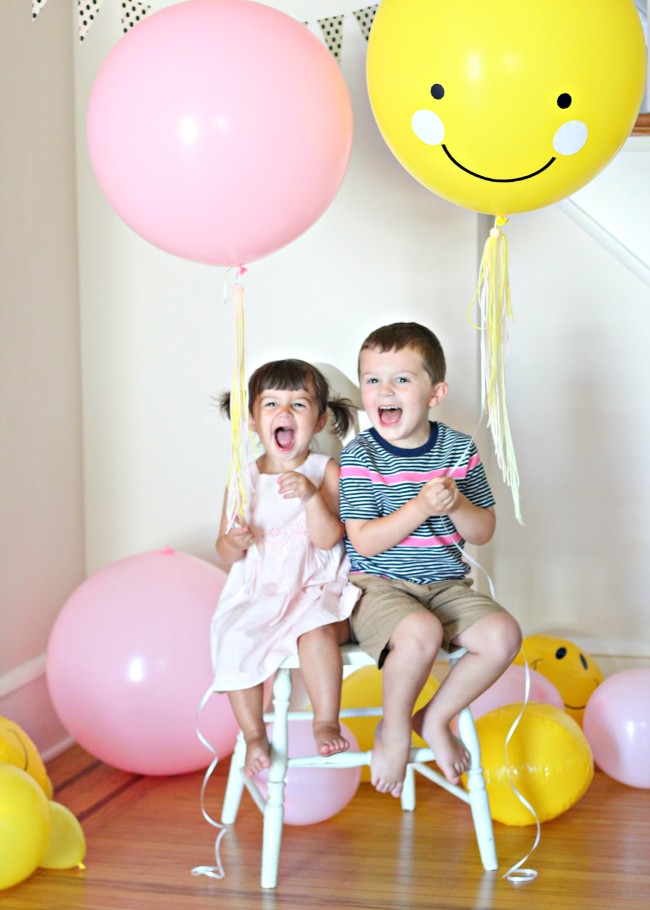
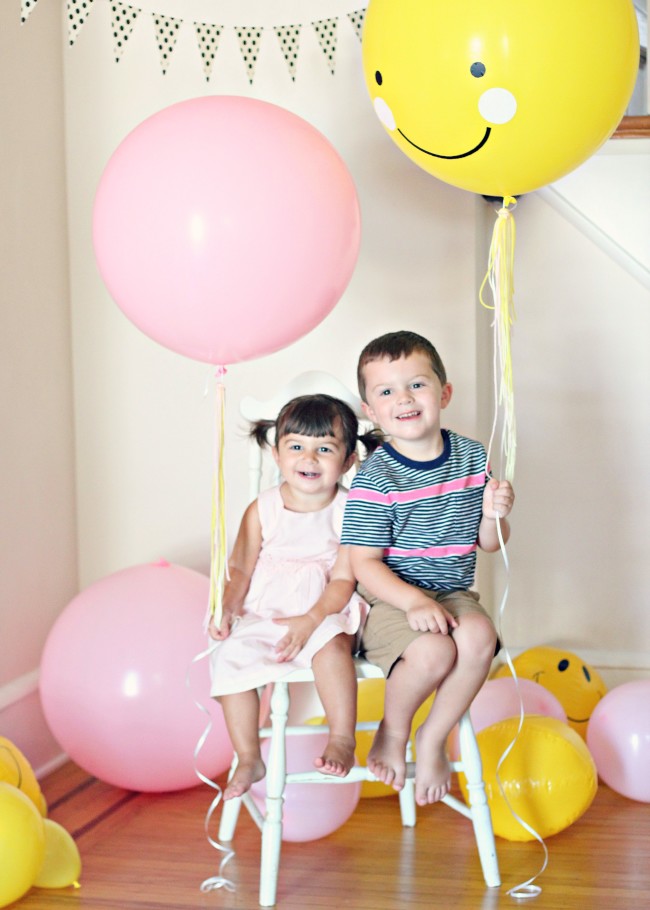
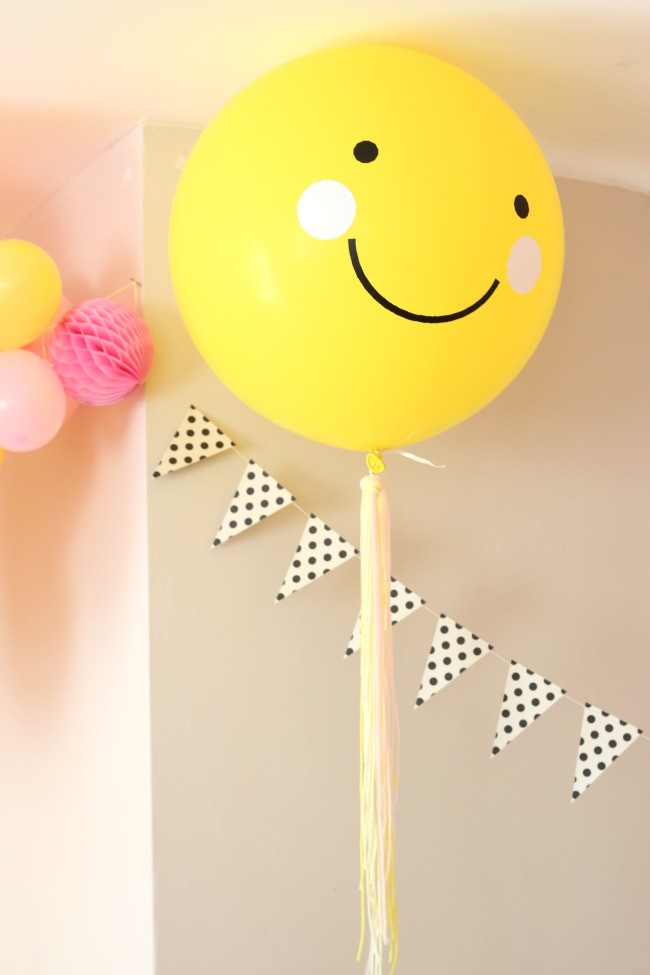
Since I’m obsessed with giant balloons lately, I had to have a few at Carmendy’s party. I decorated the huge balloons with adhesive vinyl smiley faces and tissue paper cheeks. (In case you’re wondering, an entire disposable tank of helium fills only three of these balloons, but I think they are well worth it.)
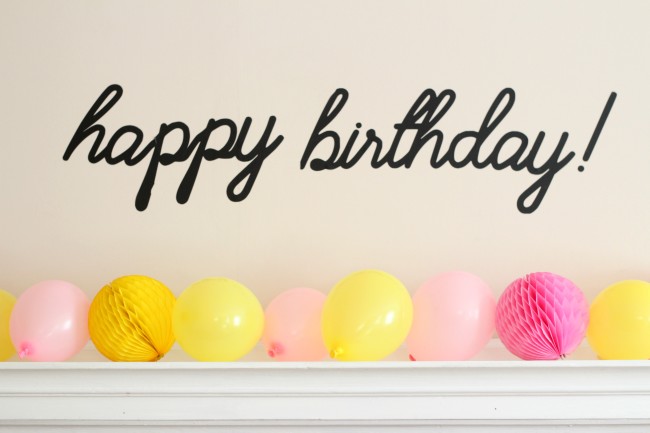
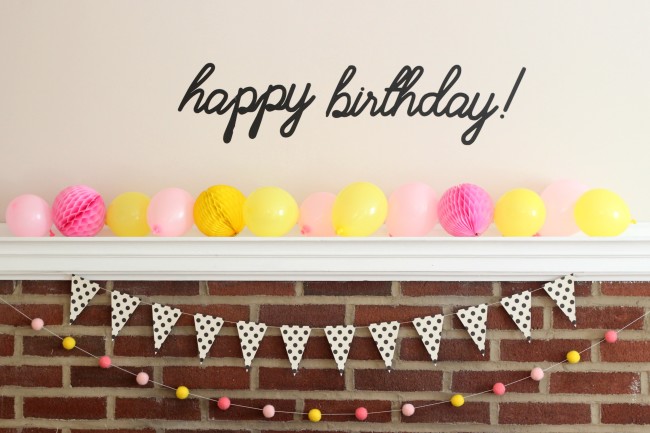
I used mini balloons to decorate the mantle, keeping them in place with tape. Warning: mini 5-inch balloons are a huge pain in the a#@ to blow up.
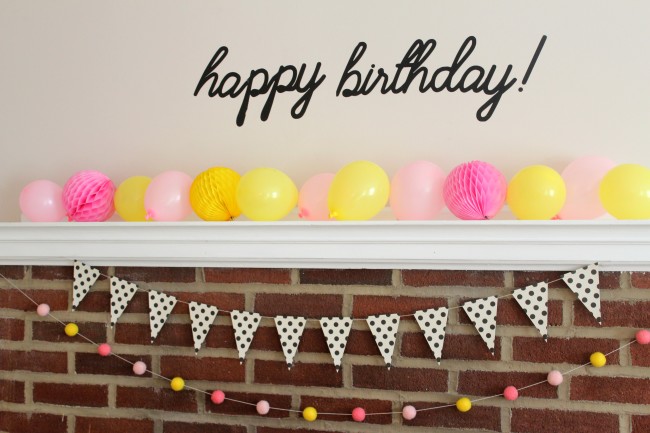
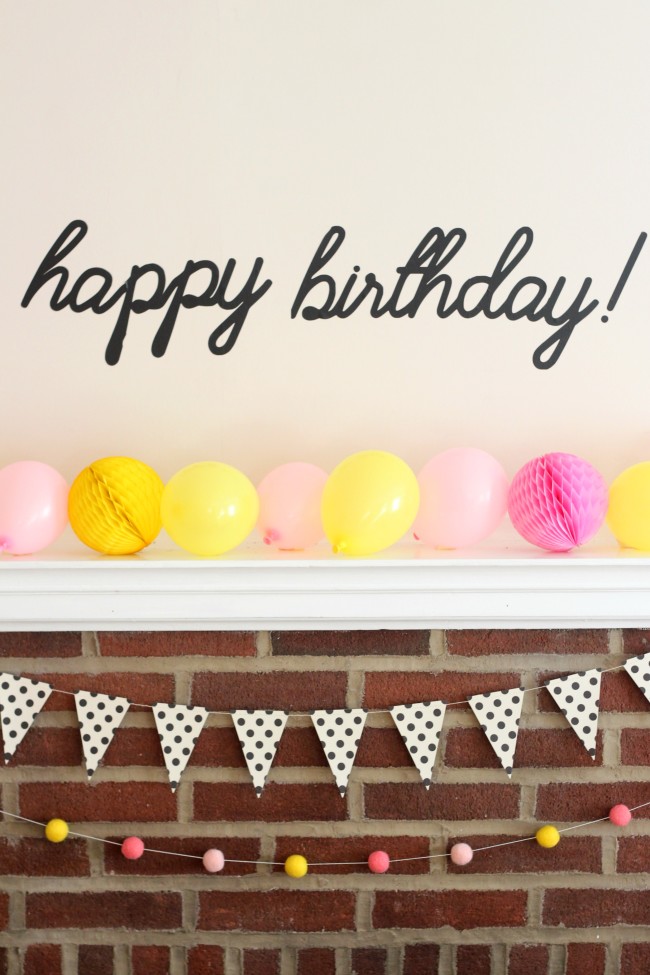
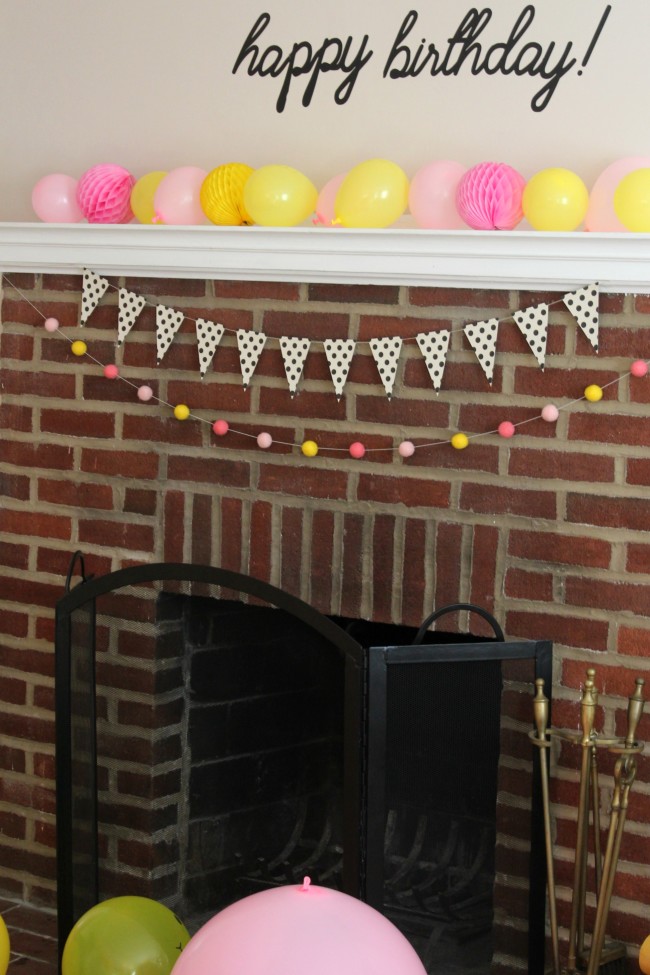
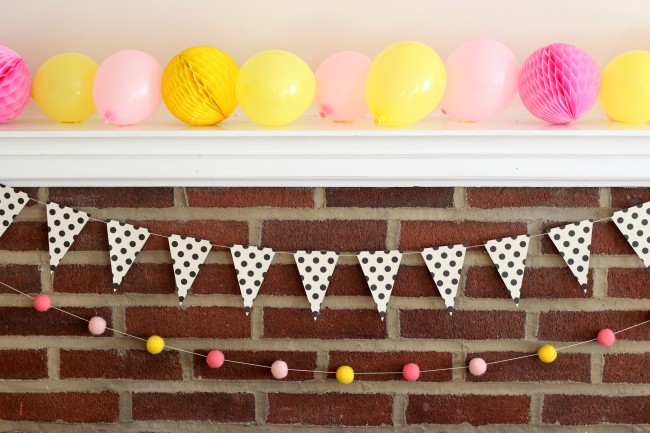
I also hung a polka dot pennant garland and more of the felt ball garland on the mantle.
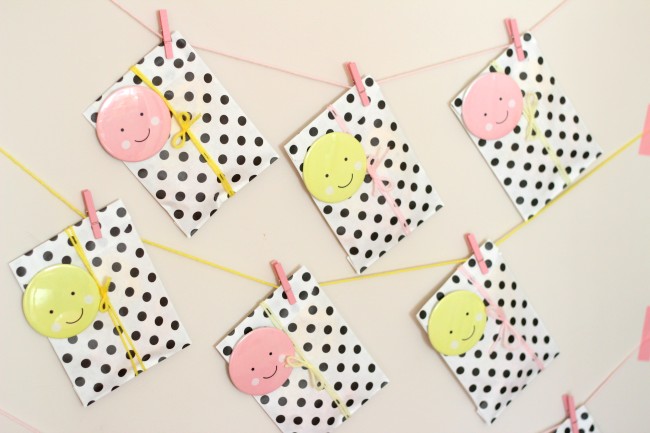
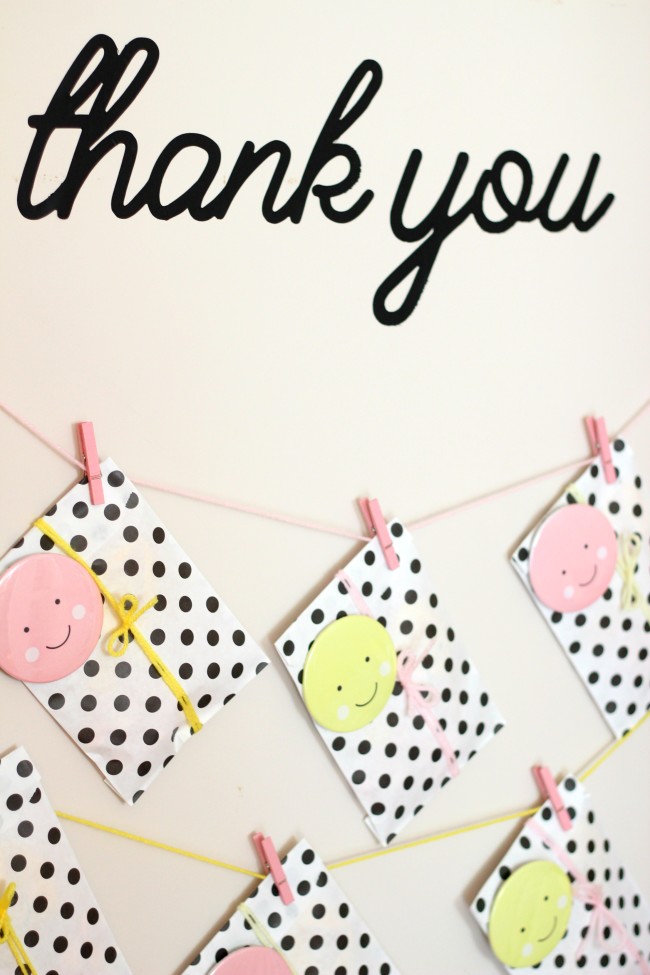
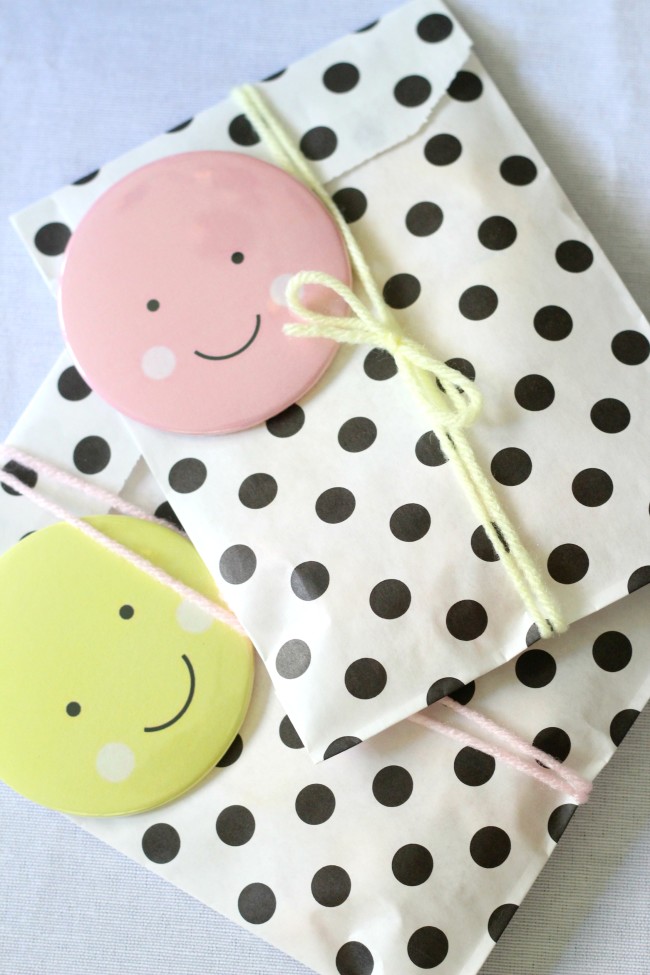
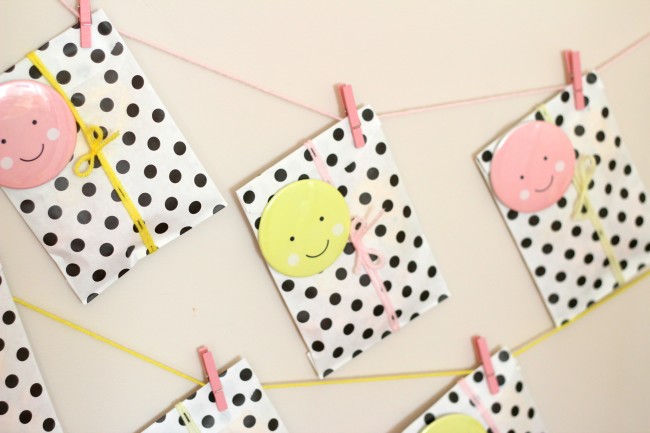
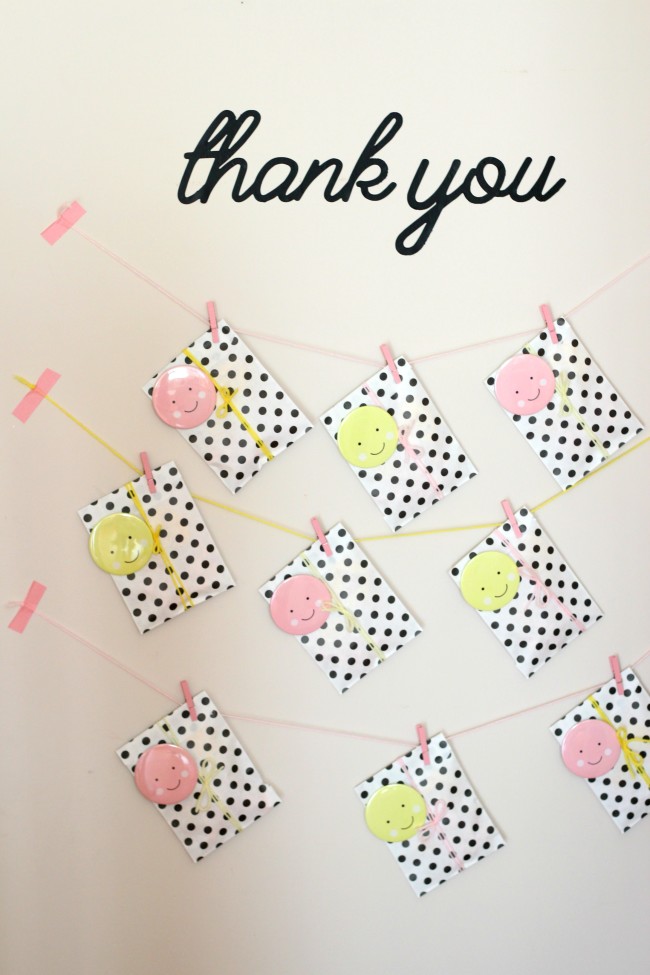
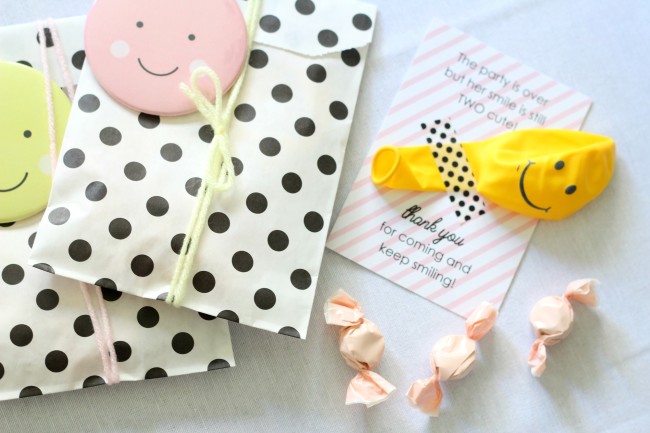
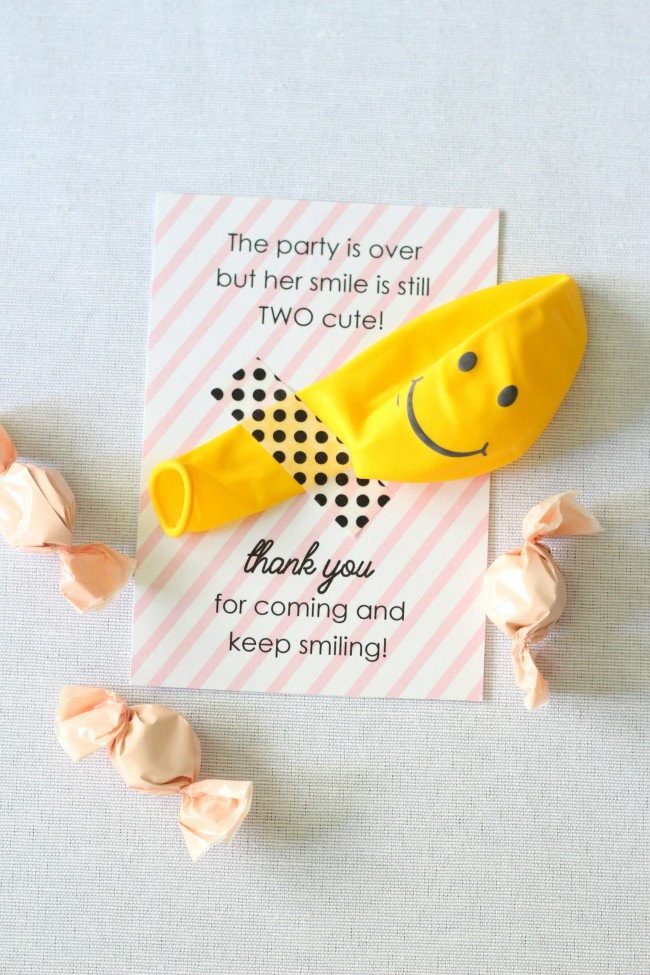
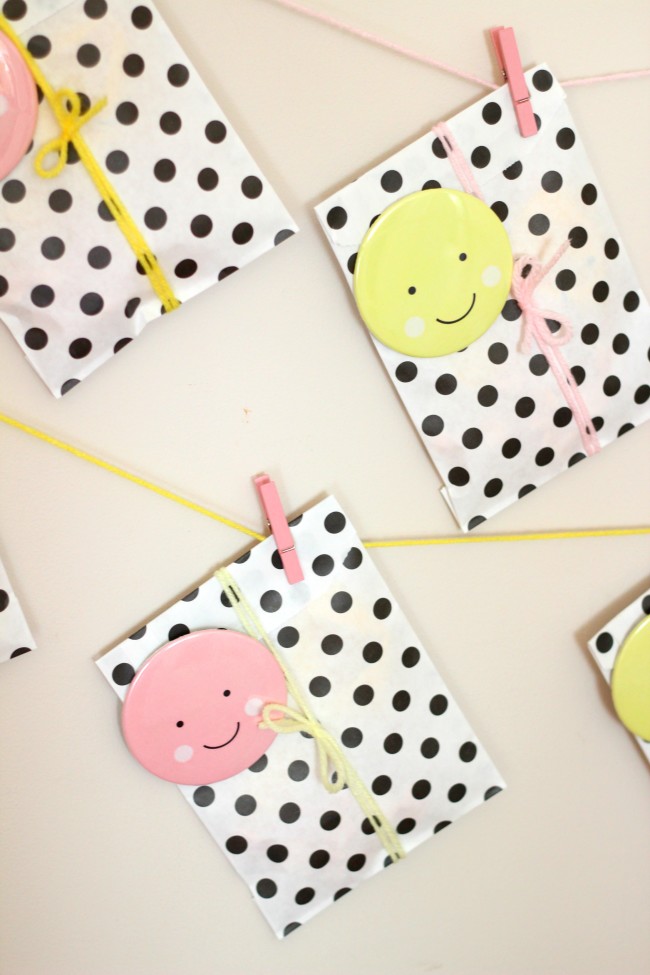
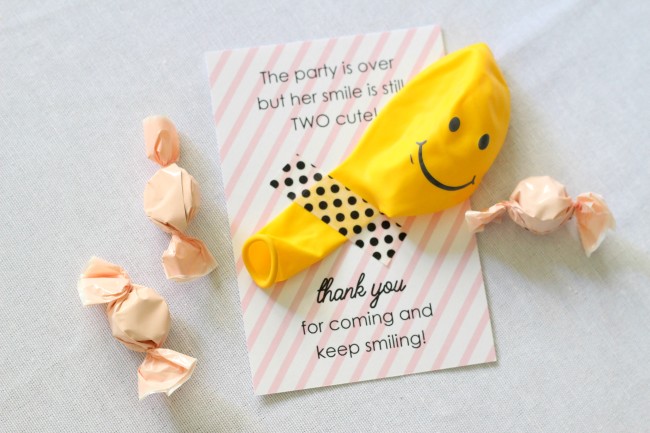
One of my favorite parts of the celebration was the party favors. In black and white polka dot favor bags, I put a smiley face balloon and some pink candy. I decorated each bag with yellow and pink yarn and large smiley face button pins. I custom ordered these buttons from Oriental Trading to match the smiley face stickers. I displayed the cute little favor bags, hanging them on yarn with pink clothespins below an adhesive vinyl decal that said “thank you.” I think the buttons made the favors perfect for a smiley face birthday party.
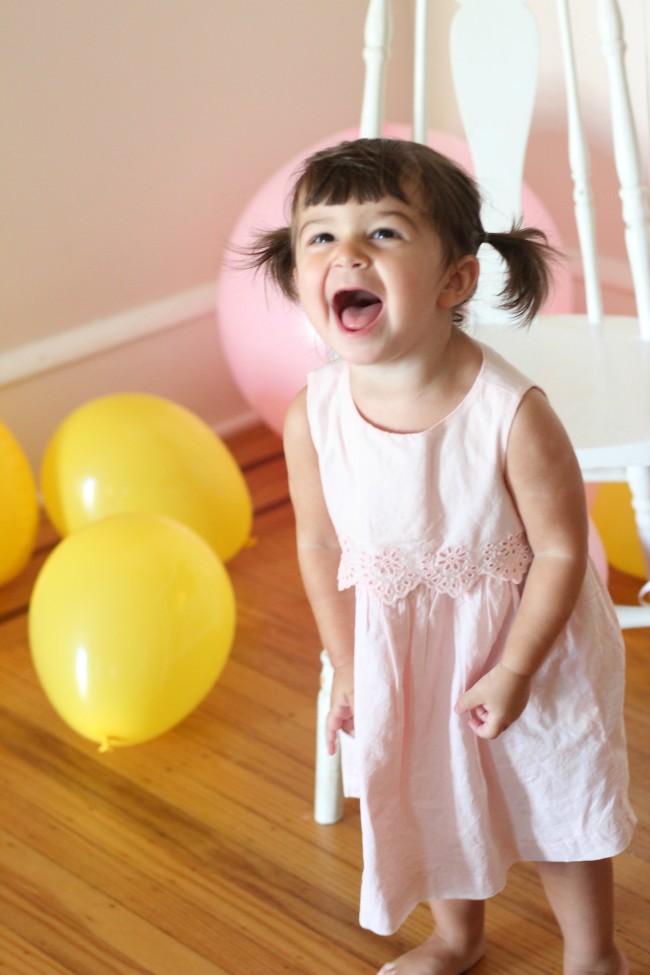
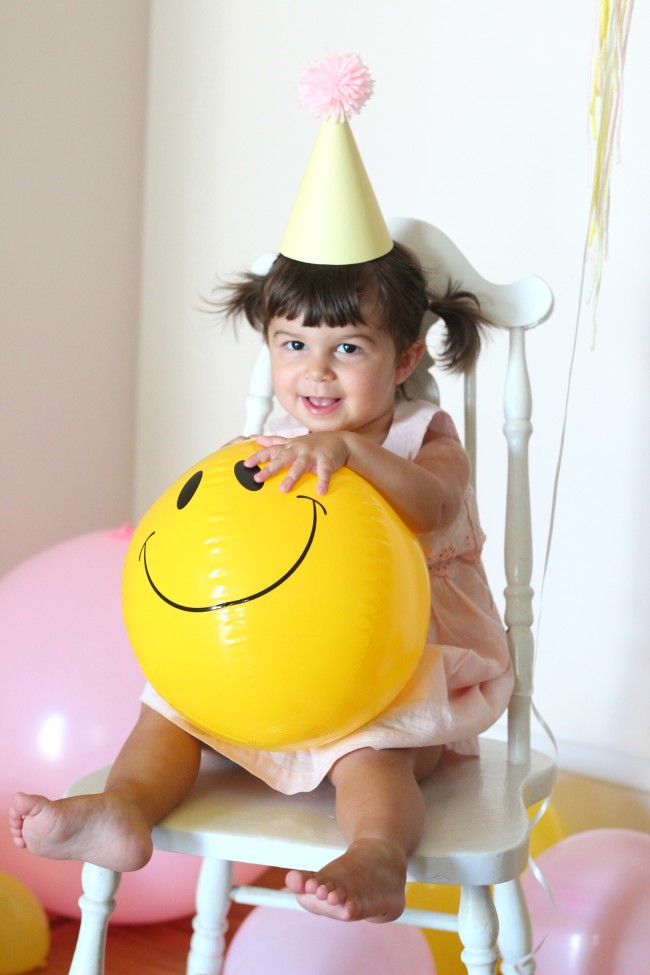
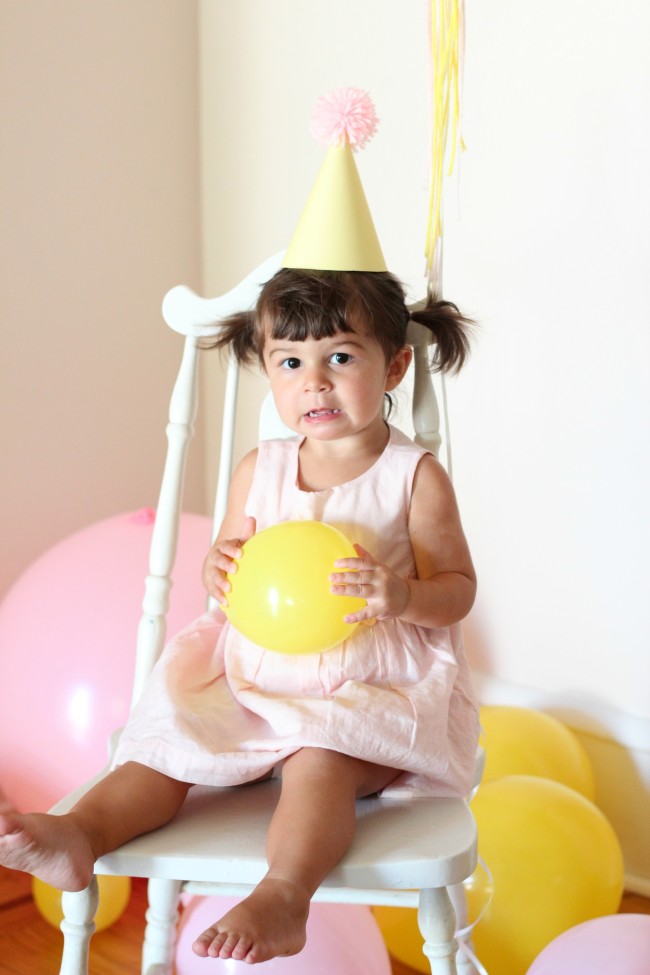
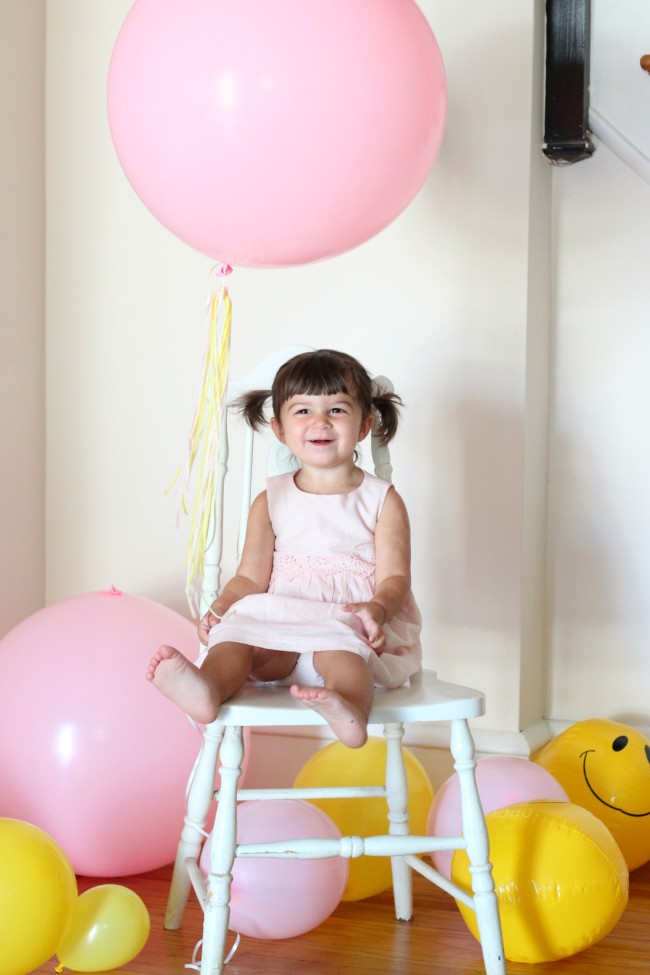
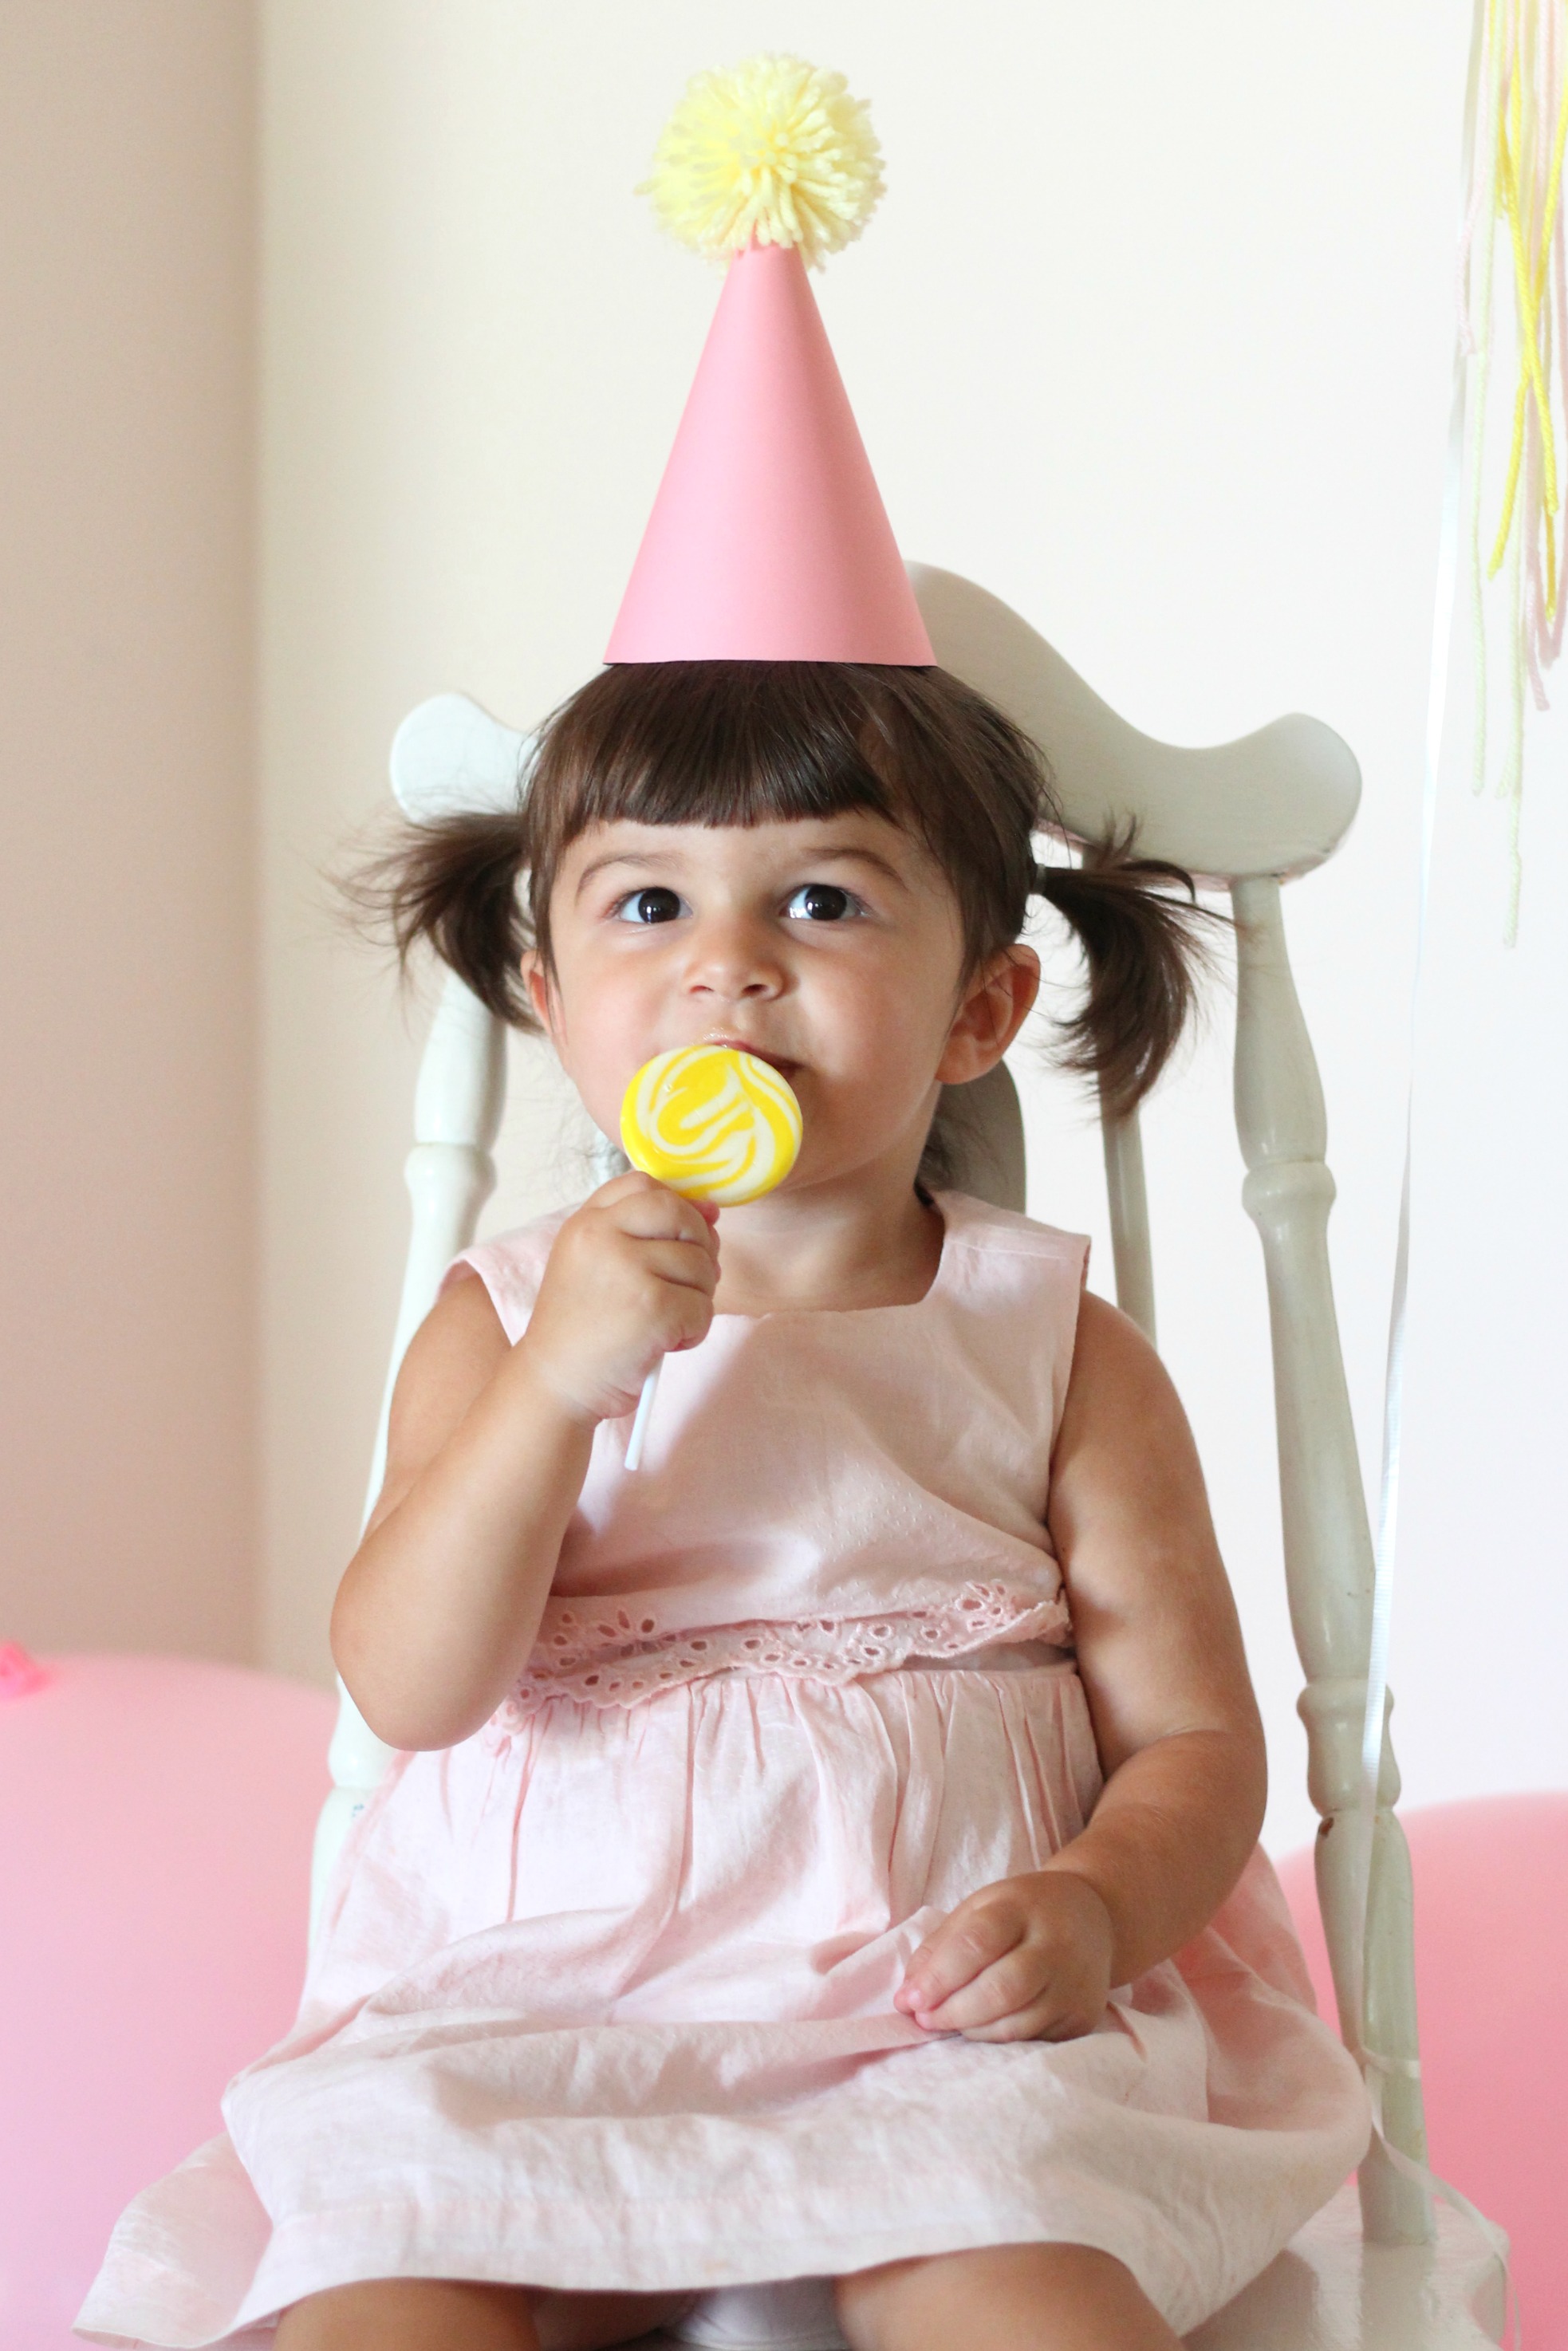
Of course the absolute best part of the party was Carmendy! The birthday girl truly is a smiley character. I hope she had as much fun at her smiley face birthday party as I did planning it.

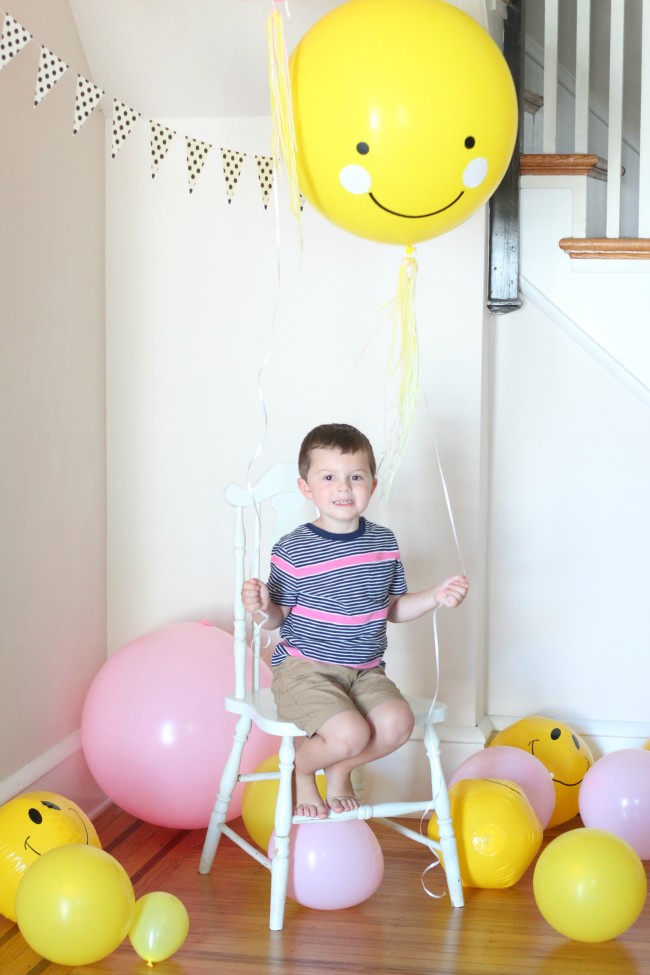
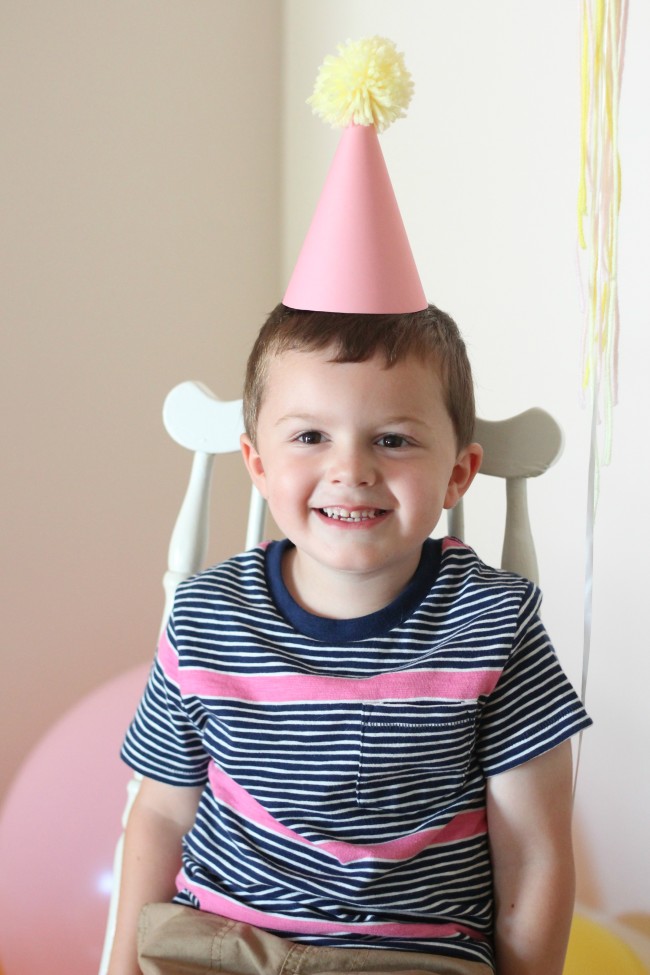
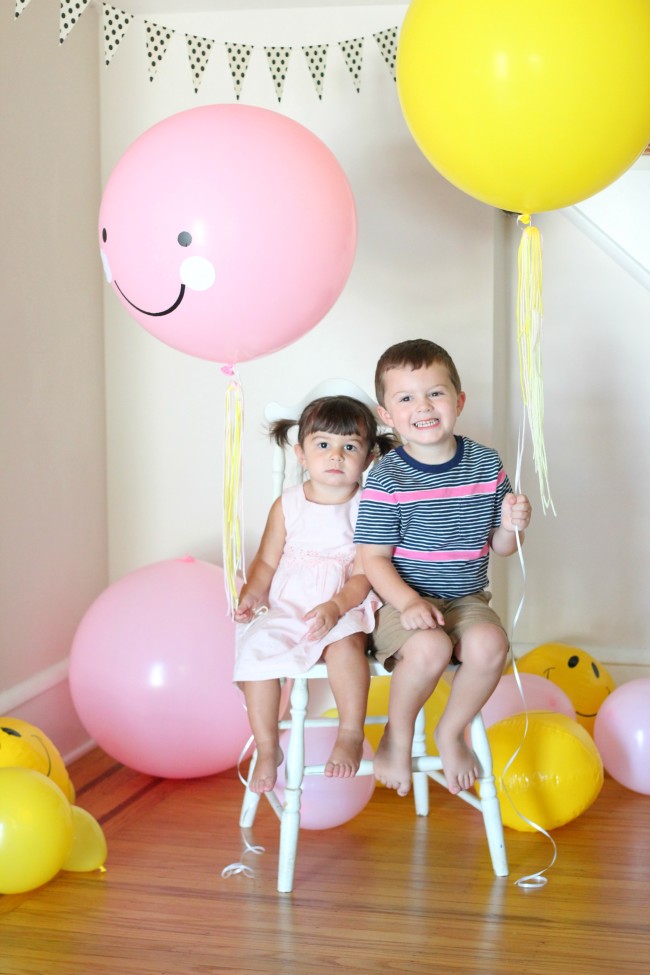
And here’s the smiley face brother at his sister’s smiley face birthday party.

Hello, like all the other birthday parties, I find the decor beautiful. I can’t find the invitation and thank you on your etsy store. Heidi
Thanks so much! I don’t have it listed in my shop right now, but if you send me a message in Etsy, I can set-up a listing for you.